
BenQ Projectors: How to Zoom Out, In, and Fit a Screen?

What To Know
- To fit a screen, first ensure the projector’s aspect ratio matches the screen’s, which can be adjusted using the Aspect button or Menu key on the projector.
- Align the projector with the screen’s central axis as closely as possible for even image display, using lens shift or keystone correction if necessary for adjustments.
- Employ the zoom ring for manual adjustments or digital zoom/shrink features for resizing the image to fit the screen, ensuring the projector is warmed up for optimal results.
If setting a BenQ projector for the first time, ensuring it pairs perfectly with its screen is critical.
Having owned a BenQ projector and fiddled with its various picture settings for years, I know how to fit the visuals on the screen and resize them if required.
The zoom-out, in, and overall fit to the screen must be impeccable, which we shall learn to get right later in this article.
Quick Navigation
- How to Make Your BenQ Projector Fit a Screen?
- Step 1. Adjust the Aspect Ratio (Following Your Projector Screen)
- Step 2. Set Up the Best Possible Place for Your Projector
- Step 3. Use the Lens Shift Feature or Adjust the Keystone
- Step 4. Use the Corner Fit Feature (Only for Select BenQ Projectors)
- Bonus: The Screen Fill Feature (Only Golf Simulator Models)
- How to Zoom In and Out the Image on Your BenQ Projector?
- Conclusion
How to Make Your BenQ Projector Fit a Screen?
To fit the screen to your BenQ projector, you must be on top of a few basic things.
Step 1. Adjust the Aspect Ratio (Following Your Projector Screen)
First, ensure the aspect ratios of the screen and your projector match. If they don’t align, no amount of tweaking the projector’s settings can compensate for that.
Once the aspect ratios match, ensure the projector is positioned correctly to deliver the finishing touches. We’ll discuss the same in the second step.
There are two methods to adjust your BenQ projector’s aspect ratio. Both require the remote or the projector’s control panel. You can either press the Aspect button or the Menu key.
First, let’s accomplish it using the Aspect button.
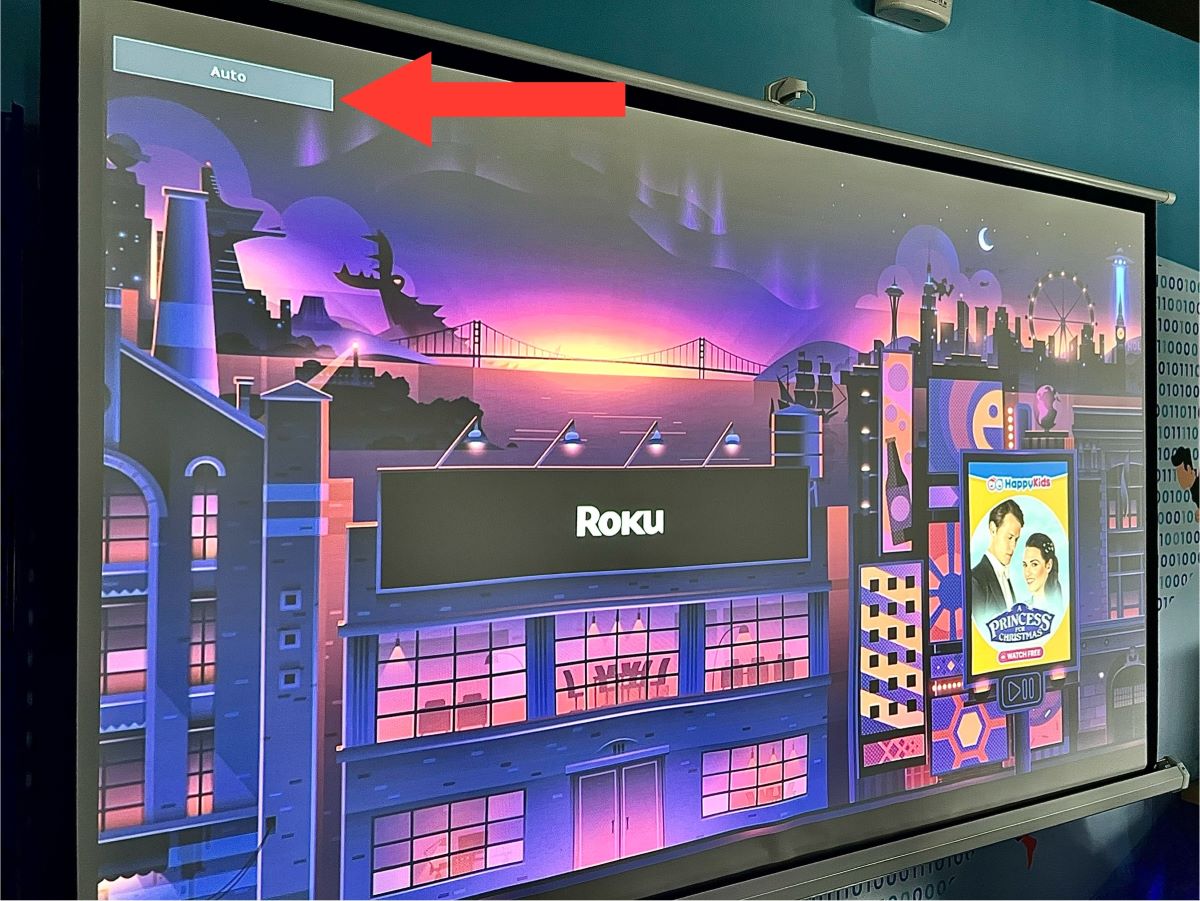
- Turn on your BenQ projector. On its remote, press the Aspect key. The Aspect ratio settings will appear on the screen.
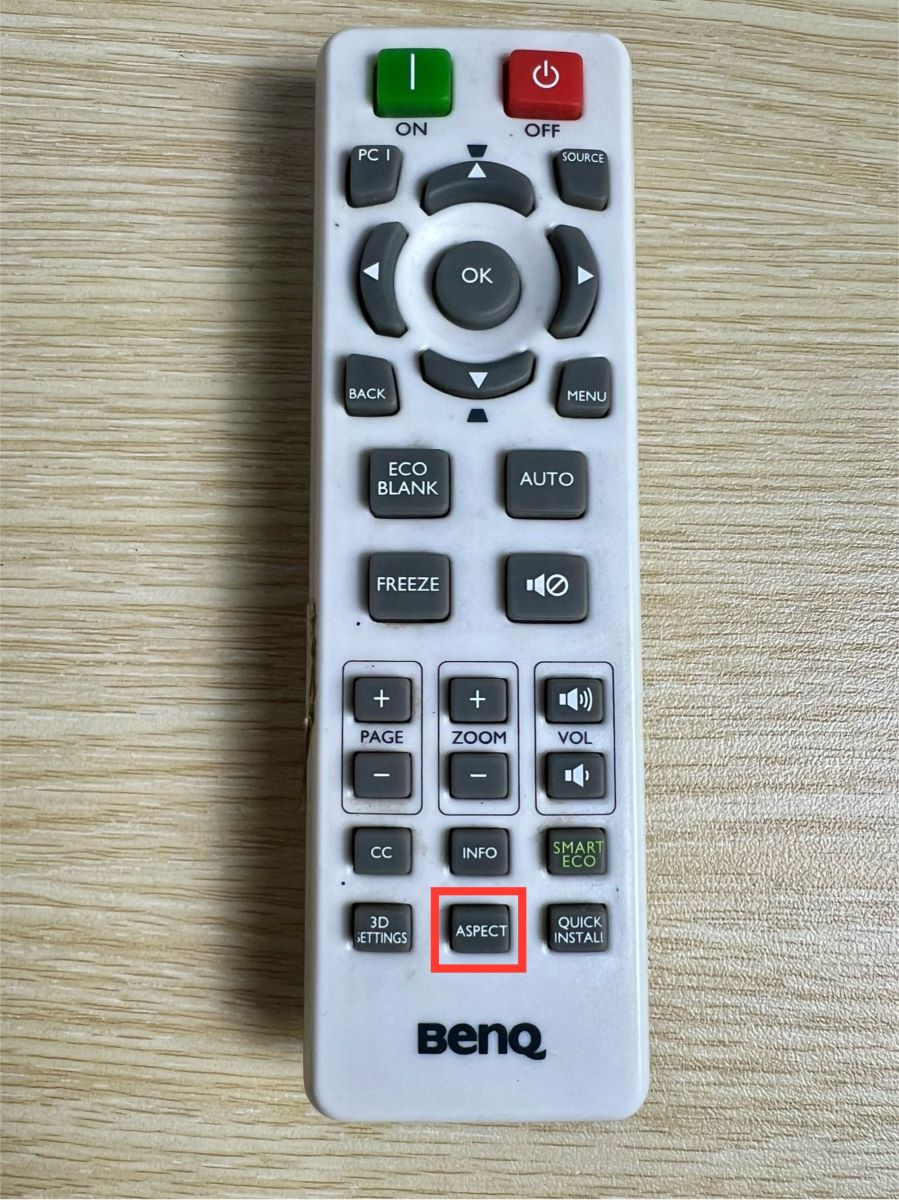
- Press the Aspect button multiple times until the ratio displayed matches the screen’s layout. Needless to say, you should know beforehand the projector screen’s aspect ratio.


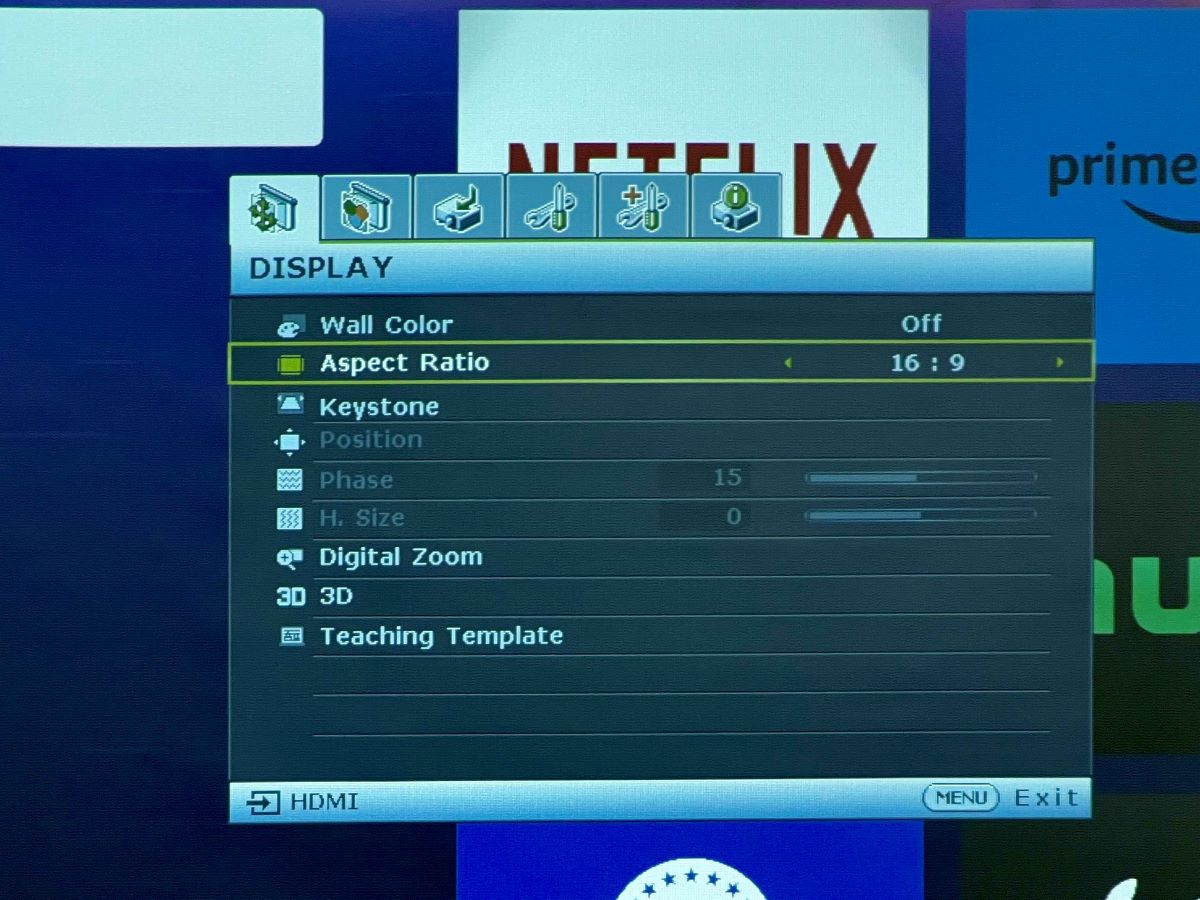
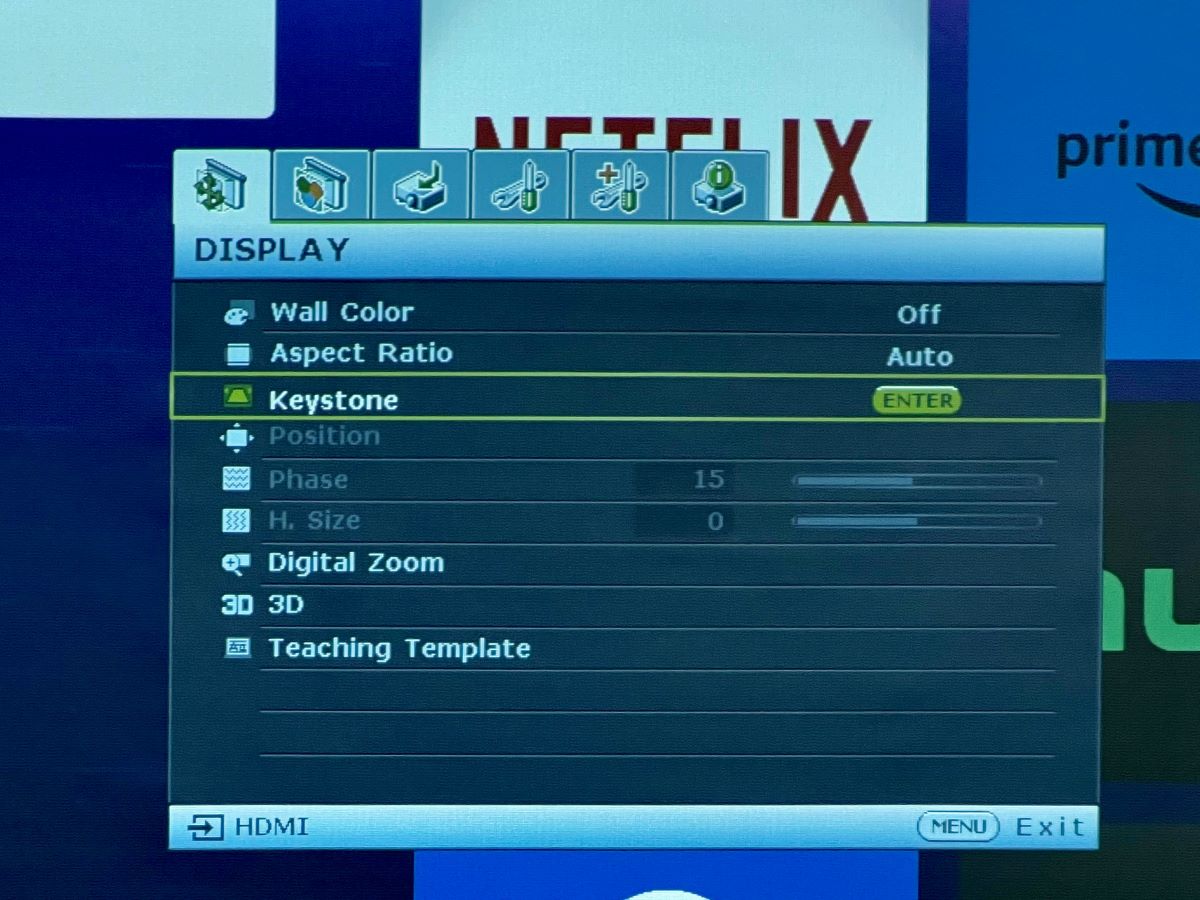
Here are the steps to access and alter the aspect ratio using the Menu key.
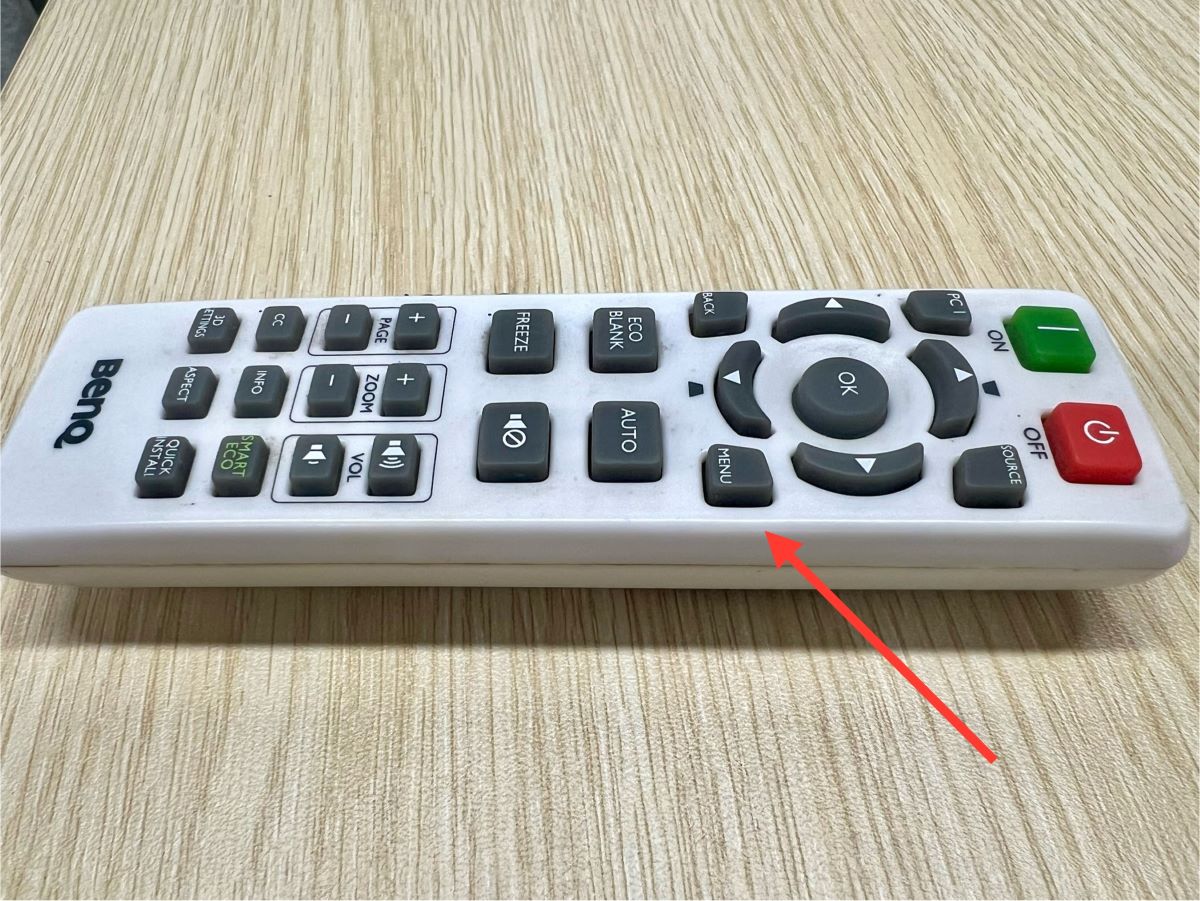
- Power on your BenQ projector. Press the Menu button on the remote or projector control panel.

- From the multiple tabs, choose Display. Highlight the Aspect Ratio option and choose the right aspect ratio using the Arrow Left or Right button.


Step 2. Set Up the Best Possible Place for Your Projector
After setting the projector aspect ratio apropos to the screen, proceed to position the device. You could mount or affix it to the ceiling or place it on a table.
Irrespective of the route you take, ensure the projector placement is balanced in relation to the screen. Simply put, the alignment and orientation between the screen and the projector must be correct.
Ideally, the projector must fit right in the screen’s central axis or where the vertical and horizontal axes meet, as shown below.
This alignment ensures the projected visuals are displayed evenly across the screen with no visual fidelity loss, picture distortion, warping, and other related concerns.
After you’ve got the positioning correct, you only need to alter the size of the picture you’ll project (we’ll discuss that later).
If positioning the projector where its projection is aimed at the screen’s central axis is not viable, try placing it on the vertical or horizontal axis from the projection canvas’s central point (as depicted below).
The central axis positioning may not be tenable due to the room’s layout, projector mounting hindrances, screen size, installation preferences, etc.
Getting your BenQ projector’s physical positioning with the screen is not as critical if the device has the “lens shift” feature.
Just try placing the projector as close to the central axis as possible, and the lens shift will take it from there. We’ll discuss the same in more detail below.

Step 3. Use the Lens Shift Feature or Adjust the Keystone
Keystone correction is digitally adjusting the visual by first reducing its size and altering it to fit inside a rectangle.
The outcome is a trapezoid with rectangular framing. In other words, the image looks wider at its base, top, or sides.
But since the picture and the projector angle are warped, the trapezoid looks like a rectangle.
It’s worth stating that the keystone effect slightly reduces image quality as it decreases pixel density.
On the other hand, lens shift handles the situation optically or at a hardware level, not hurting the picture’s quality in the process.
The lens shift function moves the picture from all four sides, not truncating or squeezing the image ununiformly from a side or two. The feature is usually found in the more expensive projectors.
If you were wondering why I was stressing about placing the BenQ projector close to the screen’s central axis or vertical and horizontal axes before, hopefully, you now know why.
The more perpendicular your projector is to the axis, the lesser the need to employ the keystone or lens shift feature.
To use the lens shift, follow these steps:
- Press the Menu key on the projector remote or control panel.
- Navigate to Advanced Menu.
- Under Display, choose Digital Lens Shift and make the necessary adjustments.
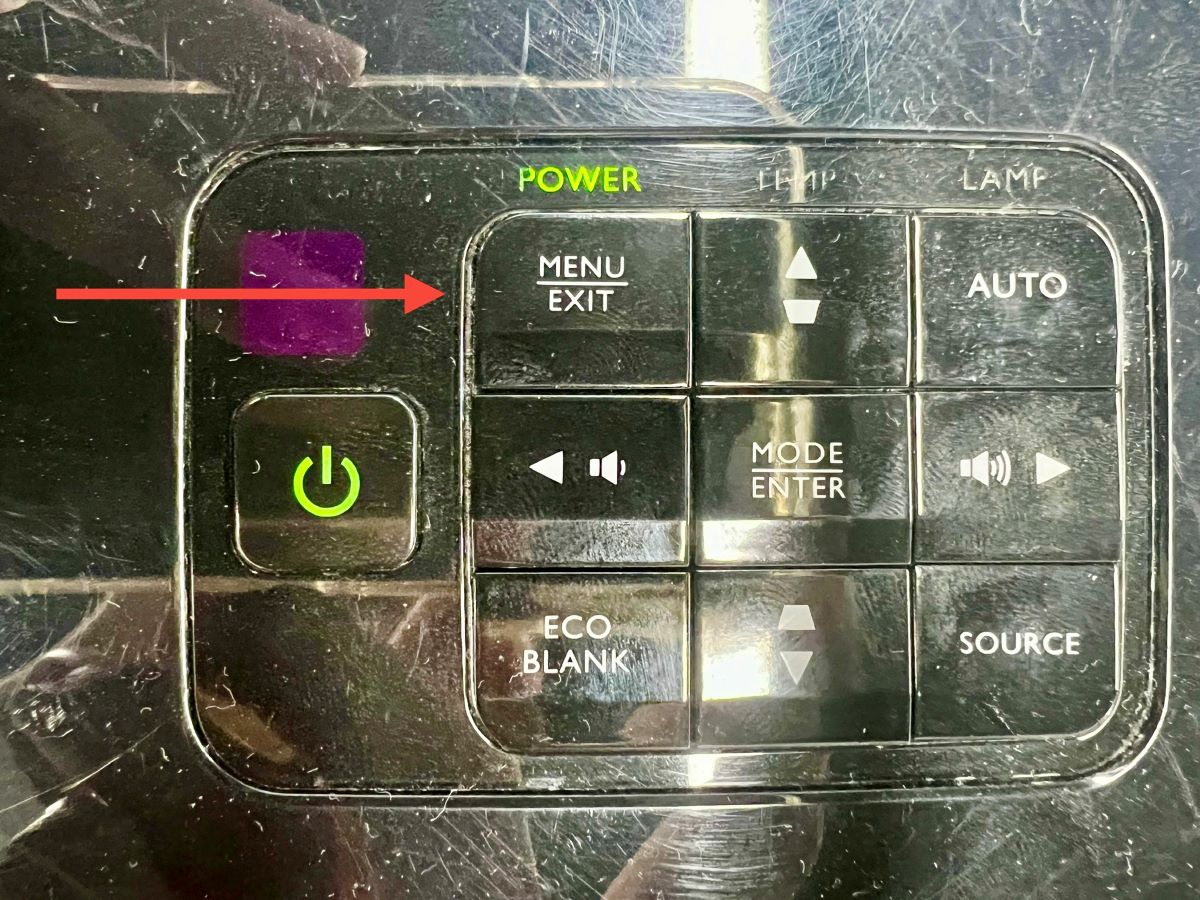
Here are the steps to employ the keystone setting:
- Hit the Menu button.
- Go to Installation and then 2D Keystone.
- Adjust the keystone using the Arrow keys on your remote or projector body.
Here is an alternative path if your BenQ model doesn’t have the above settings:
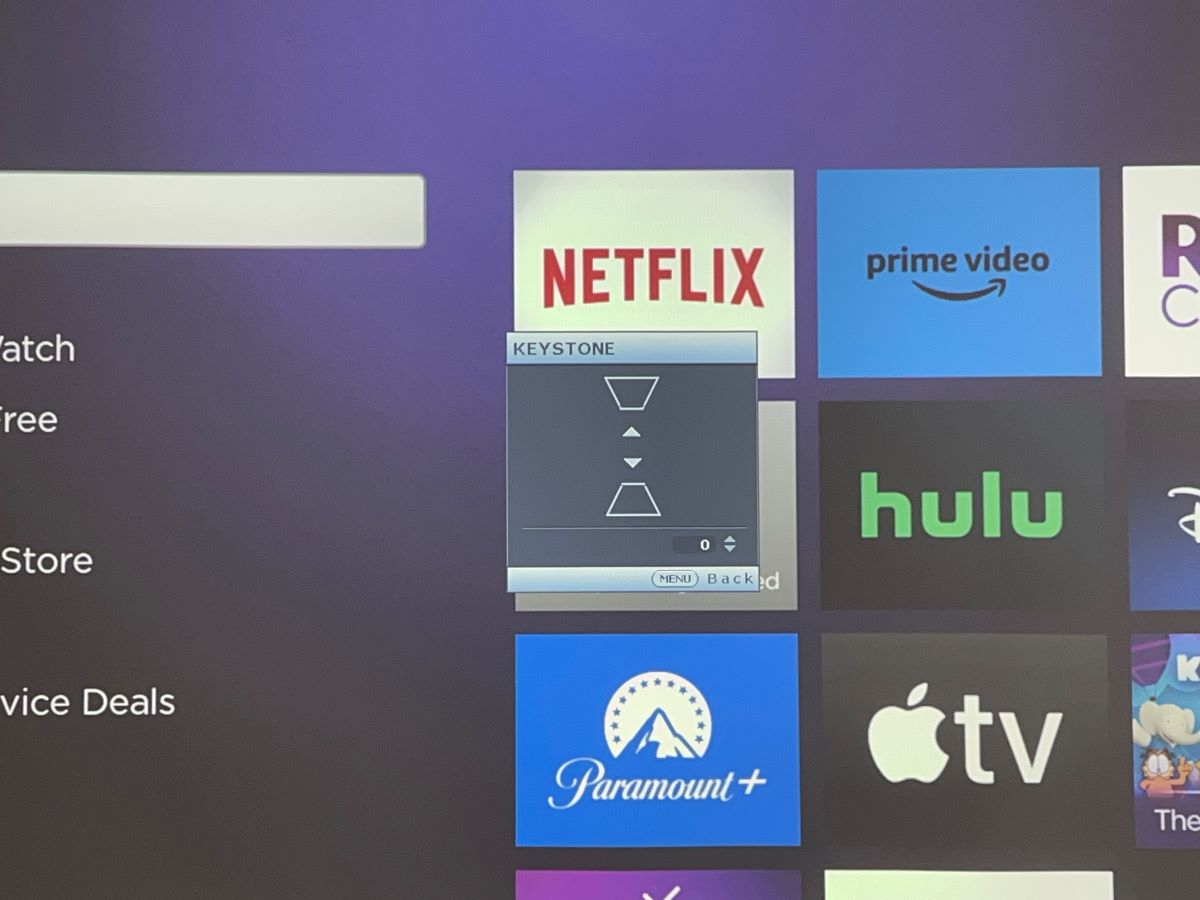
- Press the Menu key.
- Head to Keystone under the Display tab.
- Adjust the keystone using the Arrow keys on your remote or projector body.


Step 4. Use the Corner Fit Feature (Only for Select BenQ Projectors)
If you’ve positioned the projector correctly and used lens shift and keystone correction to good effect in cases where the optimum physical placement wasn’t plausible, you’re good to go full-screen.
But if you still see a few minor irregularities or the image looks marginally skewed in one corner, use the Corner Fit function to tackle the problem.
Follow these steps to employ the feature:
- Press the Quick Install key on your BenQ projector remote or control panel. The button helps access certain common functions quickly and easily.
- Access the Corner Fit function from the quick installation menu on your screen.
- Select the skewed corner(s) and adjust it to fit it to the screen using the Arrow keys.
Bonus: The Screen Fill Feature (Only Golf Simulator Models)
If the aspect ratios of the projectors and their corresponding screens don’t match, there will be fit and image distortion issues, as discussed earlier.
But if the mismatch is unavoidable, help is available in the form of “Screen Fill.”
The feature may seem like yet another digital method to align the projected images on the screen. But it approaches the issue differently, and those in golf simulation will appreciate it.
The BenQ Screen Fill feature allows matching the projector’s native resolution to the aspect ratio of the screen on demand.
In other words, if your BenQ uses the 16:9 layout and the screen is 4:3, the Screen Fill function enables the projector to switch its resolution to 4:3, so there’s a proper match and no scaling of the images or dip in picture quality.
The Screen Fill feature lets you set the projector’s native resolution to fit the aspect ratios of 16:9, 16:10, 4:3, or 1:1. To learn how to employ Screen Fill, check out this setup guide from BenQ.
How to Zoom In and Out the Image on Your BenQ Projector?
The zoom-in/out functionality becomes essential for fitting the image properly within the projector screen’s dimensions.
It makes dealing with multiple screen sizes, fine-tuning the visuals, compensating for unsatisfactory projector placement, etc., easy.
If using the zoom feature, turn on your projector and let it be powered on for 20 minutes at least before using it for optimal results.
1. Adjust the Distance Between Your Projector and Screen

If you do not feel like physically adjusting the distance between the screen and projector, the zooming function can be your stopgap solution.
2. Use the Zoom Ring
If your BenQ projector has a zoom ring, rotate the ring to its right or left to decrease or expand the picture size.
Use the Focus Ring in tandem to boost clarity if zooming in or out causes the visuals to lose focus.

3. Use Digital Zoom
The Digital Zoom feature is pretty self-explanatory. You only need to learn how to use the functionality on your BenQ projector. Here are the steps:
Look for the Zoom keys on the remote and press the + and – keys to resize the picture.

Alternatively,
- Hit the Menu key on the remote or control panel.
- Go to Digital Zoom.
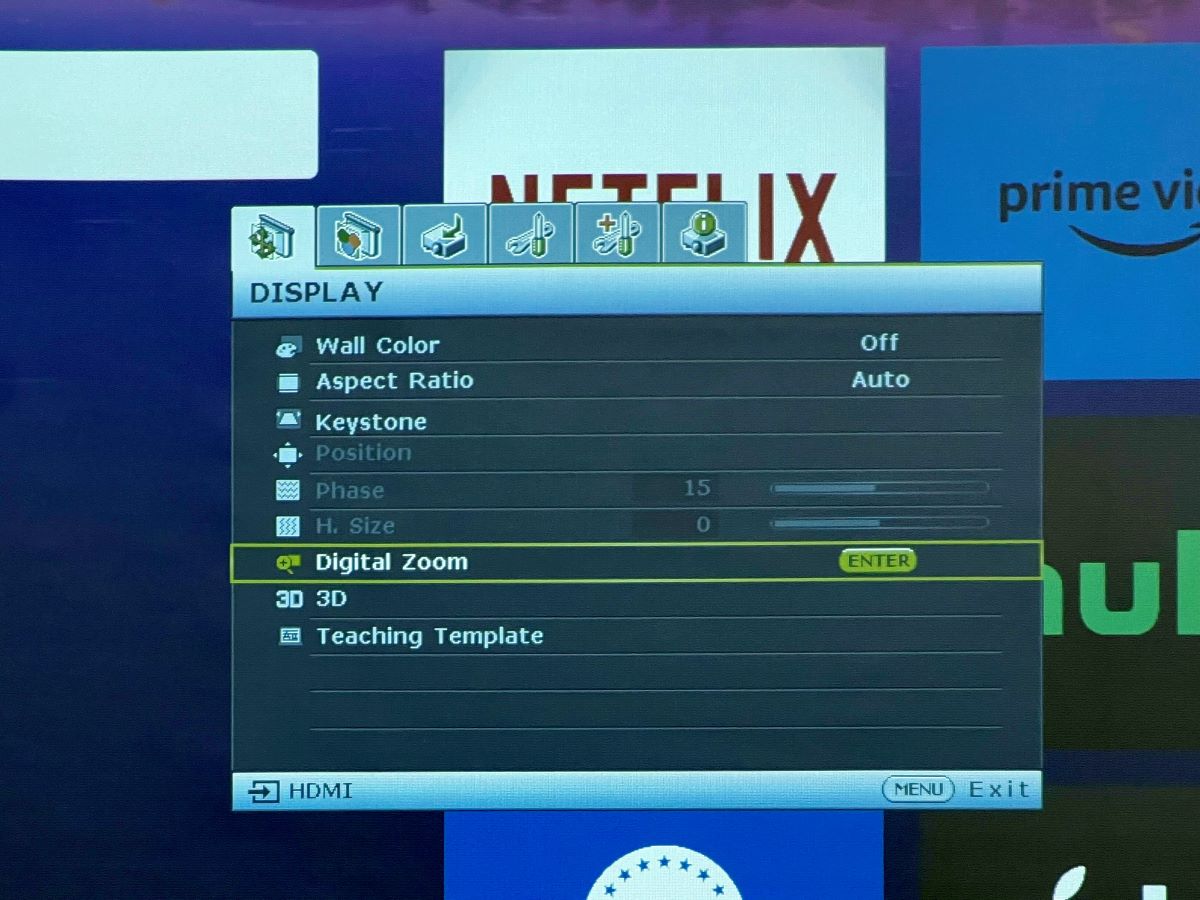
- Press your remote’s Up and Down arrow buttons to alter the visual, as demonstrated below.
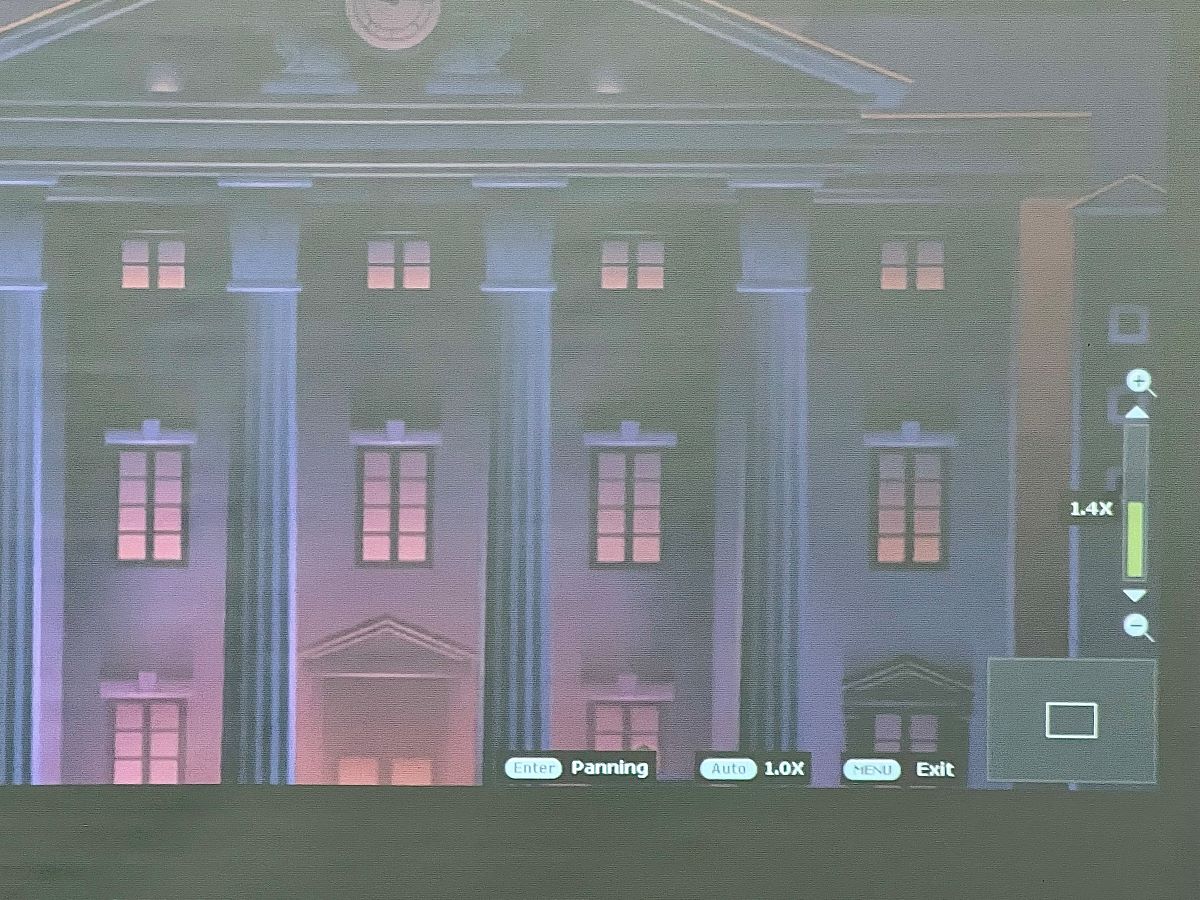


4. Use Digital Shrink
The digital shrink and shift feature lets you zoom out of the picture to make it fit inside the screen.
Here are the steps to employ the function:
- Hit the Menu key on your projector remote or control panel.
- Head to Installation and then Image Resizing.
- Select Digital Shrink & Shift. Hit the arrow keys to resize.
- Once done resizing, hit the Back key to move the visual.
It’s worth mentioning that digitally shrinking the image alone cannot fit the image into the screen. The shift function, therefore, is vital.
If the projected image is smaller than the screen, you can reduce the shrink levels or increase the Digital Shrink numbers to fit the picture better onto the given layout.
And, as stated earlier, digitally shrinking will not fully compensate for a less-than-ideal projector installation.
Conclusion
BenQ or other projectors don’t have rigid projection angles or paths, thankfully. You can always fiddle with the two elements both physically and through software.
Ensure the projector is mounted or placed correctly for the best picture quality or viewing experience. If the perfect positioning is implausible, aim for a reasonable one at least.
Lens shifting, zooming, corner fit, screen fill, etc., can never make right a poor installation. Therefore, try doing a good job installing the projector.
And proceed to provide the finishing touches using your BenQ device’s various hardware and software settings.
Courtesy of our article, we believe you now know how to use them to your benefit.

Catherine Tramell has been covering technology as a freelance writer for over a decade. She has been writing for Pointer Clicker for over a year, further expanding her expertise as a tech columnist. Catherine likes spending time with her family and friends and her pastimes are reading books and news articles.

Duy Anh is a seasoned technical editor specializing in helping readers troubleshoot TV, projector, and Wi-Fi issues. He’s always been drawn to logical problem-solving. His ability to approach matters from various angles with a neutral mindset enhances his technical expertise.