
How to Save Google Slides To a Flash Drive (USB) Step by Step

What To Know
- You can download your Google Slides presentation directly to your computer in various formats like PDF or PPTX and then manually drag-and-drop the file into your flash drive’s folder.
- By adjusting your web browser settings, you can set your USB flash drive as the default location for downloads, allowing for direct saving of Google Slides to the flash drive
In this article, I’ll break down how to download a Google Slides presentation to your device before saving it to a USB flash drive.
I’ll also demonstrate how to download Google Slides as images to your device and extract any images included in each slide.
Last, but not least, we’ll learn how you can access Google Docs offline, so you can see and edit your files no matter where you are.
Let’s get started!
Quick Navigation
How to Save Google Slides to a Flash Drive?
Downloading and Transferring from Google Slides to a USB Flash Drive
Step 1: In a browser, open Google Slides and go to File. From here, click on Download before choosing your desired file format.

You can save your Google Slides as a PDF, JPEG, and so on. However, if you’d like to maintain its presentation format, select Microsoft PowerPoint (.pptx) from the drop-down menu.
Step 2: Plug your USB flash drive into your computer’s USB port, ensuring there’s enough free storage space on the USB to save your presentation.

Step 3: Once the Google Slides file has finished downloading onto your computer, simply drag and drop it into your USB flash drive.

If you’re having trouble finding the recently downloaded presentation, click the Download icon found in your web browser’s top right corner.
![]()
1. Downloading and Transferring from Google Slides to a USB Flash Drive
Saving Google Slides to a flash drive is just the same as saving it to your computer, or to any other memory device that is detected by your computer.
If you have never tried it before, take a look at the steps below, and you will become an expert in no time!
1. Open Google Slides and create your presentation slides.

2. After editing your slides, once you are satisfied, you may proceed to download it.
Menu File > Download as

3. Select the format you wish to save it in.
You may choose from PDF (Adobe Acrobat), PPTX (PowerPoint), and other formats.
However, take note that PDF files may have limited functionality for presentations. A PPTX or PowerPoint file will be more suitable if you have to present the slides in a room or office setting.
4. If you are using the Google Chrome web browser, the PowerPoint file should automatically be saved to your computer’s Downloads folder .
Open the Downloads folder by clicking on the file’s drop-down arrow > Show in Finder (macOS) / Folder (Windows)

5. Look for the file in your Downloads Folder, then drag-and-drop it into your flash drive’s folder.
For macOS:

For Windows:

If you do not see your flash drive appearing in the list, ensure that it is plugged in and has been detected by your computer.
Alternatively, you may open the presentation file, then save it to your flash drive by clicking on “File”, then “Save As”.
Now try opening your slides from the flash drive, to see if it works!
2. Changing the Download File Location: Directing Downloads to the USB Drive
In this section, we’ll explore the simple yet powerful process of changing your download file location.
By effortlessly directing your downloads to a USB drive, you can streamline both organization and accessibility.
Our clear guide will help you take control of your file management. Follow our step-by-step instructions to enable direct downloads of Google Slides straight to your USB flash drive.
Get started with the following steps:
- Start by plugging your USB flash drive into your computer and ensuring that your computer recognizes it.
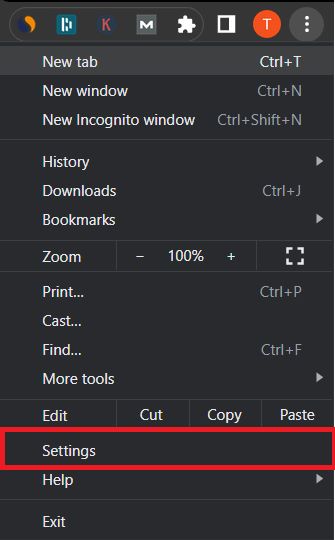
- In the top right corner of your web browser, click on the kebab menu (three vertical dots or lines).

- From the menu, navigate to the Settings option.
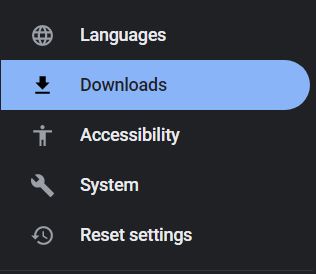
- On the left-hand side of the settings page, locate and select the Downloads section.
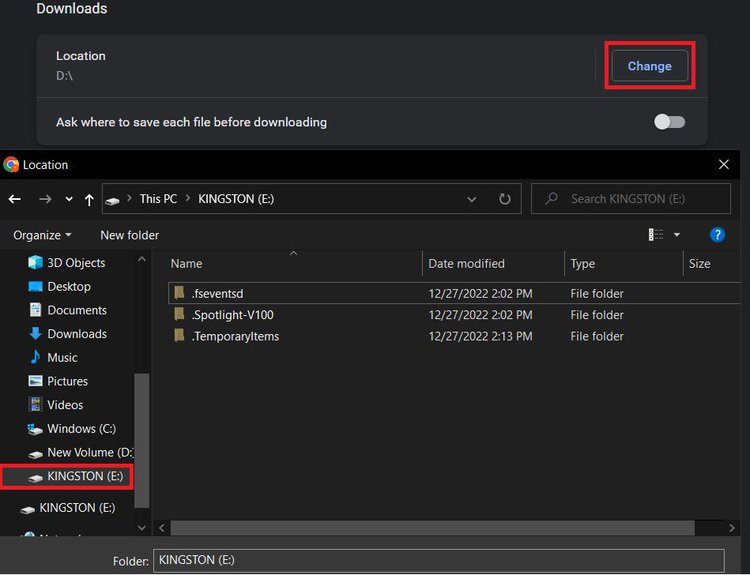
- Look for the Change button and click on it.
- A dialog box will appear, presenting you with various options. Choose your USB flash drive to set it as the new download location.


By following these steps, you can effortlessly redirect your downloads to your USB flash drive, ensuring a more streamlined and efficient file management experience.
3 Ways to Save Images From Google Slides?
If you’ve inserted some nifty photos into your Google Slides that you’d like to save and use elsewhere, you’re in luck! There’s not one but three ways to save images from Google Slides.
These processes will save the entire image to your computer so you don’t have to go through the painstaking process of taking and cropping a screenshot of it.
Using the Download Image Feature
The easiest way to save entire slides as images from Google Slides to your computer is by using the website’s built-in image downloader feature. This function can be easily accessed from the website’s File menu and requires no prior preparation.
However, there is one drawback: you can only download one slide as an image at a time. So, if you plan on downloading the entire presentation as images, you must open each slide and download it individually.
To use Google Slides’ image-downloader function, open a slide you want to download in your Google Slides document. Navigate to the File tab and head to Download.
Now, you can choose to either download the photo as a JPEG image or a PNG image.

Once the slide has finished downloading, it will look like the image below. Naturally, you won’t be able to edit the slide’s text or photos once you’ve downloaded it as an image.

Downloading Only The Images On Google Slide
While the method listed above is perfect for downloading complete slides as images, it won’t work if you’d like to save only certain images from your presentation to your computer.
So, to save individual images to your computer, you’ll need to use Google Slides’ built-in Google Keep feature. This function allows you to easily download images from your presentation to your device in a few clicks.
Follow the steps listed below to use Google Keep in Google Slides.
Step 1: In Google Slides, find and select an image you’d like to save to your computer. Then, right-click the same image, scroll down, and go to Save to Keep.

Step 2: The image will be automatically saved to Keep Notes. To save the Google Slides image to your computer, right-click on it in the Keep Notes tab and choose ‘Save image as‘.

Download Google Slides Image via Google Docs
Google Docs is a versatile app that you can use to save and alter other apps’ content. In this case, Google Docs can be used to download your presentation’s entire slides as images or simply save the slides’ images to your computer.
First, I’ll demonstrate how to save slides has images before explaining how to download individual images within slides.
You do not need any Google Docs add-ons or extensions for either of these processes.
Download the Slides as Images
Save slides as images to a Google Doc by following the steps below.
Step 1: Open your Google Docs and Google Slides files.
Step 2: In your Google Slides file, choose the slides you’d like to download and copy to your Google Docs file.
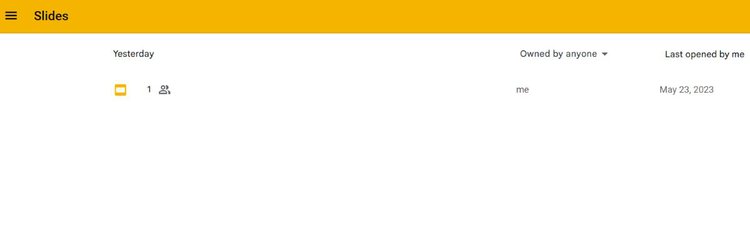
You’ll see your all your presentation slides on the left side of the screen, with each one labeled with a number corresponding to its position.
Here, you can select all slides at once by clicking on the first slide before pressing Shift and left-clicking your mouse while selecting the last slide.
You’ll know that the slide has been successfully selected when a blue border appears around it, as shown below.

Step 3: When all the slides you want to download have been selected, press Ctrl + C on your keyboard or right-click your mouse and Copy the slides.

Step 4: Head back to your Google Docs file and paste the slides you’ve just copied into it. You can do this either by pressing CTRL + V on your keyboard or right-clicking your mouse before choosing Paste from the drop-down menu.

Step 5: Google Docs will ask you if you’d like to link these images to the presentation. Accept or decline the prompt before pressing the Paste button.

Now, your Google Docs will look like the one shown below, with each complete slide saved as an image.

Step 6: From here, you can download all of the slide images by going to File and navigating to Download followed by Web Page (.html, zipped).

Step 7: All of the images will be downloaded together as a zip file.

Head to your computer’s file organizer and find the zip file. Right-click on it and select Extract All to access the individual images.

Once the zip file has been extracted, you’ll see a file similar to the one shown below.

Step 8: Open the images folder to browse the saved images of your Google Slides.

Download the Images from the Google Slides
Saving presentation slides as images can be helpful, but if you want to download specific images, you’ll need to use a different solution than the one outlined above.
Follow the instructions below to download specific images from Google Slides, as opposed to the entire slide (including the text).
Step 1: Head to Google Slides and find the images you’d like to download. Copy them to your clipboard. (You may only be able to copy one image at a time.)

Then, Paste the image into your Google Docs file.

Step 2: Download the images to your computer by going to File and then Download. Head to Web Page (.html, zipped).
Step 3: Once downloaded, extract the zip file and open the images file. Here, you’ll see all the images you’ve just saved and downloaded. You can send them to people, save them to your USB, rename them, and use them for other projects.

Where Will the Downloaded File Be Located?
Every operating system has its own folder structure for downloaded files. By default, on Windows OS and macOS, downloaded files are stored in the Downloads folder.
However, the methods of accessing this folder may differ between the two operating systems
Let’s now explore the step-by-step process of accessing the Downloads folder on both Windows OS and macOS.
Windows OS
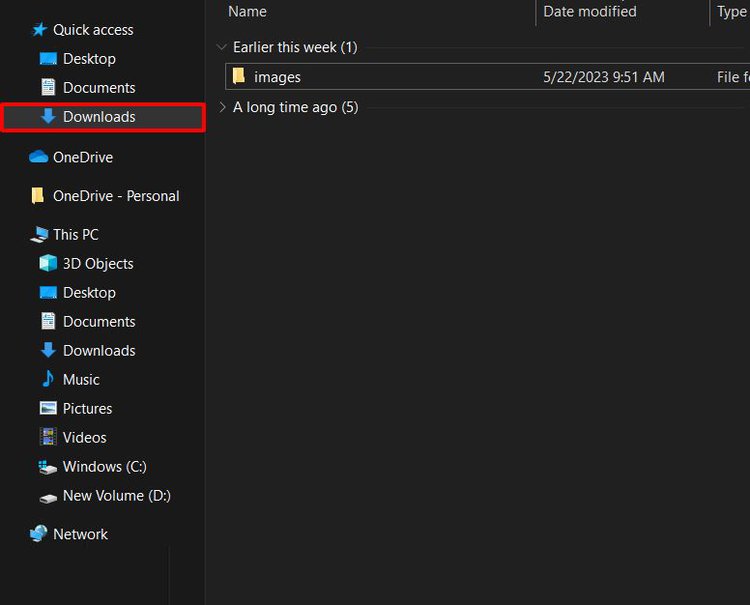
- To begin, locate and click on the Folder icon situated at the bottom left of your screen. Alternatively, you can press the Windows key + E simultaneously on your keyboard.

- Upon doing so, a new window will open. On the left sidebar of the File Explorer window, you will find a list of various folders and locations. Look for the Downloads folder among the options provided.

macOS
- Begin by clicking on the Finder icon located in the dock.
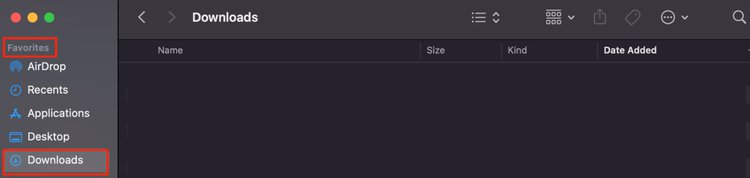
- Direct your attention to the Favorites section.
- You should easily spot the Downloads folder, distinguished by its iconic depiction of a folder adorned with a downward arrow.
- Simply click on the Downloads folder to access your downloaded files.
- Alternatively, you can use a convenient keyboard shortcut: Command + Shift + L. This instantly opens a new Finder window displaying the Downloads folder


Bonus 1: Using Google Doc Offline Extension
Many users often encounter situations where they need to work on their files without internet access.
Fortunately, the Google Doc Offline extension comes to the rescue, enabling you to seamlessly work with your Google Slides even when an internet connection isn’t available.
To utilize this handy extension, you will first need to download it for your web browser, which requires an internet connection. Follow the simple steps below to get started:
- Ensure that the Google Doc Offline extension is added to your browser.

- Once the extension finishes downloading, you’re all set to work with Google Slides even without an internet connection.
- To begin, open your browser and enter the following link
https://docs.google.com/presentation/u/0/


Bonus 2: How to Save Google Slides as a PDF File
Saving Google Slides presentations as a PDF couldn’t be easier. To do so, simply choose the PDF format when you download the presentation.
In the Google Slides document, open File. Then, click on Download and choose PDF Document (.pdf).
Of course, you will not be able to edit your Google Slides file once saved as a PDF. So, be sure to make any final changes in the live document before saving it to this format.


Yesenia Achlim is a technical copywriter and editor with a focus on AV equipment. She aims to break down complicated topics and make technology accessible, no matter your technical expertise. When she’s not teaching you how to replace a projector lamp, you can find her reading and baking.

Tai “Ty” Luu, an Electronics Engineering graduate from Sheridan College, is a passionate technical editor with a deep love for technology and gaming. He constantly seeks new challenges to expand his expertise in the tech and gaming fields.