
How to Record Content on Firestick for Free? A Step-by-Step Guide with Images

What to Know
- You can record content from your Fire Stick using OBS software on a computer, without needing an external hard drive.
- Another recording method is using the Screen Recorder app available on the Fire Stick’s Appstore.
In this guide, I’ll demonstrate how to record content from my Fire Stick using OBS software on my computer, a completely cost-free method.
Additionally, for those who want to record directly from a TV that lacks a built-in recording feature, I’ve got you covered too.
I’ve tested these methods and prepared easy-to-follow, step-by-step instructions with accompanying images to ensure a hassle-free experience.
Let’s get started!
Quick Navigation
Record Fire Stick with OBS Software

In my experience, many Fire Stick users are looking for a convenient way to record content.
While using a TV or set-top box for recording often requires an external hard drive, and these devices must have a recording feature, I’ve found a simpler solution.
I’ll guide you through an easy method to record from your Fire Stick without needing an external hard drive.
This way, you can effortlessly transfer files to a flash drive and enjoy them on your TV.
Preparation
- You will need a computer, a laptop or desktop will work fine.
- An HDMI capture card .
Step 1: Download and install the OBS app to your computer
Step 2: Connect the HDMI capture card to your computer’s USB port.

Then, plug the Fire Stick into the HDMI input of the capture card.

Step 3: Launch the OBS app. In the interface, go to the Sources tab, click the Plus (+) icon → select Video Capture Device.
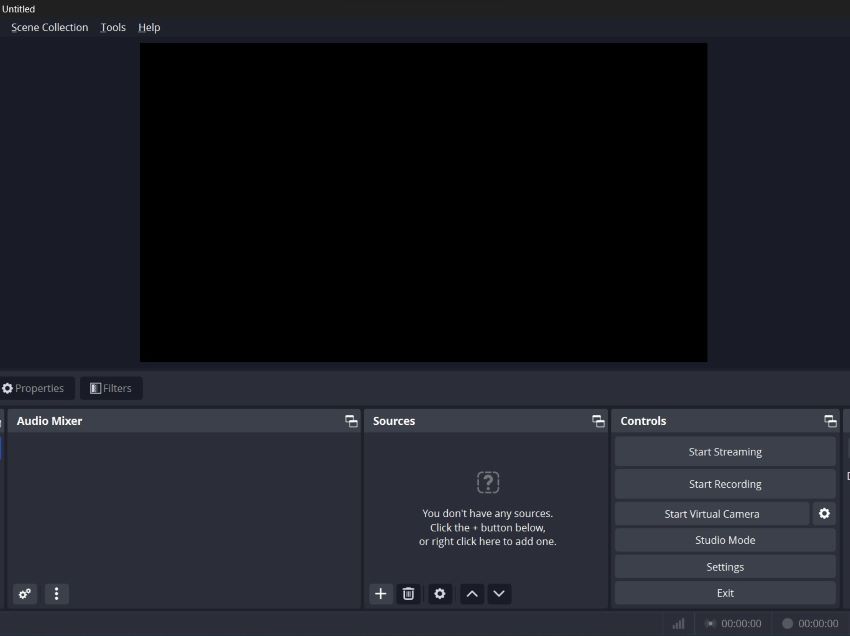

A new window will open where you can name your profile. Once named, click OK.
Step 4: In the next window, under Device, choose the option that represents your USB capture card to start displaying the Fire Stick’s content on your computer screen.

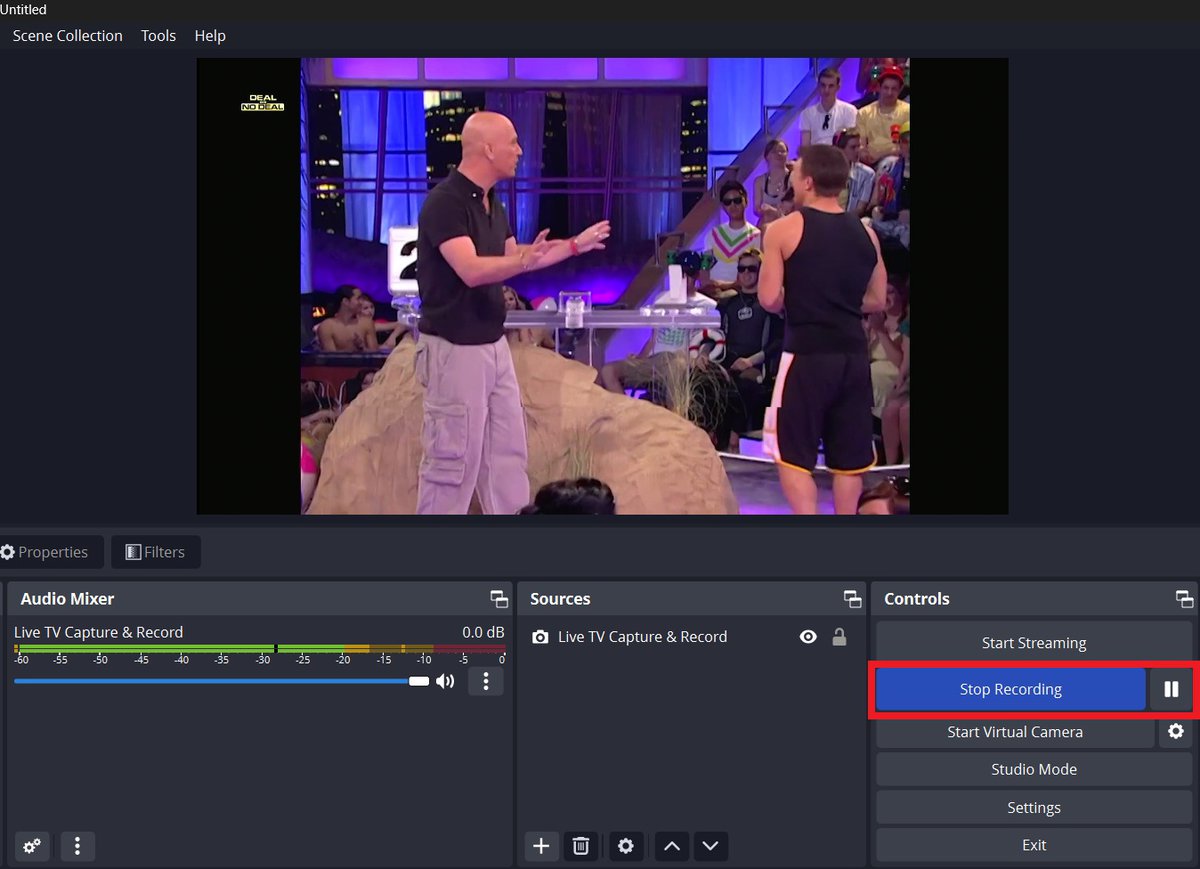
Step 5: To begin recording content from your Fire Stick using the OBS app, navigate to the Control tab and click the Start Recording button.
For this demonstration, I’ll record content from Sling TV’s stream-free service. Once you click ‘Start Recording’, OBS will capture whatever is being displayed on your Fire Stick.
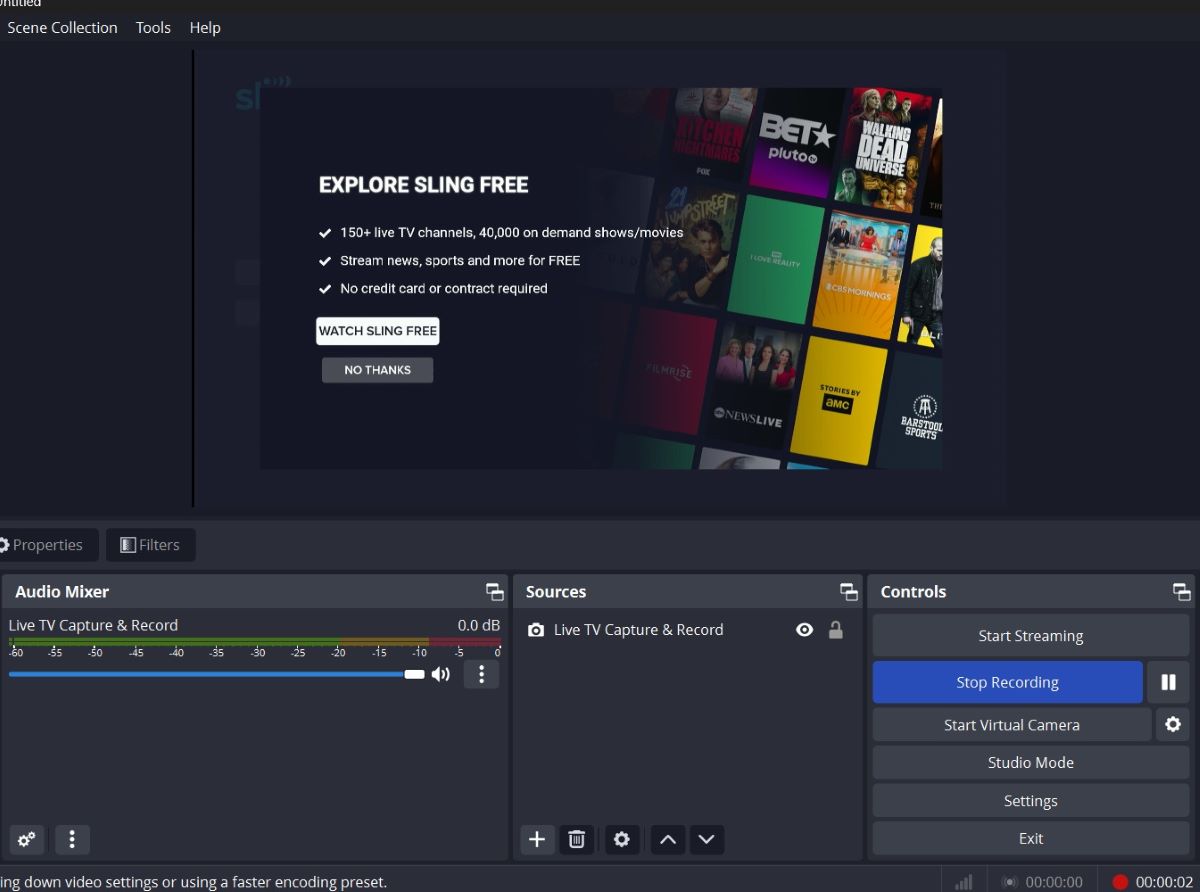
Step 6: To Stop the record, simply just press on Stop Recording button.
The record files will be automatically saved into the Videos folder inside your computer

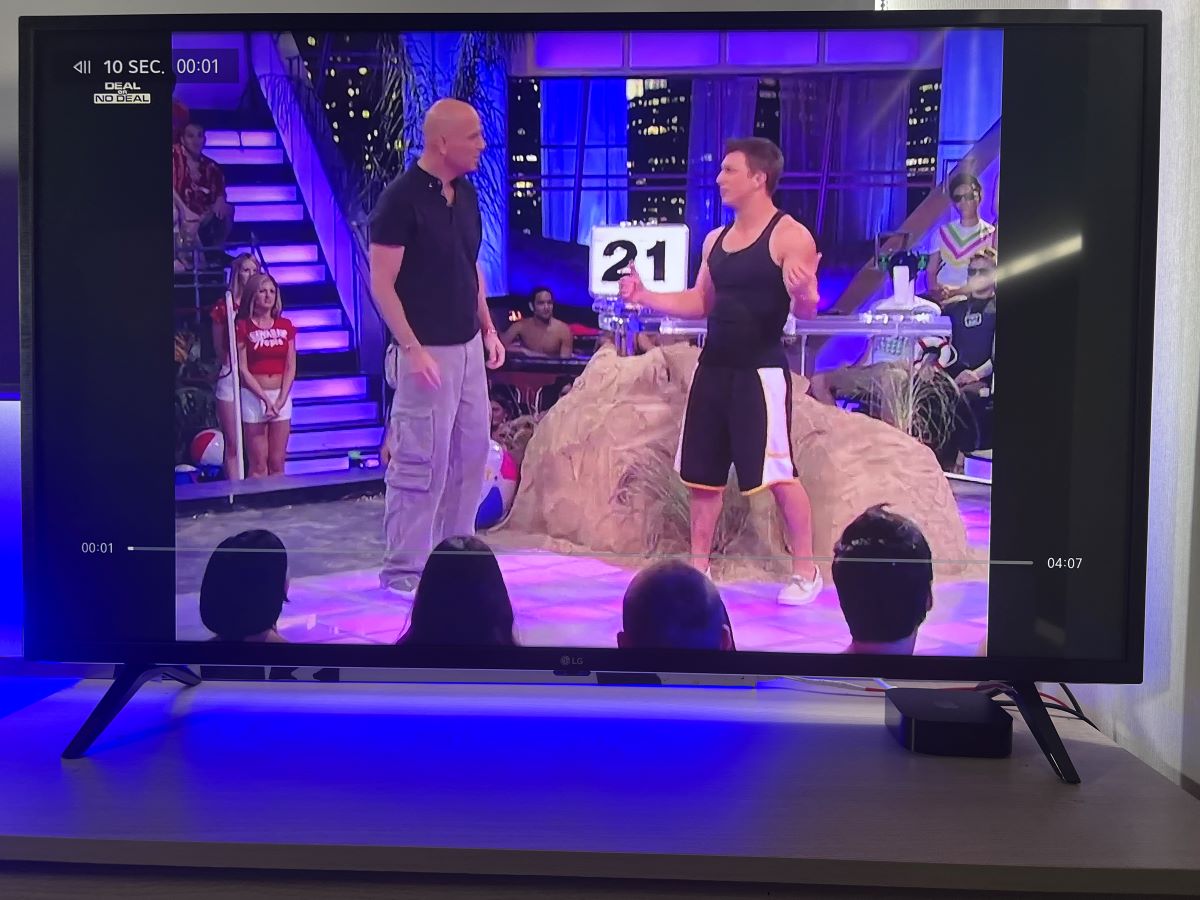
Now, you can easily transfer the recorded file to a USB drive and play the video on your TV.
I conducted a test where I transferred the recorded files to a USB flash drive. After that, I plugged the flash drive into my LG 43UP7550PTC TV to play the recorded files.
Here is the outcome of that test:


Record Directly on Fire Stick using Screen Recorder
Another method to record content on your Fire Stick is by using the Screen Recorder app. The recorder app is available on the Amazon Appstore.
However, it’s important to note that you’ll need the ES File Explorer app to manage the recorded files.
Also, ensure your Fire Stick has enough memory to save these files, as insufficient space may lead to failed recordings.
One limitation to consider is that to access the saved files, you’ll need a Windows laptop or desktop.
Currently, transferring these recorded files to other external storage devices or systems isn’t possible.
Let’s get to the step-by-step:
Step 1: Download the ES File Explorer app and Screen Recorder app


Step 2: Open the Screen Recorder app, and you will see the app looks like the image below

Step 3: Select Start Recorder → Allow → Start now

You will notice a tiny record dot appear in the middle of the screen meaning, you have been recording your Fire Stick
Step 4: To stop recording, open the Screen Recorder app and press the Stop Recorder button. Your recorded file will then be saved as an MP4 file in the app’s designated folder.

Step 5: To start transferring the recorded files from your Fire Stick, first ensure that both your computer and the Fire Stick are connected to the same Wi-Fi network.
Once you’ve confirmed the Wi-Fi connection, here’s how you can access the recorded files:
Open the File Explorer app on your Fire Stick.

Select View on PC to start transferring the recorded files → select Turn On.

The app will provide you with an IP address.

Step 6: On your computer, head to File Explorer usually located at the bottom of the taskbar
![]()
The app will display an IP address on-screen that you must enter into your computer’s file manager (or Finder on a MacBook) search tool.
This IP address will be a collection of numbers and symbols that you must enter correctly for your computer and Fire Stick to link. So, please double-check that you’ve entered the right address.
Once you’ve entered the address, press Enter on your keyboard.

You will see all the folders in the ES File Explorer, including your recorded file. To transfer the recorded file to your computer, follow these steps:
Right-click on the recorded file in ES File Explorer and select Copy. Navigate to the location on your computer where you want to paste the file. Right-click in that location and select Paste.


Tai “Ty” Luu, an Electronics Engineering graduate from Sheridan College, is a passionate technical editor with a deep love for technology and gaming. He constantly seeks new challenges to expand his expertise in the tech and gaming fields.