
How to Screen Mirror to Nebula Projectors (Wired & Wireless)

What To Know
- Wired casting to Nebula projectors requires HDMI cables for laptops and PCs, Lightning to HDMI adapters for iPhones/iPads, or USB-C to HDMI adapters for newer iPhones, tablets, and Android phones.
- Wireless screen mirroring is possible with Airplay for Apple devices, Miracast for Android and Windows devices, and Chromecast for casting from apps like YouTube, Netflix, and Google Chrome.
- Make sure all devices are connected to the same Wi-Fi network and have the Nebula Cast or AS AirScreen app installed on the projector for wireless methods.
In this guide, I’ll teach you how to cast to a Nebula projector from any device, including iPhones, Android phones, and Windows or Mac laptops, using various wired and wireless methods.
I’ve personally tested these methods with my own devices and have taken real photos to ensure that you can achieve the same results by following my guide.
Let’s get started!
Quick Navigation
Wired Methods
1. Use HDMI Cable
To connect your Windows or Mac laptop or PC to a Nebula projector, an HDMI cable is the tool you need.
In this guide, I’ll demonstrate the process using my own Nebula Capsule II projector and a Windows laptop.

The steps are straightforward and easy to follow:
Step 1: Take one end of the HDMI cable and plug it into your laptop or PC.

Step 2: Insert the opposite end of the cable into the HDMI port located on your Nebula projector.
This creates a link between your computer and the projector.

Step 3: The final step is to make the projector display your computer’s screen.
To do this, grab the projector’s remote control and switch the input to HDMI.

Once you’ve done this, you should see your laptop or PC screen projected through the Nebula projector.
It’s a simple yet effective way to share your screen for presentations, movies, or any other content you have on your computer.

2. Use Lightning to HDMI Adapter
To connect your iPhone or iPad, which has a Lightning output port, to a Nebula projector, you will need a specific accessory called a Lightning to HDMI adapter.
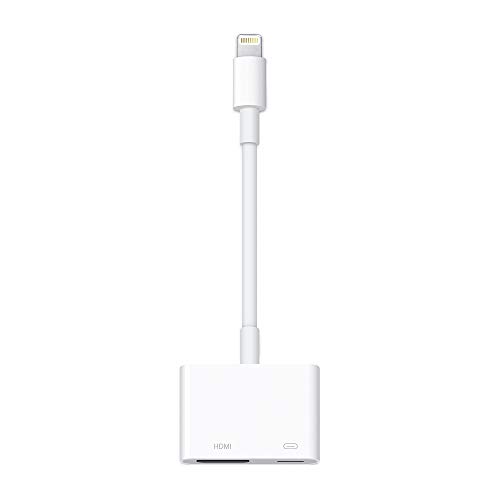
- Use the Lightning Digital AV Adapter with your iPhone, iPad, or iPod with Lightning connector.
- The Lightning Digital AV Adapter supports mirroring of what is displayed on your device screen —...
- It also outputs video content — movies, TV shows, captured video — to your big screen in up to...
Last update on 2024-07-24 / Paid Link.
Let’s go through the steps to make this connection:
Step 1: Take the Lightning end of the adapter and plug it into your iPhone or iPad.

Step 2: Attach one end of an HDMI cable to the HDMI Out port on the adapter.
Step 3: Take the other end of the HDMI cable and connect it to your Nebula projector.

Step 4: The final step is on the projector itself. Switch its input source to HDMI.

Once you’ve done this, your iPhone’s screen will be mirrored on the projector.
This means anything you see on your iPhone or iPad’s screen will also appear on the larger screen of the projector, perfect for sharing videos, photos, or presentations with a larger audience.

3. Use USB-C to HDMI Adapter
To connect the latest iPhone models, such as the iPhone 15, along with iPads, tablets, and Android phones to your Nebula projector, you’ll need a specific accessory: a USB-C to HDMI adapter or a USB-C hub.
These devices act as a bridge, allowing your gadgets to communicate with the projector.
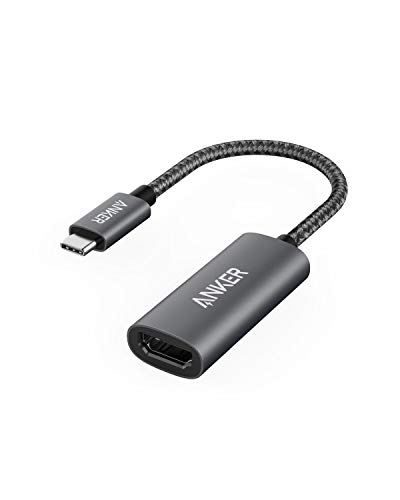
- The Anker Advantage: Join the 80 million+ powered by our leading technology.
- Vivid Video: The HDMI adapter lets you connect to any TV or display with an HDMI port to stream...
- Plug and Play: Instantly turn your laptop or phone’s USB-C port into an HDMI port, with no...
Last update on 2024-07-24 / Paid Link.

- 5-in-1 Connectivity: Equipped with a 4K HDMI port, a 5 Gbps USB-C data port, two 5 Gbps USB-A ports,...
- Powerful Pass-Through Charging: Supports up to 85W pass-through charging so you can power up your...
- Transfer Files in Seconds: Move files to and from your laptop at speeds of up to 5 Gbps via the...
Last update on 2024-07-24 / Paid Link.
For instance, I’m going to demonstrate this setup using my 10th-generation iPad and a USB-C hub.
Here’s a step-by-step guide to get you started:
Step 1: Take the USB-C end of the adapter and plug it into your phone or tablet.

Step 2: Grab an HDMI cable and connect one end to the adapter’s HDMI Out port.

Step 3: Take the other end of the HDMI cable and attach it to your Nebula projector.

Step 4: On your projector, select the HDMI input as your source.
Once this is done, you should see your phone’s or tablet’s screen displayed on the projector, mirroring what’s on your device.

Wireless Methods
1. Airplay
Wireless technology has transformed how we share information and content, and one of the most convenient methods is through AirPlay.
This feature allows you to mirror the screen of your Apple devices, such as an iPhone, iPad, or MacBook, directly onto a Nebula projector.

To activate AirPlay, you need to first download the Nebula Cast app. This app is the key to unlocking the screen mirroring function on your Nebula projector.


Additionally, to successfully use AirPlay, there’s one crucial requirement: your Apple device and the Nebula projector must be connected to the same Wi-Fi network.
If you’re looking for a detailed guide on how to use AirPlay with a Nebula projector, here’s my helpful article “How to Effortlessly AirPlay to a Nebula Projector.”
This guide will provide step-by-step instructions and tips to make your screen mirroring experience smooth and hassle-free.
2. Miracast
Miracast technology allows you to mirror the screen of your Android phone, tablet, or even a Windows PC or laptop directly onto the Nebula projector.
This is especially handy for sharing videos, photos, or presentations with a larger audience.
Screen Mirroring From Android Phone/Tablet
Let’s start with how you can use Miracast with an Android device like my Samsung Galaxy A71 phone.
First, you’ll need to download and install an app called AS AirScreen on your projector.

Once that’s done, here’s what you need to do to mirror your Android device’s screen to the projector:
Step 1: Make sure both your phone or tablet and the projector are connected to the same Wi-Fi network.
Step 2: Open the AS AirScreen app on your projector.

Step 3: Then, on your Android device, open the Google Home app.

Step 4: In the app, you’ll find a list of devices. Select your projector from this list.

Step 5: Finally, choose the ‘Cast my screen‘ option to complete the setup.

After these steps, you should see your Android device’s screen displayed on the projector.

Wireless Display Setup From Windows PC/Laptop
Now, if you’re using a Windows PC or laptop, Miracast can also be a great tool, but it’s important to know that this feature is only compatible with certain Nebula projectors, including the Mars series, the Capsule series, Apollo, and Astro models.
Here’s how you can set it up:
Step 1: As with Android devices, ensure your PC or laptop and the projector are on the same Wi-Fi network.
Step 2: On your projector, open the ‘Screen Cast‘ feature by going to Settings, then General, and finally Screen Mirroring under the Android section.
Step 3: On your Windows device, press the Windows key and P at the same time.
Step 4: Click ‘Connect to a wireless display‘ which you’ll find in the top right corner of the screen.
Step 5: Choose your Nebula projector from the list of devices.
Once you’ve followed these steps, your PC or laptop screen will be displayed on the projector, allowing you to share whatever is on your screen with a bigger audience.
3. Chromecast
Chromecast is a handy feature that allows you to mirror screens from Chromecast-enabled apps such as YouTube, Netflix, and even Google Chrome (but only when using a PC) to your Nebula projector.
This works across various devices including iPhones, Android phones, and Windows PCs.
I’m going to walk you through the process of casting a Google Chrome tab from a Windows PC to a Nebula projector.
Step 1: First, it’s important to make sure that both your PC and the projector are connected to the same Wi-Fi network.
Step 2: Install and open the Nebula Cast app on the projector.

Step 3: Open the Google Chrome app on your PC.

Step 4: Now, let’s say you want to watch something on YouTube.
Open YouTube in Chrome, and then click on the three-dot icon at the top right corner of the screen.
![]()
Step 5: Here, you’ll find an option labeled ‘Save and share’. Click on it, and then select the ‘Cast‘ icon.

At this point, you’ll be given two choices: you can select ‘Cast screen‘ to mirror your entire PC’s screen on the projector, or ‘Cast tab‘ if you only want to cast the tab you’re currently using.

Step 6: Finally, choose the Nebula projector from the list of devices that appear.

This will complete the setup, and you should now see the Google Chrome tab displayed on your projector.


Meet Vance. He’s a proud dad, a seasoned Electronics Engineer, and an avid tech lover. His proficiency in electronics and troubleshooting skills were instrumental in crafting Pointer Clicker. Vance is passionate about simplifying tech for those who aren’t well-versed in it.