
How to Fix Chromecast Bad Video Quality With 11 Solutions

What To Know
- Improve Chromecast video quality by using Chromecast Ultra or 4K, adjusting app video settings, and placing Chromecast and router near each other.
- Boost video quality by using a wall outlet for power, rebooting the router, switching to a 5GHz Wi-Fi band, limiting connected devices, and using an Ethernet connection.
- Keep Chromecast and streaming apps updated, and consider alternative streaming devices like Roku or Fire TV stick if issues persist.
In this article, I’m going to show you 11 solutions that can help you fix the issue of poor video quality on your Chromecast.
Let’s get started!
Quick Navigation
- 1. Choose the Correct Chromecast Device for 4K Streaming
- 2. Manually Set Video Quality in Streaming Apps
- 3. Optimize Chromecast, Casting Device, and Router Placement
- 4. Verify the Quality of the Original Video Source
- 5. Power Chromecast Using a Wall Outlet
- 6. Reboot Your Router
- 7. Switch Your Router’s Wi-Fi Band to 5GHz
- 8. Limit Devices Connected to Your Network
- 9. Use an Ethernet Connection for Stability
- 10. Update Your Chromecast and Streaming Apps Regularly
- 11. Switch to Other Streaming Devices (such as Roku or Fire TV Stick)
1. Choose the Correct Chromecast Device for 4K Streaming

When considering the ideal Chromecast device for 4K streaming, it’s imperative to make the correct choice.
The Chromecast Ultra and the Chromecast with Google TV (4K) are specifically designed for this purpose, enabling you to cast content in stunning 4K quality.
It’s important to note that while other models, such as the Chromecast HD and the Chromecast with Google TV (HD), offer significant functionality, they are limited to supporting resolutions up to 1080p.
This means that for an immersive, high-definition viewing experience, particularly when streaming movies, TV shows, or engaging in gaming that demands higher resolution, opting for the Ultra or the 4K version of Google TV Chromecast is essential.
These devices not only enhance your viewing experience but also ensure that you are utilizing the full potential of your 4K-compatible television or display.
2. Manually Set Video Quality in Streaming Apps
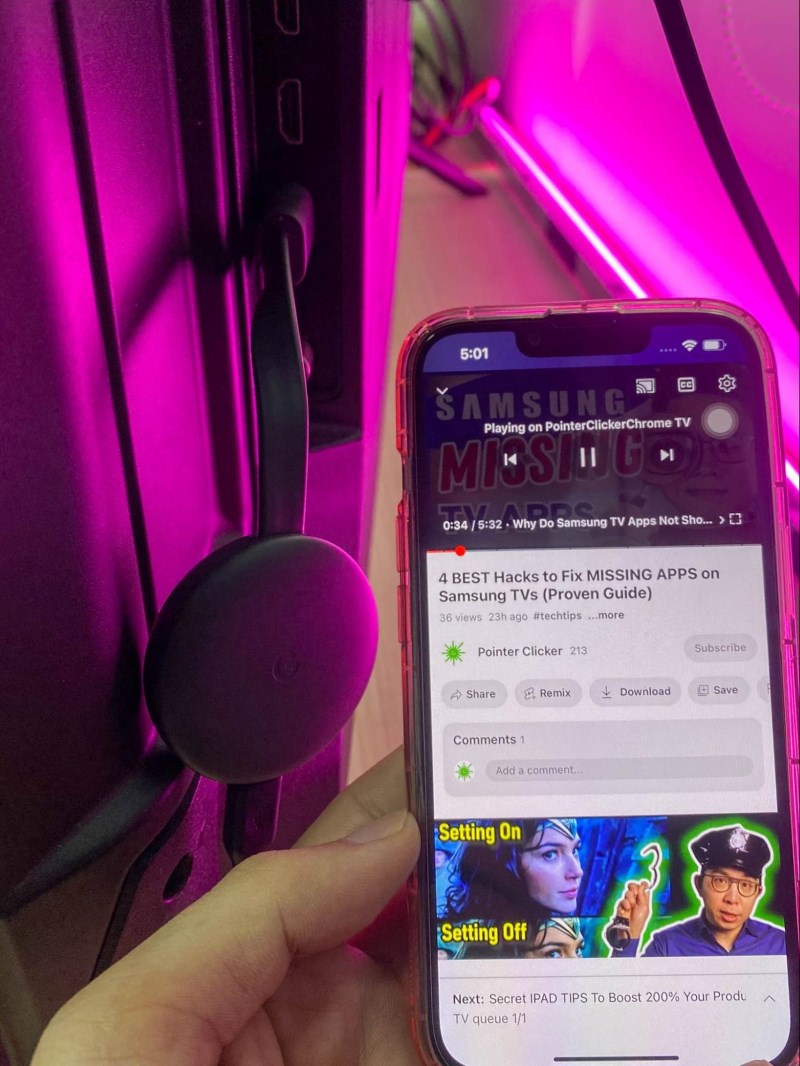
Experiencing video quality issues while using streaming apps such as YouTube on your Chromecast can be frustrating. But there’s a simple temporary solution you can try.
First, disconnect the stream between your phone and the Chromecast.

Then, play the video on your phone and change its settings to a higher quality, like 1080p.

After that, recast your phone’s screen to the Chromecast.


Remember, this fix isn’t permanent. Each new video will go back to the original settings because of a possible software issue.
This method can help improve your viewing experience, even if it’s just for a short while.
3. Optimize Chromecast, Casting Device, and Router Placement
To optimize your Chromecast experience, it’s essential to consider the placement of your Chromecast, casting device, and router.
Ideally, your Chromecast and the device you’re casting from, such as your phone or laptop, should be within 15 feet of each other.
This proximity helps prevent issues like stuttering or poor streaming quality.
Similarly, ensure that your Chromecast or any TV with an integrated Chromecast feature is also no more than 15 feet away from your router.
This distance is crucial for maintaining a strong and stable connection.
If the distance between your router and Chromecast is too far, you can use an HDMI extender to close the distance.

- Extend Your HDMI Connection: Connect any standard HDMI device with ease using the UGREEN HDMI...
- Maximize Your Viewing Experience: Enjoy stunning 4K x 2K 60Hz support, HDMI Ethernet Channel, Audio...
- Superior Picture Quality: The 4K HDMI extender is HDCP compliant and supports full 4K UHD, 1080p...
Last update on 2024-07-10 / Paid Link.
Plug your Chromecast into the female port on the extender and plug the male end of the extender into your TV’s HDMI port.
4. Verify the Quality of the Original Video Source
When preparing to stream videos, it’s crucial to verify the quality of the original video source to ensure an optimal viewing experience.
High-quality, glitch-free videos are essential, especially when casting to larger screens like TVs.
For instance, if you’re casting from a media player app such as VLC, make sure the local videos are in HD resolution (720p, 1080p, or higher) so that they will not appear stretched-out or blurry on the TV screen.
![]()
You can cast from VLC on Android phones, MacBooks, or laptops.
Chromecast was designed for videos streaming directly from the web. For this reason, it only supports some common web codecs. While you can cast local video files from VLC, they must be in the supported video formats such as MP4 or WAV.
5. Power Chromecast Using a Wall Outlet
Many Chromecast users have discovered a simple yet effective trick for enhancing video quality: using a wall outlet or power strip for power instead of the TV’s USB port.

This method provides a more stable and consistent power supply, which significantly improves the streaming experience.
Switching to a wall outlet can be a quick and easy way to boost your Chromecast’s performance, particularly if you’re seeking better video clarity and smoothness.
6. Reboot Your Router
A simple reboot often works wonders for technological devices. It’s like a very quick nap that recharges.
Restarting the router may give your network a much-needed speed boost. A restart clears the router and cache and allows it to reselect the best network channel, which may mean a stronger internet connection.
Follow these steps to reboot your router:
- Disconnect your router from its power source.
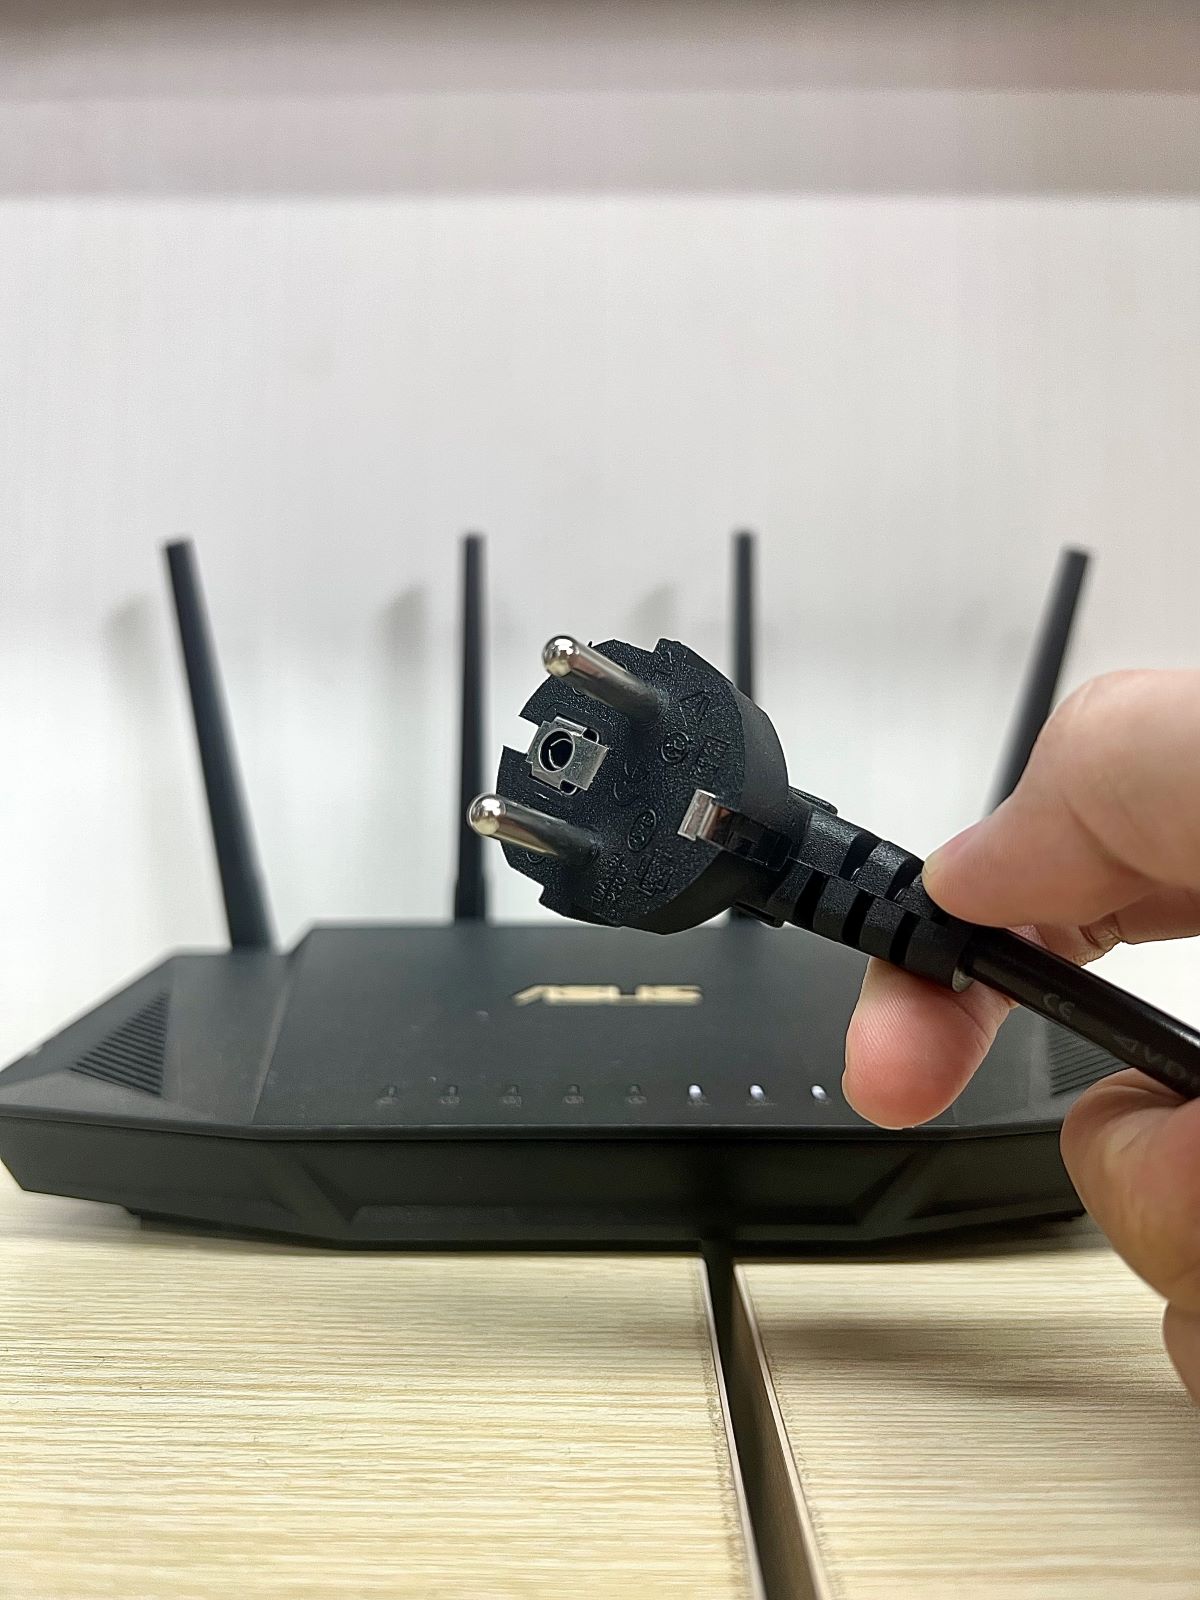
- Wait 1 minute for the memory to clear fully and all the power to drain out of the router.
- Plug the power cable back into the router and wait for it to reconnect to the network.


NOTE: This manual reboot method works for any kind of router. You can also check your manufacturer’s manual to find alternative ways to reboot your router.
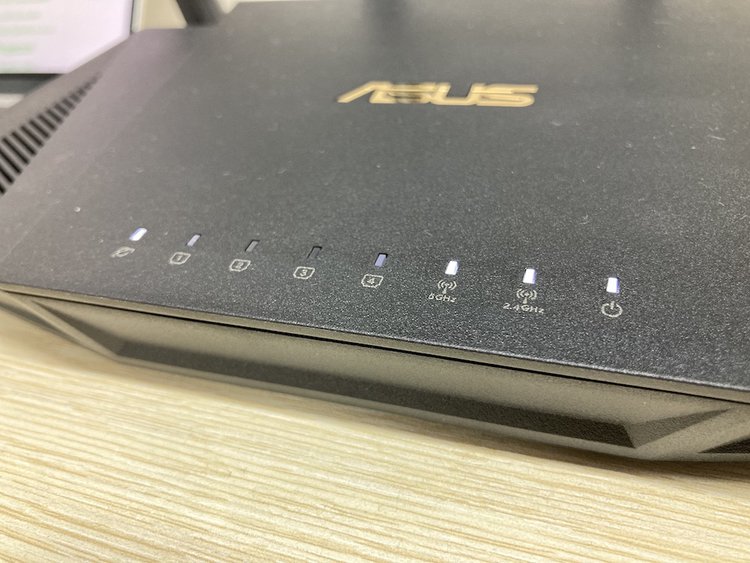
7. Switch Your Router’s Wi-Fi Band to 5GHz
Depending on its settings, your streaming app may automatically adjust the quality of a video based on your internet connection speed.
Most Wi-Fi routers support two wireless frequencies: 2.4 GHz and 5 GHz. Both frequencies are primarily different in terms of speed and range.
The 2.4 GHz band covers longer distances but transmits data at lower speeds. Alternatively, the 5 GHz band has a shorter range, higher speed, and is less susceptible to interference.

Both frequencies have their strengths, but if you’re streaming high-resolution videos, it’s best to switch your router’s Wi-Fi band to 5GHz. You’ll need around 5 Mbps to stream high-quality videos smoothly and without buffering.
We have a comprehensive video tutorial on enabling 5 GHz Wi-Fi on ASUS routers as an example. Check it out below.

8. Limit Devices Connected to Your Network
Multiple devices on the same network can slow your Wi-Fi. You’ll notice that upload and download speeds are slower, and it may become difficult to stream videos.
Sometimes, your router’s bandwidth may be too low to handle the number of devices connected, thereby straining the network system for all users.
If devices connected to your router aren’t in use, turn them off. This will reduce the strain on your network and aid in smoother streaming.
9. Use an Ethernet Connection for Stability
Wired connections are faster and more reliable than wireless connections because there is little or no interference, and the signal strength isn’t affected by distance.
Using an Ethernet connection will improve your internet speed and prevent the occurrence of poor video quality.
However, while Chromecast devices support Ethernet connections, they do not have Ethernet ports. You’ll need a Belkin Ethernet adapter to connect your Chromecast to wired networks.

- RELIABLE ETHERNET CONNECTION: Connect with confidence where wireless connectivity is inconsistent or...
- INSTANT WORKSTATION: Connect directly to the Internet while charging your device with this USB-C to...
- DON’T STOP TO CHARGE: This USB-C to Ethernet adapter allows you to charge your laptop with up to...
Last update on 2024-07-10 / Paid Link.
Watch the below video for visual instruction.

10. Update Your Chromecast and Streaming Apps Regularly
Firmware updates improve the performance of your devices and provide bug fixes. As part of the troubleshooting process, update your Chromecast device to the most recent version.
We also advise that you update streaming apps (i.e., YouTube and Facebook). Apps running on outdated software are often slow, and glitchy, and can affect the overall performance of your Chromecast.
How to Update Chromecast:
- Turn on the Chromecast device.
- Open Google Home on your smartphone.
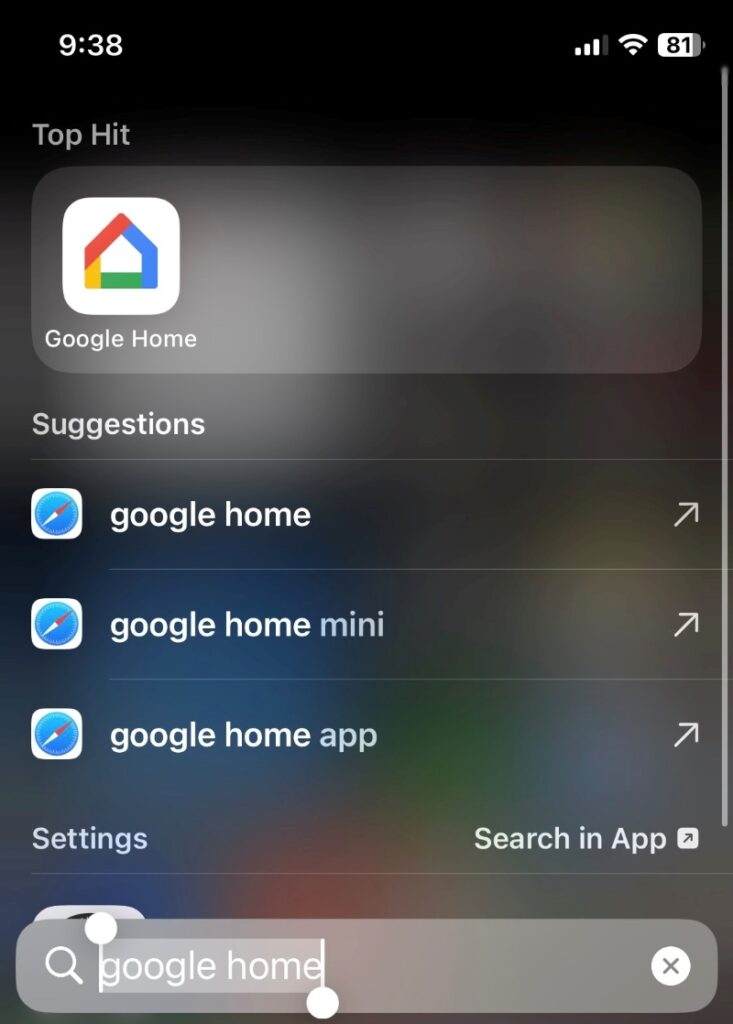
- Find your Chromecast’s icon and tap on it.

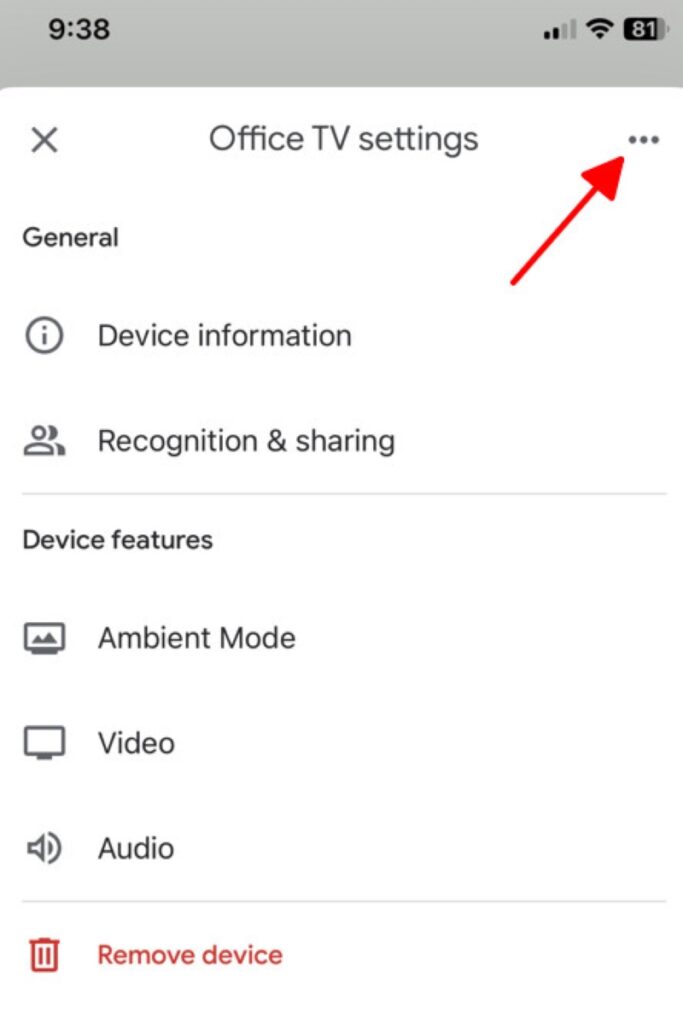
- On the overview page, press Settings.
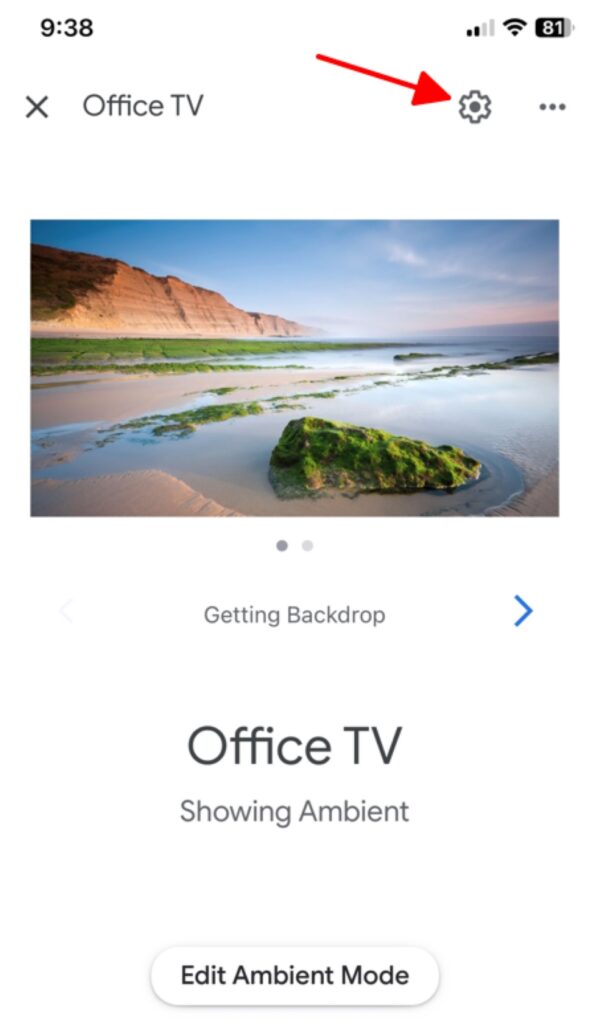
- On the settings page, press the Menu icon (three dots) and select Reboot.
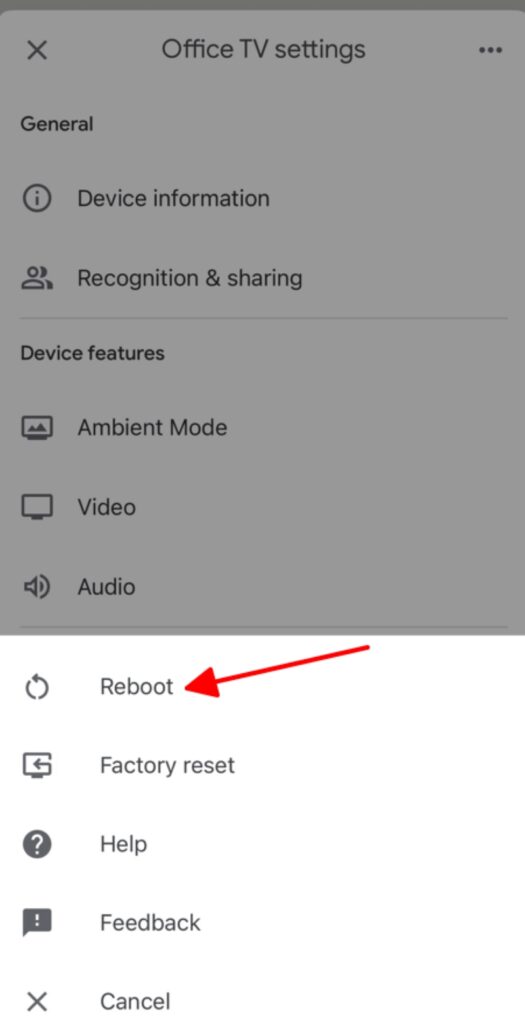
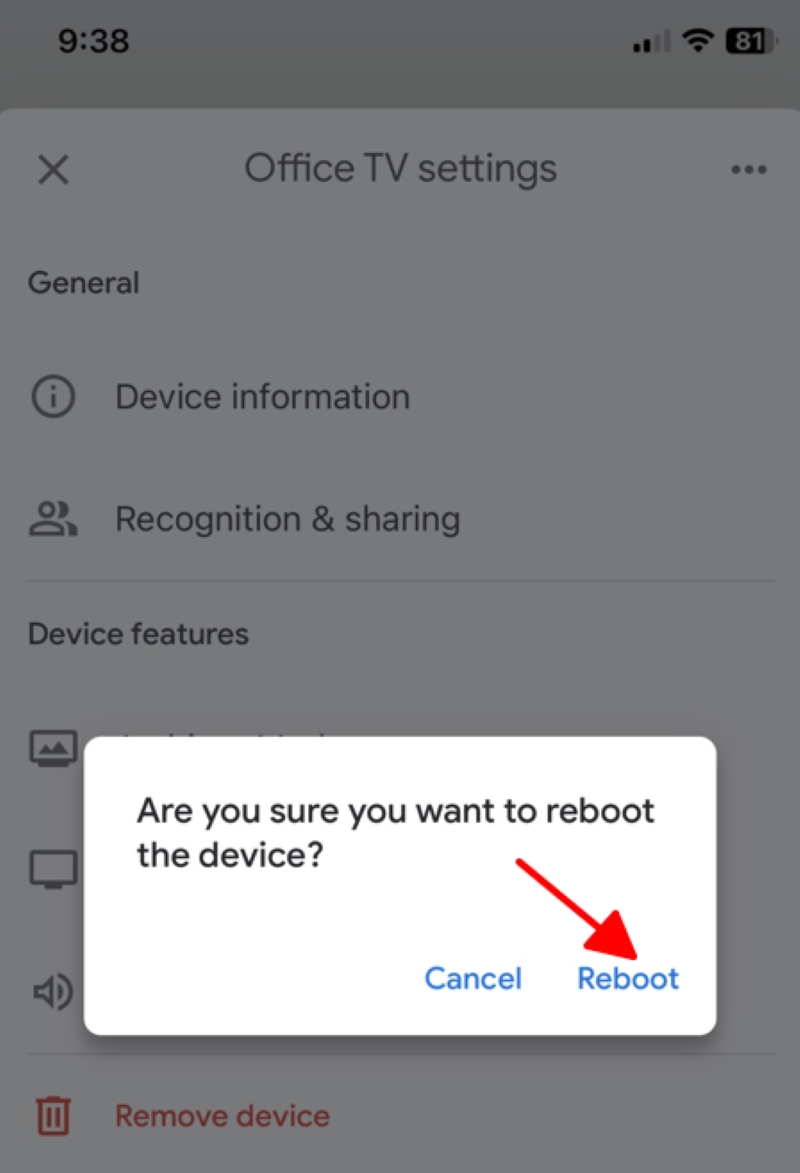


As the device reboots, it automatically downloads and installs any new firmware.
NOTE: This process works for all Chromecast devices except the ‘Chromecast With Google TV.’
How to Update ‘Chromecast with Google TV’:
You won’t find updated settings for your Chromecast with Google TV on the Home app, but you can update it from the TV. Here’s how:
- Turn on the Chromecast with Google TV.
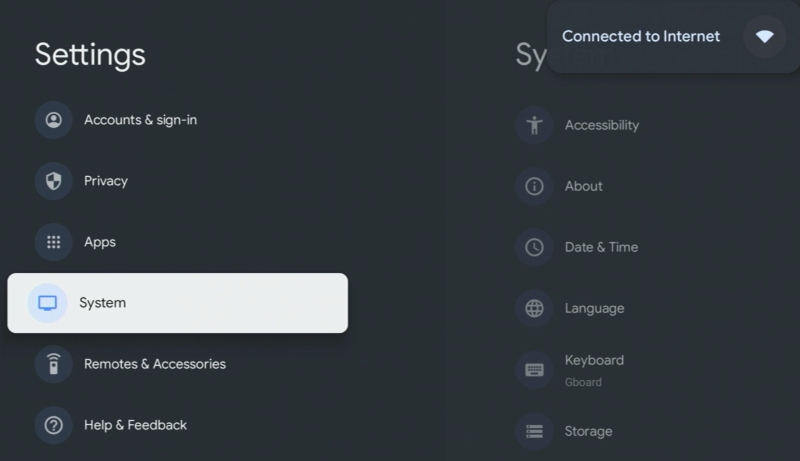
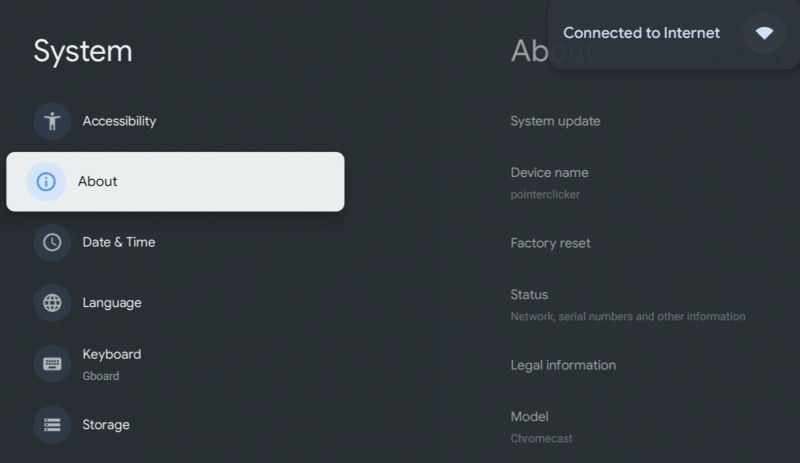
- Navigate to Settings on the home screen.
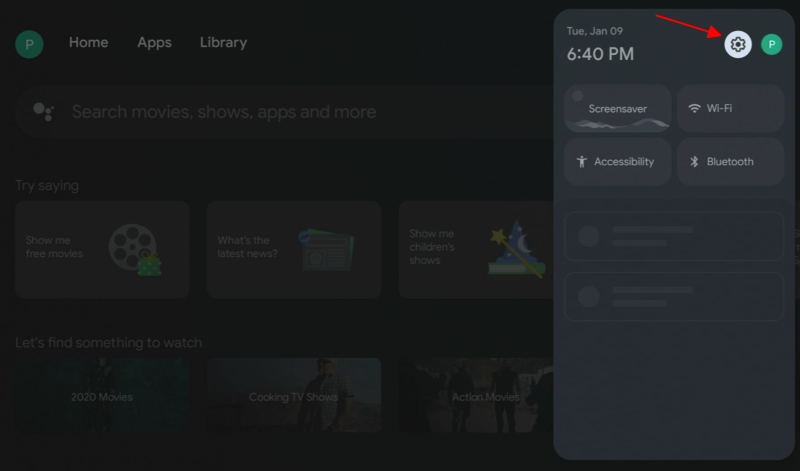
- Go to System > About > System update.
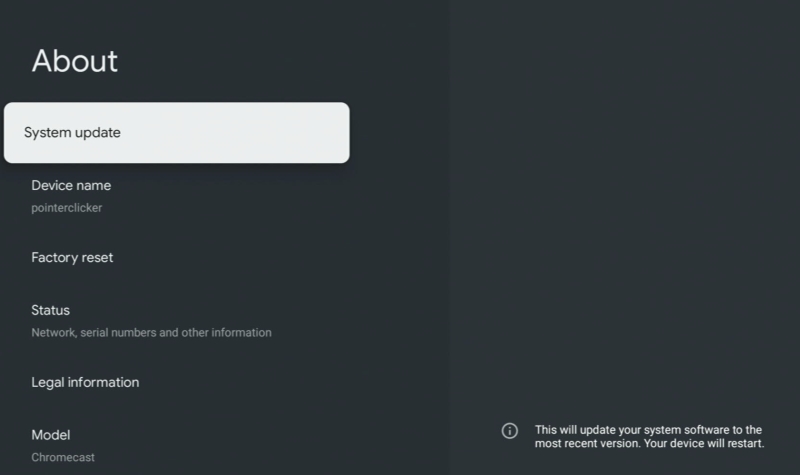


NOTE: The LED light on the Chromecast device will pulse a steady red to show that the updates are still ongoing. It usually takes about 10 minutes.
11. Switch to Other Streaming Devices (such as Roku or Fire TV Stick)
If you’re consistently facing issues with low video quality on your Chromecast, it might be time to explore other options.
Devices such as the Roku player and the Amazon Fire TV stick have gained popularity for their reliability and the quality of streaming they offer.

These alternatives provide a wide range of features and access to various streaming services, ensuring a better viewing experience.
By making the switch, you could enjoy your favorite shows and movies with enhanced clarity and fewer interruptions.
Remember, the key to a great streaming experience often lies in finding the right device that suits your needs.

Meet Vance. He’s a proud dad, a seasoned Electronics Engineer, and an avid tech lover. His proficiency in electronics and troubleshooting skills were instrumental in crafting Pointer Clicker. Vance is passionate about simplifying tech for those who aren’t well-versed in it.