
BenQ Projector Lamp Light Red? 4 Sure Fixes Inside!

What To Know
- To check lamp hours: Menu > System Setup: Advanced > Lamp Settings; if over 2,500 hours, replace the lamp; to reset, select Reset Lamp Timer in Lamp Settings.
- If the red lamp indicator persists after a lamp change, the ballast board may be the problem. Check and replace it by accessing it through the projector’s covers and swapping it out.
- Cleaning the blower fan by disassembling the projector and removing dust or glass may also resolve the issue.
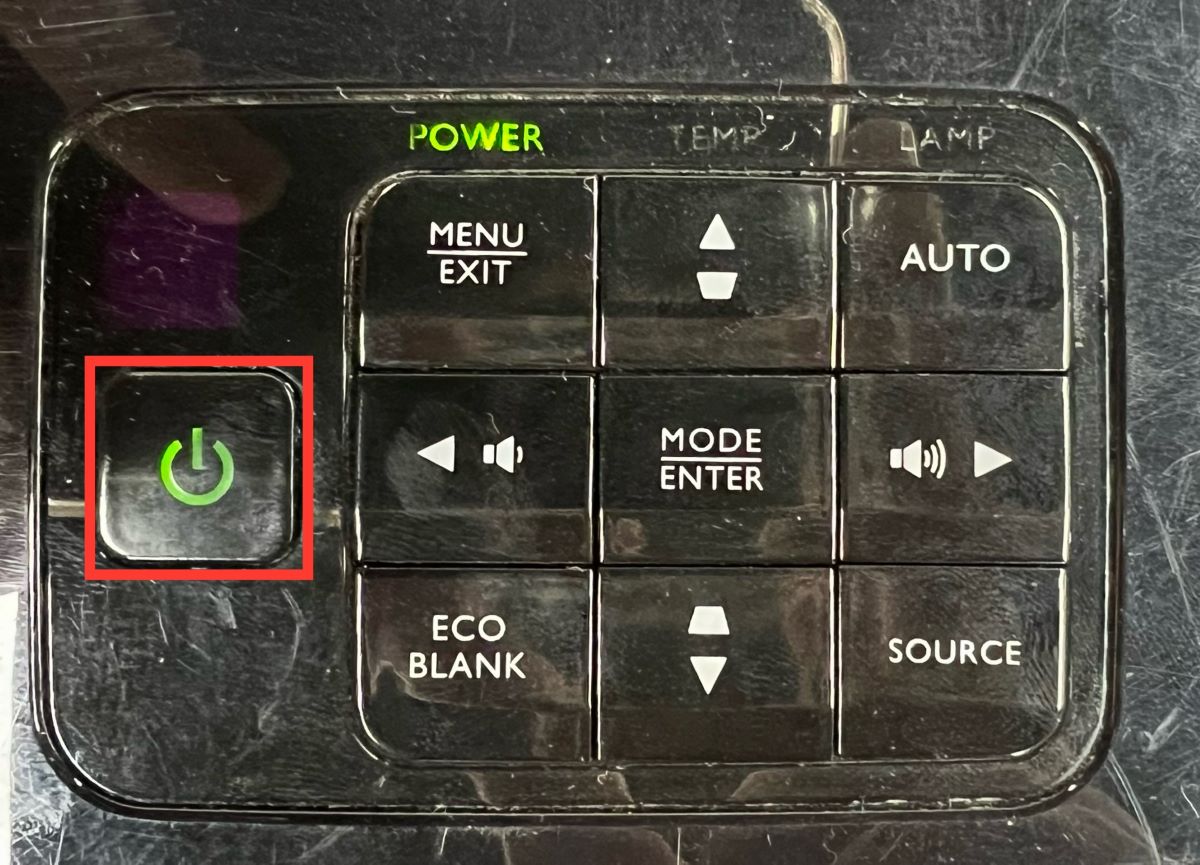
Status indicator LEDs are designed to give users information on the performance of different parts of their projectors. We have LEDs for Power, Temperature, and Lamp status.
A red lamp indicator shows a problem with the projector’s lamp.
In this article, I’ll explain the possible causes of the red lamp indicator and show you how to resolve each case. Let’s go!
Quick Navigation
1. Your Projector’s Lamp Life Is Out
The most common reason for a red lamp indicator is the end of a projector lamp’s lifespan. Like any light source, projector lamps have a limited lifespan measured in the number of hours the lamp has been in use.
Most BenQ projector lamps have 1,500 – 2000 hours of lamp life; once they exceed this lifespan, their brightness, and picture quality drop immensely.
A protection mechanism kicks in when a BenQ projector lamp reaches 2,500 hours of use. This mechanism locks the projector and activates a red alert via the lamp indicator LED.
This mechanism is in place to stop you from using the old projector lamp to the point where it explodes and damages other projector components. The red indicator will persist until you replace the old bulb and reset the timer.
BenQ projectors come with an internal timer that measures lamp hours. Before you replace the projector lamp, check to see if the lamp has reached or is nearing the 2,500-hour limit.
Steps to check BenQ projector lamp hours:
- Press the Menu button on your projector or remote control.
- If you’re using the Basic OSD (On-Screen Display) menu, use the arrow keys to navigate to “Information.”
- The lamp hour information will show on the window to the right.
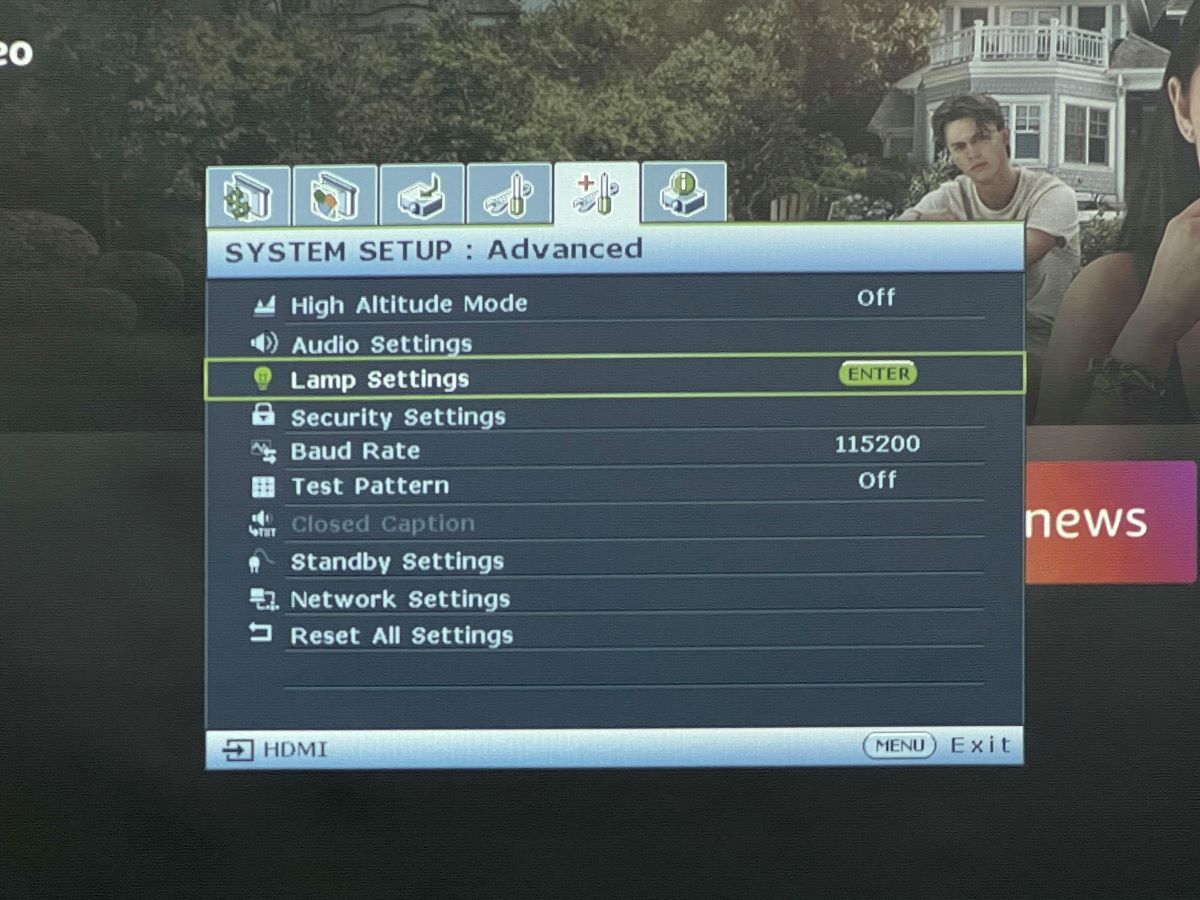
- If your projector uses the Advanced OSD menu, scroll down to “System Setup: Advanced.”
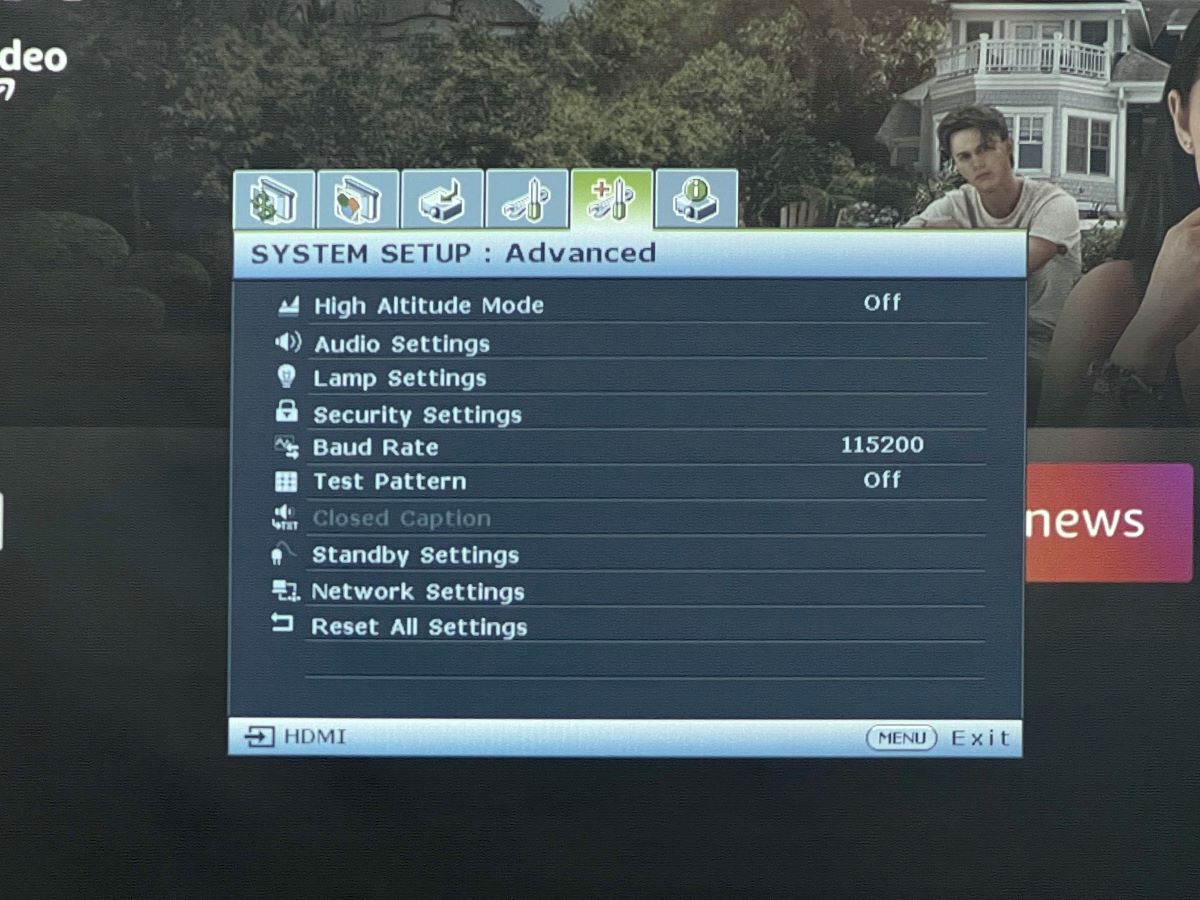
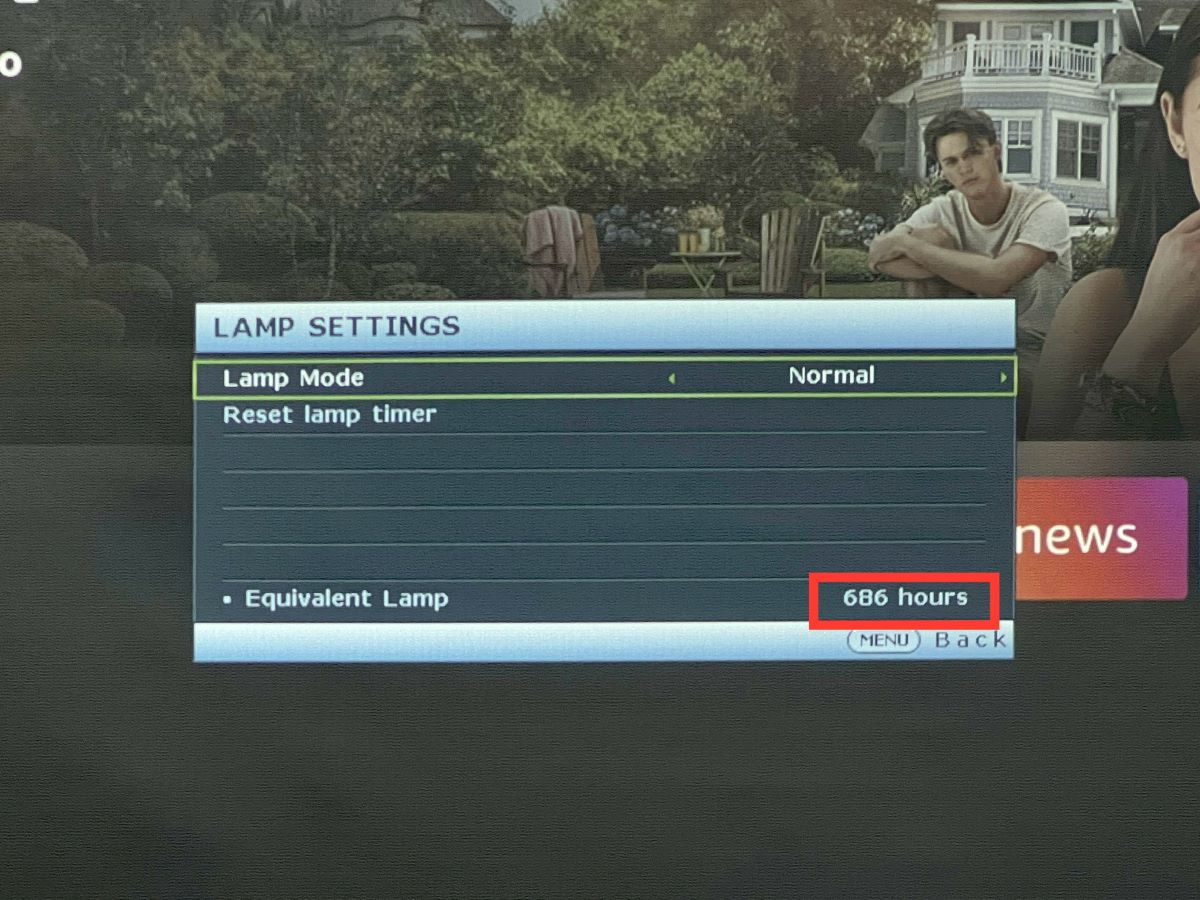
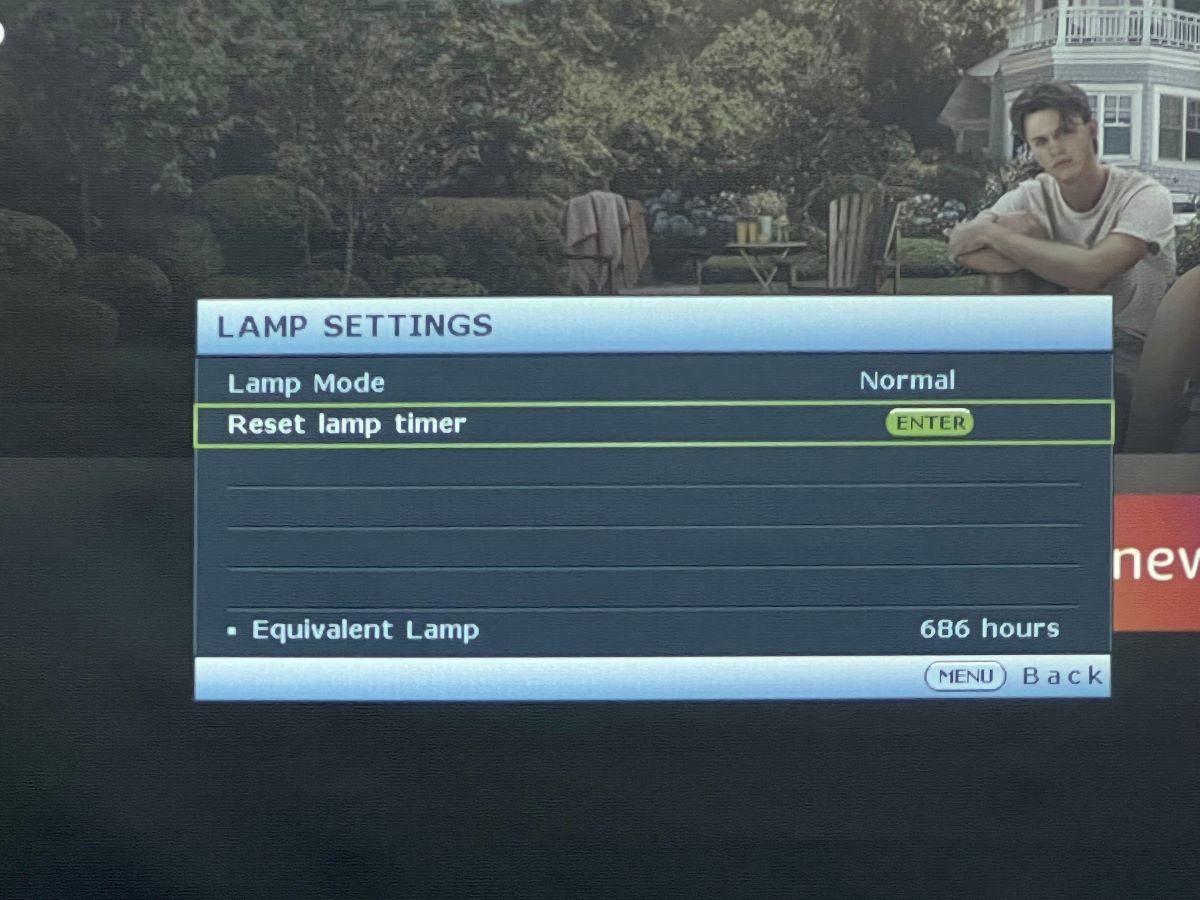
- Select “Lamp Settings” and press OK. The current lamp hours will be displayed on your screen in the Equivalent Lamp.
If the lamp hours have exceeded your projector’s lamp life, change your projector lamp. A new lamp will restore color accuracy and brightness to your projections and (in most cases) fix the red lamp indicator issue.
BenQ offers replacement projector lamps for each of its device models. You can find information on your projector’s lamp model in your user manual or on BenQ’s website.
Ready for a replacement? Check out our guide on How to replace the lamp in BenQ projectors.
2. You Haven’t Reset the Lamp Timer
If your projector lamp is nowhere near the end of its lifespan (perhaps it is a recent replacement), maybe the timer was not reset during the last lamp replacement.
If the timer is not reset after replacing the lamp, it continues adding to the old lamp’s recorded hours. Hence, the projector’s protective mechanism will keep triggering the red lamp indicator to demand that you change the lamp.
You will need to reset the BenQ lamp timer from the projector’s Settings menu. Follow the steps below:
- Turn on your projector
- Press Menu immediately after the start-up logo.
- Navigate to the “System Setup: Advanced” menu using the arrow buttons.
- Scroll to “Lamp Settings” and press “Mode/Enter” to display the page.
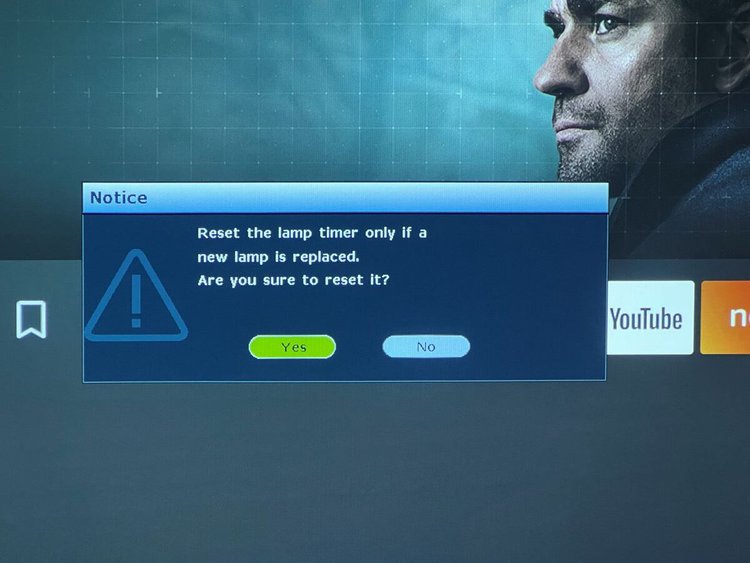
- Select “Reset Lamp Timer” and press “Mode/Enter.” You’ll get a warning pop-up asking if you want to reset the lamp timer.
- Select “Reset,” and press Enter to reset the lamp timer to “0.”
NOTE: Some models’ timer reset option is under the “System” menu. Other steps may vary for your BenQ projector model; consult your user manual to find information about your device.
3. The Ballast Board Is Broken
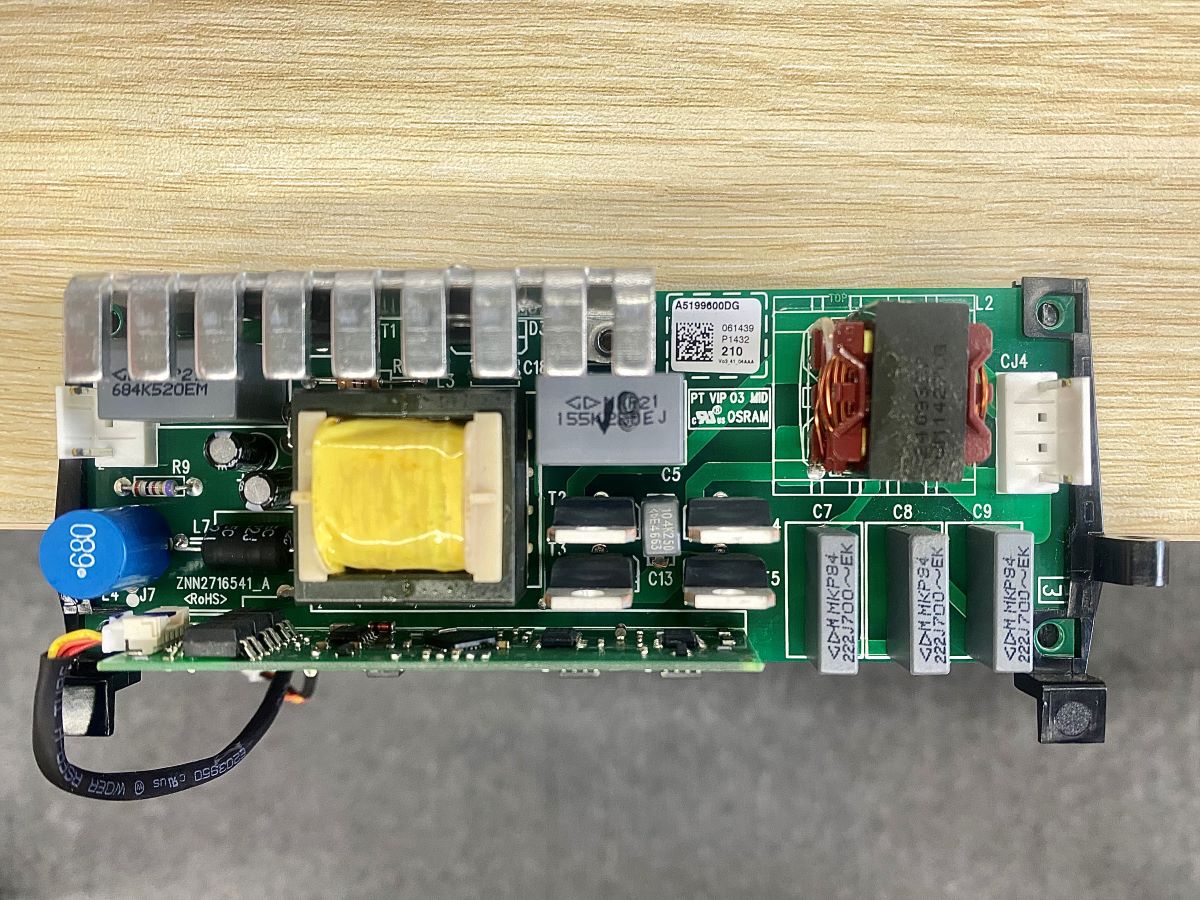
The projector ballast board regulates the electrical current supplied to the lamp. A malfunctioning or broken ballast board can lead to irregular power distribution, resulting in unusual lamp behavior, which can cause the lamp indicator LED to glow red.
In one scenario, a projector user complained that the solid red light persisted after he had changed two new lamps. However, after diagnosing and replacing the ballast board, the lamp indicator returned to normal.
You can get a replacement if you suspect an issue with the projector’s ballast board. However, ballast boards vary; you’d need one appropriate for your BenQ model.
You can buy ballast boards on e-commerce platforms like Amazon, eBay, or BestBuy. Simply use the keywords “projector name and model” + “ballast board” to search for an appropriate one via Google.
For example, if your projector is the BenQ W1070, search for “BenQ W1070 ballast board” on Google and find a website that sells the board.
Follow the steps below to replace the ballast board:
3.1 Access the Ballast Board

(0 – 6 minutes)
- Use a Phillips #1 (PH1) screwdriver to loosen the 2.5 mm screw that secures the top assembly.
- Raise and slide the top cover off.
- Next, gently remove the adhesive film covering the lamp housing.
- Use your PH1 screwdriver to undo the screw that attaches the lamp housing firmly to the projector.
- Gently pull on the lamp handle to remove it (apply more force to the side opposite the newly removed screw).
- Flip the projector over; remove the five screws that hold the back cover, using the PH1 screwdriver.
- Turn the projector over again and remove the sixth/last screw.
- Use an opening tool to loosen the front cover.
- Next, unplug the wire that connects it to the circuit board.
- Use the opening tool to free the front cover and pull it off the projector frame.
- Use the PH1 screwdriver and a 5mm nut driver to remove the screws on the projector’s back cover.
- Use the opening tool to loosen and pry off the back cover, and you’ll see the ballast board.
3.2 Replace the Ballast Board
Getting the ballast board out of its soft plastic casing can be quite tricky, but here’s how to do it:
- There’s a clip on each end of the board; each holds a piece of black plastic that secures the board.
- Undo the clips and slide the ballast board out of the black casing.
NOTE: Changing the projector ballast board is a highly technical process. I recommend you contact a professional technician to properly diagnose, repair, or replace the board. You can also contact BenQ customer support for assistance.
4. The Center Blower Fan Got Stuck With a Piece of Lamp’s Glass or Dirt

The blower fan keeps the projector cool and ventilated. However, it can get clogged by dirt or be damaged by a piece of lamp glass from a bulb explosion.
A malfunctioning cooling system allows the projector’s lamp to overheat, triggering the red lamp indicator LED.
For this projector user, the lamp indicator LED stopped glowing red after he cleaned up the dust accumulated in the projector’s blower fan.
Check the projector’s vents and clean up any accumulated dirt or debris to allow proper airflow within the device.
Follow the instructions below:
- Switch off and unplug the projector from its power source.
- Follow the steps (1-12) in the previous section to remove the projector’s top, front, and back covers.
- Disconnect all wires that connect to the circuit board to avoid electrical damage.
- Gently pry the sides of the projector platform off with the opening tool and set them aside.
- Use the PH1 screwdriver to undo the four screws that fasten the top of the metal casing to the top of the circuit board.
- Take off the top metal casing.
- Use the PH1 screwdriver to remove three screws holding the projector’s circuit board.
- Carefully pull the circuit board off the platform; put some pressure on the side where there are push buttons.
- Undo the single PH1 screw that attaches a green wire to the rest of the metal casing —on the bottom left corner.
- Remove a second screw that secures the metal casing —behind the projector’s lens.
- Remove three PH2 screws that fasten the metal casing to the projector platform.
- Gently remove the metal casing from the platform by pulling it straight up.
- Unscrew two PH2 screws that secure the black blower fan; at the top center of the second circuit board.
- Undo three PH1 screws that secure the blower fan to its metal cover.
- Pull the blower fan upwards from the base to remove it from the platform.
- Inspect and clean the blower fan as required (with compressed air, a soft-bristled brush, or a mild cleaning solution).
- After cleaning, retrace your previous steps to reassemble the projector.
Conclusion
A red lamp indicator light paired with automatic projector shutdowns indicates that the projector detects some trouble with your projector lamp.
In most cases, the lamp has exceeded its lifespan and should be replaced immediately to prevent an explosion. In other cases, the red lamp indicator LED is simply a reminder to reset your lamp timer after a bulb replacement.
There are more complex cases where the projector lamp is overheating because the ballast board is not regulating current efficiently or the blower fan is damaged.
Thankfully, the article above outlines solutions to each of these issues. If certain processes are too complex for you, contact a technician and have your projector back to normal in no time.

Gabriella ‘Diogo is a technical writer with a vested interest in tech hardware and equipment. She shares her knowledge and processes in an easy-to-grasp, lighthearted style. When she’s not testing or researching device performance, you’ll find her writing short stories or rewatching episodes of her favorite sitcoms.

Duy Anh is a seasoned technical editor specializing in helping readers troubleshoot TV, projector, and Wi-Fi issues. He’s always been drawn to logical problem-solving. His ability to approach matters from various angles with a neutral mindset enhances his technical expertise.
I have a MH760 BenQ Projector, suddenly projector do not display. I notice a Red flashing light on the Lamp when powered.
Green Light comes up on power, then after3 minutes goes to Red flashing light on Lamp.
What can I do to resolve this. Thanks