
Master TV Bias Lighting Setup: A Comprehensive Step-by-Step Guide

Hey TV lovers! Ever noticed how the right lighting enhances your binge-watching? That’s the magic of TV bias lights.
In this guide, we’ll explore 7 types of bias lights that can transform your home theater.
I’ll show you how to set them up for the perfect ambiance.
We’ll also check out top brands in this competitive market.
So, grab your popcorn – it’s time to elevate your viewing experience with bias lights!
Quick Navigation
5 Types of TV Bias Lights
When I first considered giving my home theater setup a little zing, I dove right into the world of TV bias lighting.
You might know it as TV backlighting, but to keep things clear and avoid mixing it up with the internal backlights of TVs, I’ll stick to calling it bias lighting in this chat.
The options range from subtle ambient lighting to dynamic, color-changing strips for a more vibrant atmosphere.
I chose a static LED strip for a cozy feel without overwhelming the screen.
However, if you prefer more excitement, the multi-color, movie-syncing lights are fantastic.
Regular Bias Lighting
I began exploring TV bias lighting with a basic white light, which nicely reduced eye strain without overpowering the room.
However, my curiosity led me to upgrade to a multi-colored model.
While it’s somewhat tedious to change colors manually using the remote, the vivid hues add a dynamic touch to movie nights, enhancing the overall viewing experience.
Simple White
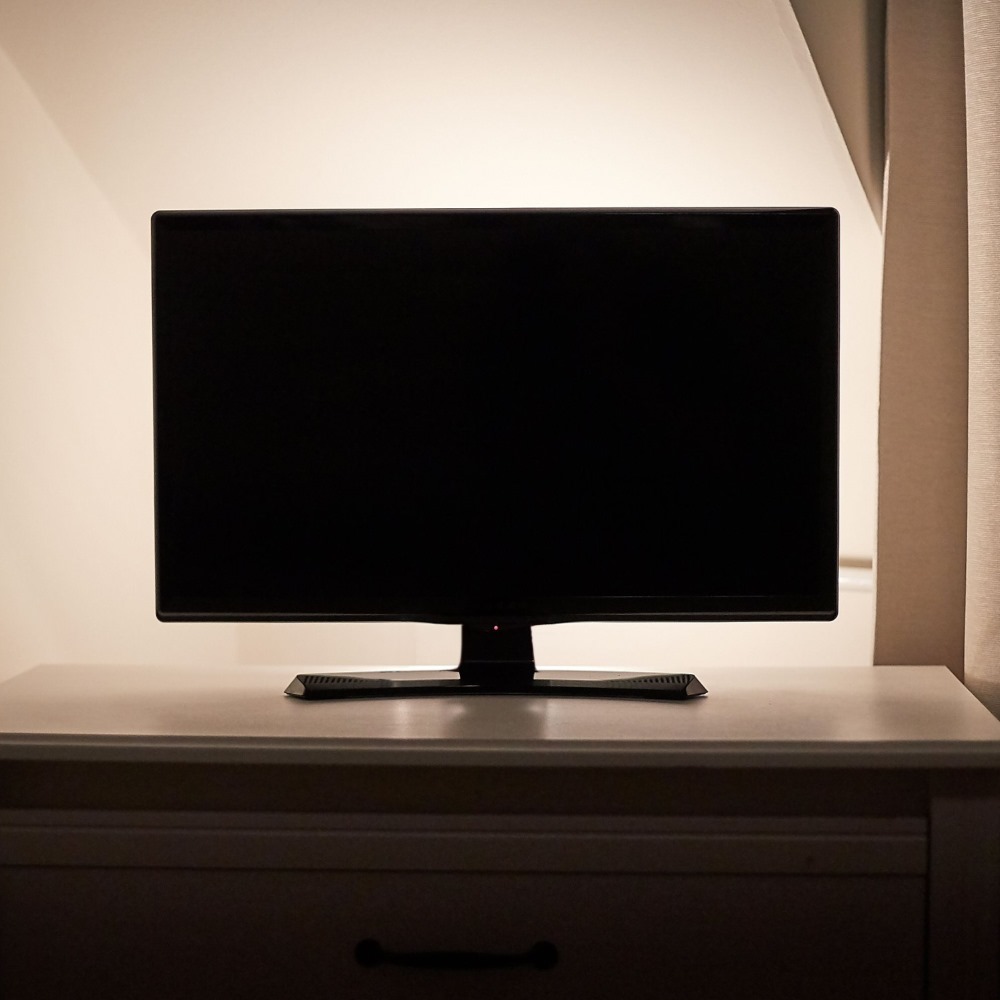
Ever since I added a simple white static bias light behind my TV, my binge-watching sessions have become way more comfortable.
There’s something about that subtle, gentle glow that really eases the strain on my eyes, especially during those long, late-night marathons.
Plus, I’ve noticed that the contrast on my screen seems sharper, making everything look crisper and more vivid.
It’s a small touch, but it makes a huge difference!
For subtle bias lighting, you can either use a light strip or a light bar, depending on your preference.
Multiple Colors
I’ve always found that the multiple color options in regular bias lights add an extra layer of fun to my living room.
It’s pretty neat that they can only show one color at a time – it keeps things simple yet vibrant.

Whether I’m manually cycling through colors to match the mood of the movie or letting them shift automatically for a more dynamic feel, these lights don’t sync with the TV content, but they still create a unique and cozy atmosphere for every film night.

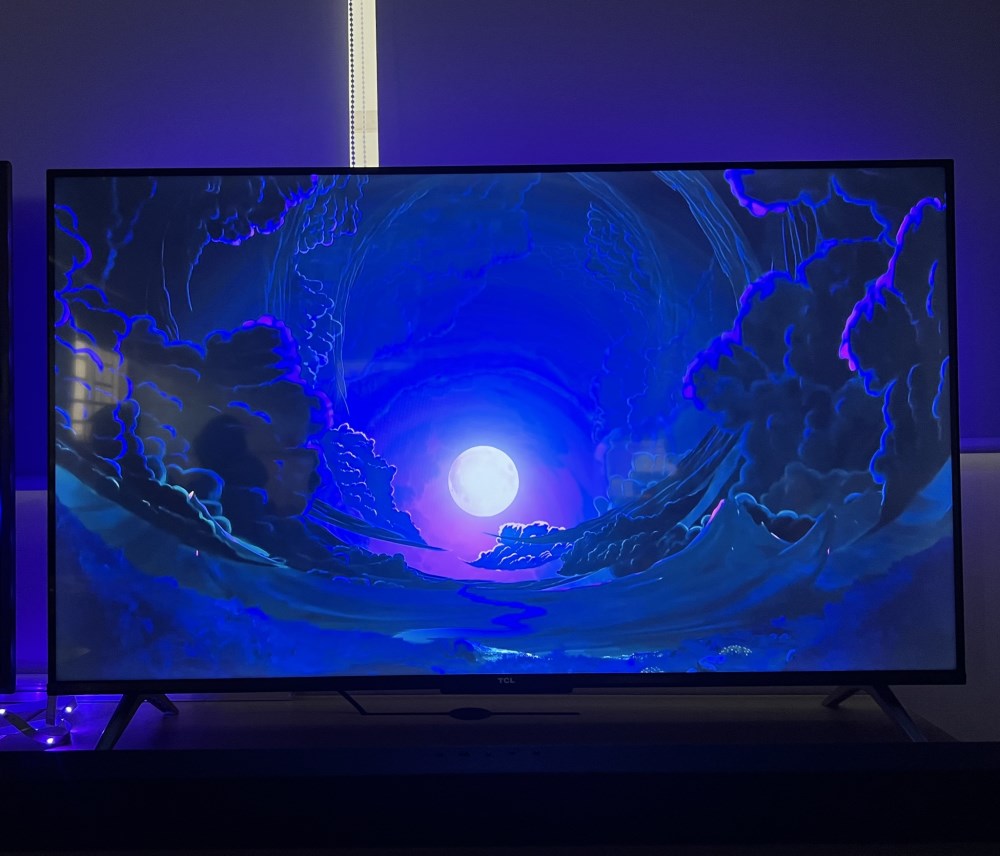
Responsive Lighting
I have to say, the first time I set up responsive bias lights behind my friend’s TV, it felt like stepping into the future.
These responsive lights, often called adaptive lights, really bring the screen to life, matching the colors and brightness to whatever is playing on the TV.
It’s mesmerizing to watch them shift from a serene blue during ocean scenes to a fiery red during action-packed moments, all seamlessly synced through a nifty app or a Sync Box.
Single-Color
While there are certainly other cool responsive lights out there, I gotta give a shoutout to Philips Hue Play Light Bars because, well, they just vibe with my style the best!
The Light Bars from Phillips make a subtle yet impressive addition to any home theater setup.
What I really like about them is their ability to display one color at a time, matching the on-screen content, which adds a whole new layer of immersion to my viewing experience.
The fact that you can choose the light bar placements and color via the app for better synchronization with what’s on TV is super convenient.
Plus, their discreet and diffused light effect means they enhance the atmosphere without being overly dramatic or distracting.

Gradient Lighting
Gradient lighting really takes the cake when it comes to responsive lighting.
I remember visiting a friend’s house where their TV was surrounded by this mesmerizing multi-zone color display.
It’s like watching a rainbow dance in sync with your favorite shows – the lights can display multiple colors at once, creating an immersive, dynamic backdrop that elevates the entire viewing experience.
1. Lightstrip
When it comes to gradient lighting, the Philips Hue Lightstrip offers a seamless integration into the Philips Hue Ecosystem, allowing you to control not just the lightstrip but every Philips light in your home.
Its light intensity truly stands out compared to other brands, bringing a vibrant and immersive experience to any TV viewing session.
However, it’s important to note that to achieve that coveted gradient effect, you’ll need the Philips Hue Sync Box or the free Hue Sync software for your Mac or PC.
Take note that the Lightstrip doesn’t cover the bottom of your TV, so if you’ve got a wall-mounted TV and still want to enhance the lighting around it, pairing it with a couple of Philips Hue Play Light Bars might just do the trick.

2. Floor Lamp and Table Lamp
Phillips steps up the game with their Hue Gradient Signe Lighting, offering both a Floor Lamp and Table Lamp option that can light up your home theater while syncing with the contents on your TV.
It’s all about personal preference, so whether you want something subtle on a side table or a bold statement in the corner, there’s a style for you.
The coolest part? You can easily control these lights with your Home Kit, Alexa, or Google Home.
Or, if you prefer, use the Hue App once you’ve got the Bridge and lighting all set up.

How To Set Up
Setting up your TV bias lights doesn’t have to be a tech nightmare.
In this section, we’ll breeze through the steps to install static light strips, funky light tubes, and versatile lights from the Philips Hue Ecosystem and other brands.
Whether you’re a tech newbie or a gadget guru, you’ll find these tips super handy and easy to follow.
Regular Bias Lighting
Installing non-adaptive lighting for your TV is both easy and budget-friendly. You won’t need any fancy tech skills or extra hardware to get it set up.
It’s a straightforward, no-fuss solution for enhancing your viewing experience.
Setting up
Getting your TV set up with regular bias lighting is simpler than you might think, and I’m here to guide you through it.
We’ll explore how to neatly arrange light strips and tubes to enhance your viewing experience.
1. Light Strips
Setting up the light strips for your TV is quite simple, but it will require some measurements. Follow the steps below to set up light strips on your TV:
1.1. Measure the Back of Your TV
Before you buy those light strips, make sure you measure the spot where you want to put them.
You don’t want to end up with strips that are too short or too long.
It can be a bummer to have to make a second purchase just because you didn’t measure right the first time.
1.2. Clean the Surface

Before sticking the adhesive, it’s a good idea to wipe off any dust for a better grip.
This simple step ensures that it stays put exactly where you want it.
1.3. Choose Your Method
You can choose the long strip or you can cut it down and reconnect the pieces for easier installation.
a. Cut the LED Light Strip
First off, grab a tape measure and size up the light strip to fit your needs.
Then, find the designated cutting point on the strip – it’s usually marked by a specific icon:

Snip it carefully along the line.

Next, slot the cut end into the strip connector.
Double-check the orientation to ensure the longer strip aligns with the longer side of your TV, and the shorter one with the short side.

Keep going with this method until you’ve got a rectangle shape behind your TV.
b. Use the Loop Method
Not keen on cutting your light strip? No worries! You can try looping it instead.

Sure, it might use a bit more length, but it’s a safer bet to avoid any mishaps.
1.4. Test Your Strips
Once you’ve stuck the light strips where you want them, it’s important to connect them to the power source carefully.

This step is super crucial to spot any damage, especially when you’re cutting the light strip.
So, make sure everything’s connected properly before you go any further.
1.5. Tape Them Down

Last but not least, once you’re sure the lights are ready, unplug the power just to stay safe.
Then, peel off the sticky part from the back of the light strips and stick them where you want them to go.
After they’re firmly in place on the TV, plug the power back in, and you’re all set to enjoy your new lights!
2. Light Tubes
If you’re thinking about jazzing up your home with some cool lights, but don’t want anything too permanent, light tubes might be just what you need. They’re great for moving around and showing off when you feel like it.
If you’ve got a long light tube, you can make your place look cozy by putting it behind your TV or on the TV stand. It’s a simple way to create a nice vibe in your room.
Just remember, if your TV is mounted on the wall, this trick won’t work.

For shorter tubes, stick them on the back or sides of the TV with some tape.
Oh, and here’s a tip: turn on a screensaver on your TV and light up those tubes. It adds a really nice vibe to your room when you’re not watching TV.

Controls
When it comes to regular bias lighting, you can control it using different methods.
Some of these lights can change colors, but if you have the simple white ones, this might not apply to them.
For most regular bias lighting, you can use a dedicated app, an IR remote, or a mini controller to adjust the settings.
You can even connect some of them to your devices through Wi-Fi or Bluetooth.
Just keep in mind that setting up the app or connecting the lights might be different depending on the product you have.
So, be prepared for some variations in the setup process.
Responsive Lighting
Setting up responsive lighting for your TV viewing experience can truly transform the way you enjoy your favorite shows and movies.
With the Philips Hue Ecosystem, integrating an HDMI Sync Box and the intuitive Hue App makes this setup a breeze.
For those who prefer other brands, the screen mirroring method is a great alternative, offering a similar immersive experience.
Philips Hue Ecosystem
When you choose a light bulb that’s compatible with the Philips Hue ecosystem, you unlock the convenience of controlling your home’s lighting system via Wi-Fi.

While some light bulbs offer the convenience of Bluetooth connectivity, I’d advise against relying solely on this feature.
The reason is simple: Bluetooth limits your ability to control the lights only when you’re physically close to them.
Instead, you should opt for the Philips Hue Bridge, which pairs with the Hue App over Wi-Fi, so that you can manage your lights from anywhere, not just when you’re home.

And if you want the lights to sync with the content displayed on TV, you will need the Sync Box from Philips.

For further customization with the synchronization, you can connect with your Sync Box via the Hue App.

Screen Mirroring
Other brands take a different route from Philips for TV bias lighting, often choosing the screen mirroring method.
This involves using a camera to pick up color changes on the TV screen, which are then relayed to the lighting system to sync up the colors.
A perfect example of this is the TV Backlight 3 Lite from Govee. It’s a more budget-friendly option compared to Philips, yet it still delivers good-quality lighting for your viewing experience.

5 High-Quality Brands for Your Next TV Light
Philips Hue
Taking a unique approach in the TV bias lighting niche, Philips Hue opts for a sync box rather than a camera in their light kits.
This innovation sets them apart, offering a seamless integration of lighting with on-screen content, making them a significant player in the market.
Govee
Govee, a notable name in the industry, initially captured attention with their camera-inclusive TV bias lights.
However, they’ve recently upped their game with the introduction of the Govee AI Gaming Sync Box – a camera-free innovation, signaling a new direction in their product line.
NanoLeaf
NanoLeaf stands out by balancing affordability with the latest technology.
They continue to use camera-based systems in their TV bias lighting solutions, providing an accessible option for consumers seeking quality without a hefty price tag.
Hamlite
For those who prioritize budget without wanting to compromise quality, Hamlite is the go-to choice.
Their continued use of camera-based systems in TV bias lighting kits makes them an attractive option for cost-conscious consumers.
Lytmi
Lytmi, though less renowned than its counterparts like Philips and Govee, holds its ground in the market with camera-based TV bias lighting solutions.
Their products offer a blend of affordability and innovation, catering to a diverse customer base.

Meet Vance. He’s a proud dad, a seasoned Electronics Engineer, and an avid tech lover. His proficiency in electronics and troubleshooting skills were instrumental in crafting Pointer Clicker. Vance is passionate about simplifying tech for those who aren’t well-versed in it.