
Optoma 3D Projector Setup: A Comprehensive Step-by-Step Guide

What To Know
- Ensure that your projector, 3D glasses (active or passive), and the source video all support the same 3D format.
- Connect your source device (e.g., Fire TV Stick) to the Optoma projector and adjust the projector’s settings to match the 3D format of your movie and glasses.
- Turn on both devices, access the projector’s menu, enable 3D mode from the Settings menu, and select the correct 3D format that matches your video source and glasses.
In this guide, you’ll learn how to watch 3D movies on an Optoma projector, transforming your viewing experience with simple, accessible tools.
Let’s embark on this cinematic journey.
Quick Navigation
What 3D Modes Available on Optoma Projector
Before diving into how to watch 3D movies on your Optoma projector, it’s important to understand the three different 3D types your unit supports.
- Side-by-Side (SBS)

- Top and Bottom

- Frame Packing


Which 3D mode to choose will depend on which one your content matches. So, confirm which mode your 3D movie supports before selecting the compatible setting.
In addition to choosing the right 3D mode, it’s also important to have the right kind of 3D glasses for your move.
There are two types of 3D glasses: active shutter glasses and passive shutter glasses.
Active shutter glasses black out alternating eyes in accordance with the projector’s image, giving the impression that the image is 3D.
Meanwhile, passive shutter glasses divide the image into two, displaying one-half to each eye.
How to Setup 3D Movies on an Optoma Projector?

You’ve figured out which 3D mode your movie supports and which 3D glasses to use. Now, all that’s left is to do is set everything up and start enjoying your movie night.
Follow the guide below to set up a 3D movie on an Optoma projector.
What You Will Need
3D movies require a little more than your run-of-the-mill home theater equipment as you have to distort the image to make it compatible with your 3D glasses.
To create the ultimate 3D movie setup with your Optoma projector, you will need the following materials:
- Optoma 3D Projector
- 3D glasses (Active or Passive)
- Connection cable (HDMI, VGA, etc.)
- Source device (streaming device, laptop/PC, etc.)
Setup Instructions
For the purpose of this tutorial, I’ll show you how to create this setup using a Fire TV Stick. However, you can use your source device of choice.
Step 1: Plug the Fire Stick into your Optoma projector’s HDMI port.

Step 2: Make sure the Optoma projector and Fire Stick are correctly powered and turned on.
Step 3: On your Optoma projector, press the Menu key found on the control panel as shown below.

Step 4: The Setup menu will appear on-screen. From here, go to 3D to enable the setup.
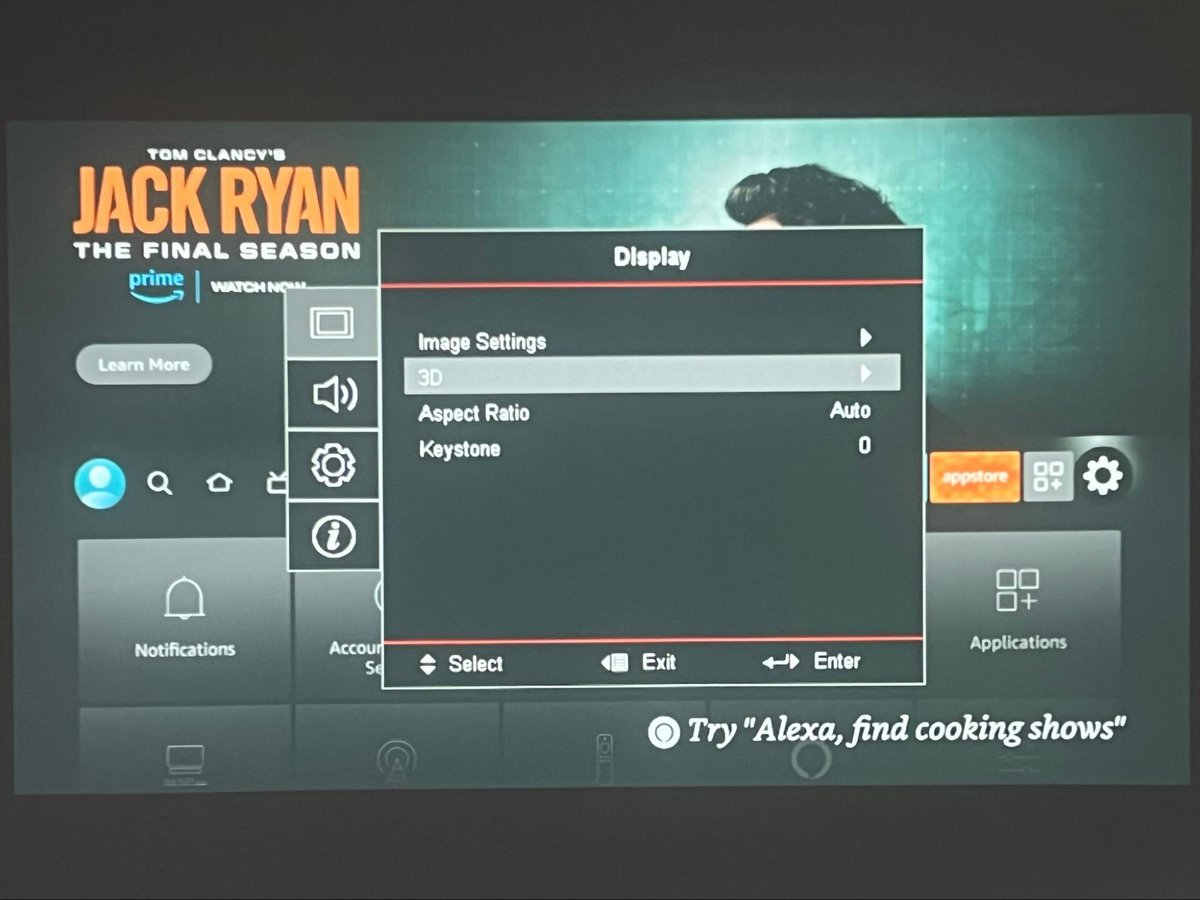
Step 5: Adjust the status from Off to DLP-LINK to enable the unit’s 3D Mode.

Step 6: Then, click on 3D Format to adjust the 3D format your projector will use to display the movie.

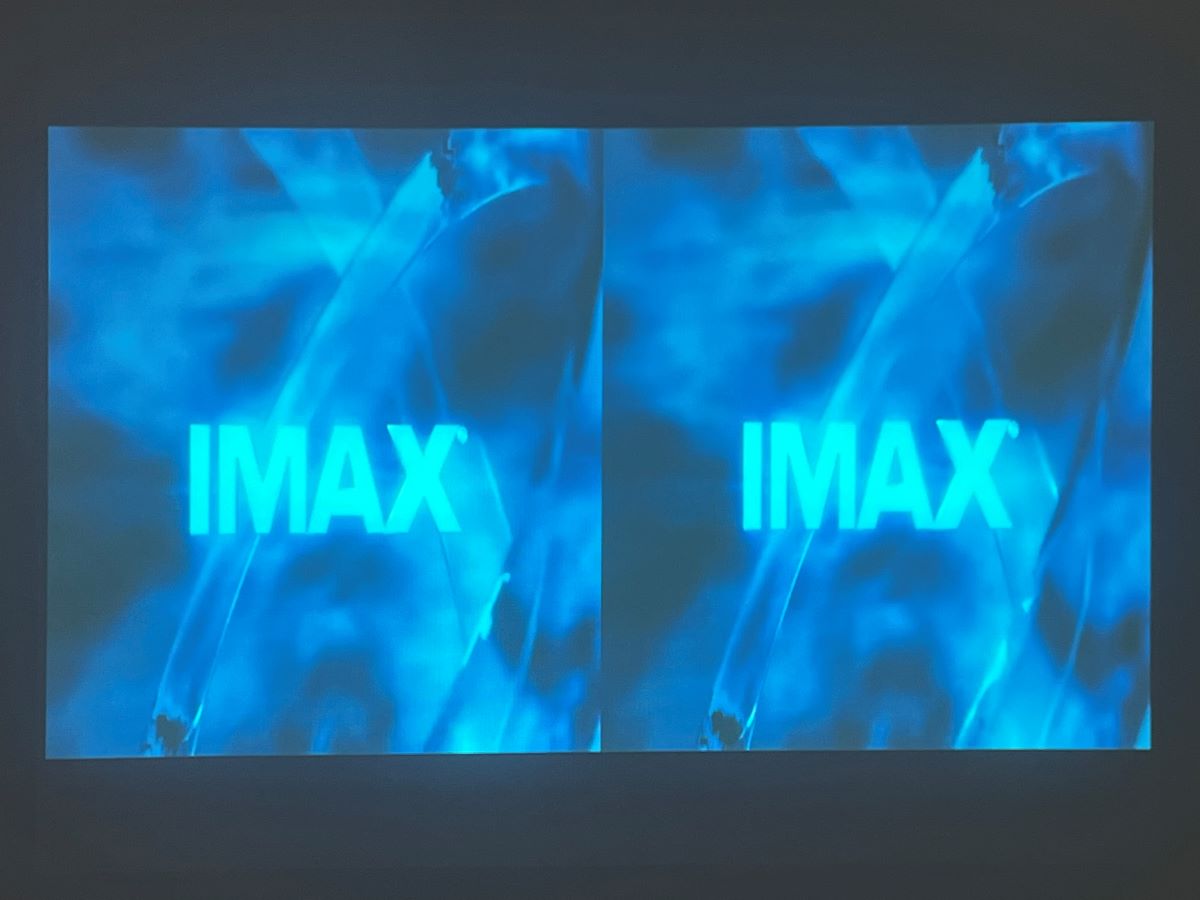
Step 7: Here, it’s important to select the correct 3D format for your source video and 3D glasses. In my case, I will select Side-by-Side (SBS) as this format is compatible with my setup.

Which 3D Format Should I Choose?
For many, the most challenging aspect of setting up 3D movies is selecting a 3D format to use.
Don’t worry. I’ll discuss what to keep in mind when choosing a 3D format to find one that works best with your setup.
When choosing a 3D movie to watch, it’s important to consider the following three categories:
- 3D glasses
- Source video
- 3D format supported by the projector
Above all else, make sure you’ve bought the correct 3D glasses (active or passive) for your projector. Active glasses will not work will passive projector setups and vice versa.
Next, ensure the movie’s source video supports your projector’s 3D format, be it side-by-side (SBS), top and bottom, and so on. Remember, all components must be compatible for the 3D setup to be successful.
Active Shutter 3D
TVs or projectors that use the active 3D format display two distinct images on either side of the screen, with each image correlating to the user’s right and left eye.
To give the illusion that the images on-screen are 3D, the users’ active glasses synchronize with the display and darken each lens in accordance with the images on-screen.
This process happens incredibly quickly, and since your brain can not process that each lens is shuttering, it looks like the two 2D images are one 3D one.
Bear in mind that since the glasses are shuttering so quickly, active 3D movies may give some viewers a headache.
You may also need to synchronize your glasses to your projector following their instructions. Otherwise, they will fail to shutter in unison with the movie.
Passive 3D

TV and projectors that use passive 3D technology display two horizontal images (one for the left eye and the other for the right) that combine to create one 3D image.
These two images are red and cyan (light blue), so the users wear passive 3D glasses with red and blue lenses that correspond to the colors on-screen. When wearing these glasses, each eye processes its corresponding image, which when put together, creates a 3D effect.
Disposable passive 3D glasses are typically used in movie theaters (think of those flimsy paper 3D glasses you used to use as a kid).
Since passive glasses use less sophisticated technology than their active counterparts, they’re typically cheaper.
Troubleshooting Optoma Projector 3D Not Working (Grayed Out)
One of the most common problems experienced by those watching 3D movies on an Optoma projector is that the 3D option is grayed out in the settings.
This usually happens when the video source’s resolution is higher than the projector’s maximum supported resolution.
To fix this issue, the Optoma user manual suggests setting your input source device’s resolution to 1080p. Optoma projectors cannot display 3D images using a 4K video source, so it’s imperative to check that it’s set to a compatible resolution.
Wrapping Things Up
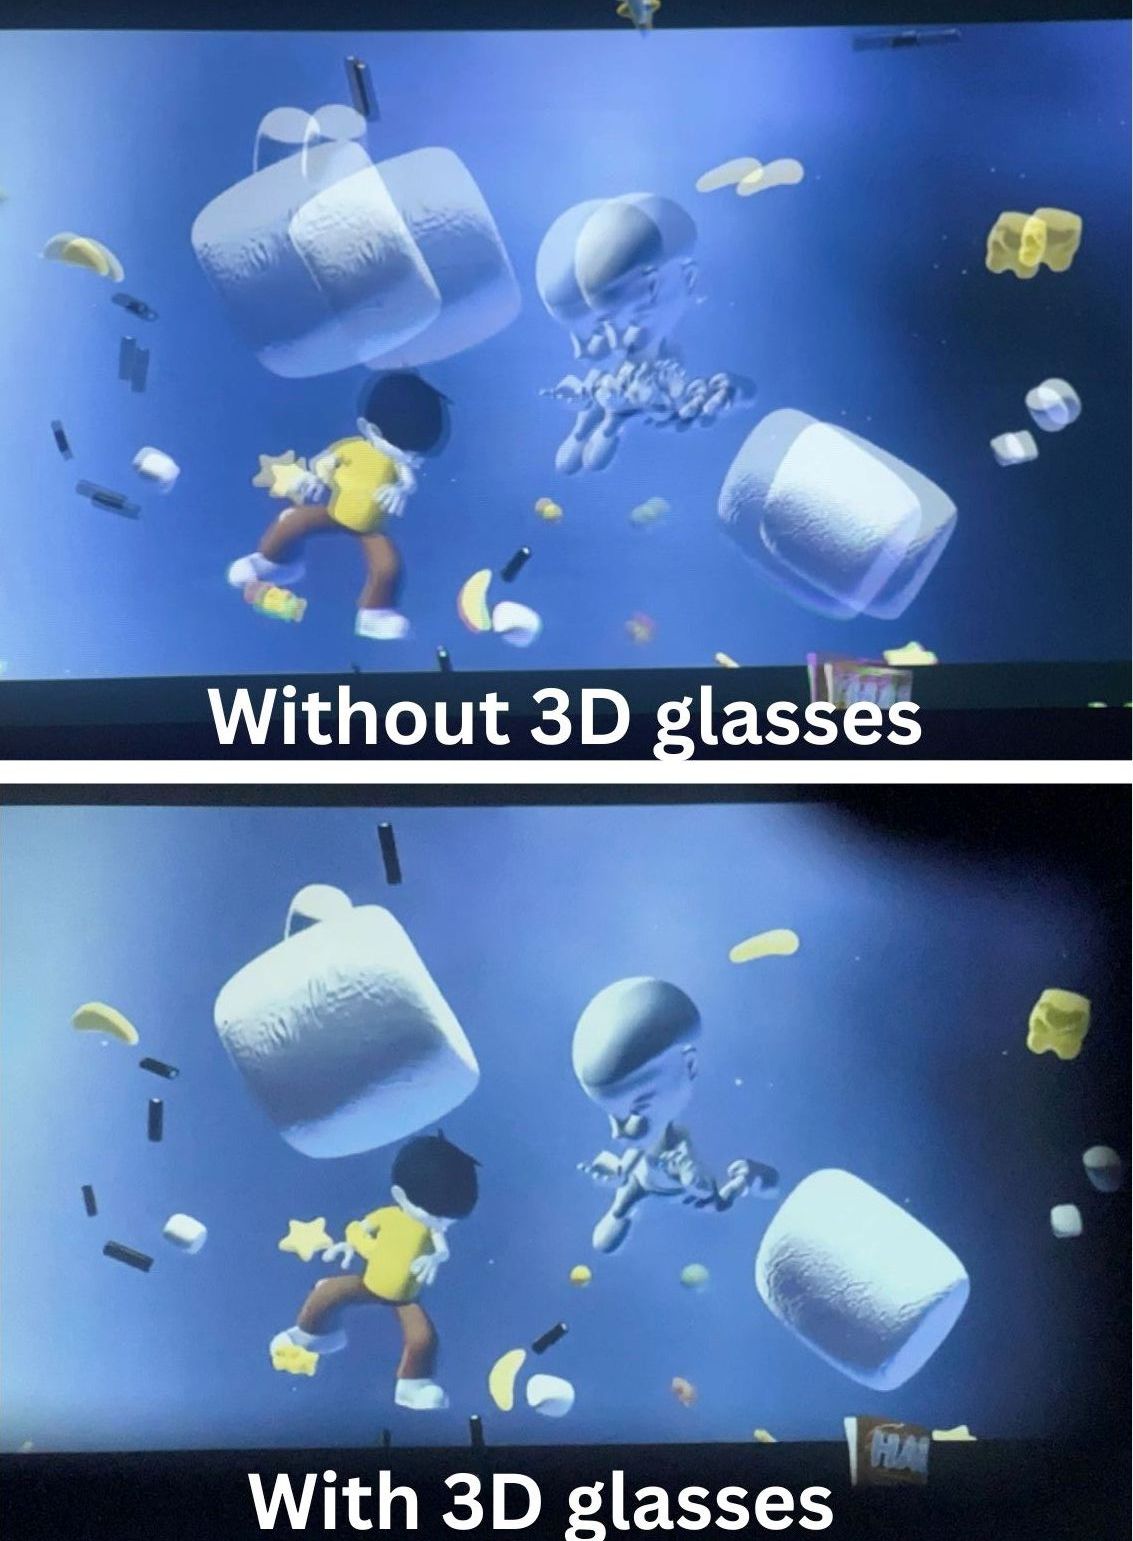
Your Optoma projector can do more than display simple 2D images. With the right tools and settings, it can also project stunning 3D movies that will elevate your movie night to IMAX levels.
When setting up your 3D display, it’s essential to ensure that all elements are compatible. This means checking that your projector, video source, and 3D glasses are all using the same 3D format.
If your Optopma projector’s 3D settings are grayed out, make sure your video source’s resolution is set to no higher than 1080p.
Did you know Optoma projectors support 3D? Have you ever watched a 3D movie on your Optopma projector, and if so, what was your experience?
Let us know in the comments below!

Yesenia Achlim is a technical copywriter and editor with a focus on AV equipment. She aims to break down complicated topics and make technology accessible, no matter your technical expertise. When she’s not teaching you how to replace a projector lamp, you can find her reading and baking.