
How To Freeze Projector Screens For Mac & Windows

What To Know
- The simplest method to freeze a projector screen is by using the projector’s remote control, which often has a Freeze button.
- For Mac users, freezing the screen involves switching to Extended Display mode, while Windows users can utilize the Extended Mode feature for a similar effect.
- Mac users can switch to Extended Display using Command + F1, while Windows users can press the Windows key + P for quick screen adjustments during presentations.
In this guide, I will teach you how to freeze your projector screens, whether you are using a Mac or a Windows laptop to connect to your projector.
Let’s get started!
Quick Navigation
The Simplest Method to Freeze Your Projector Screen
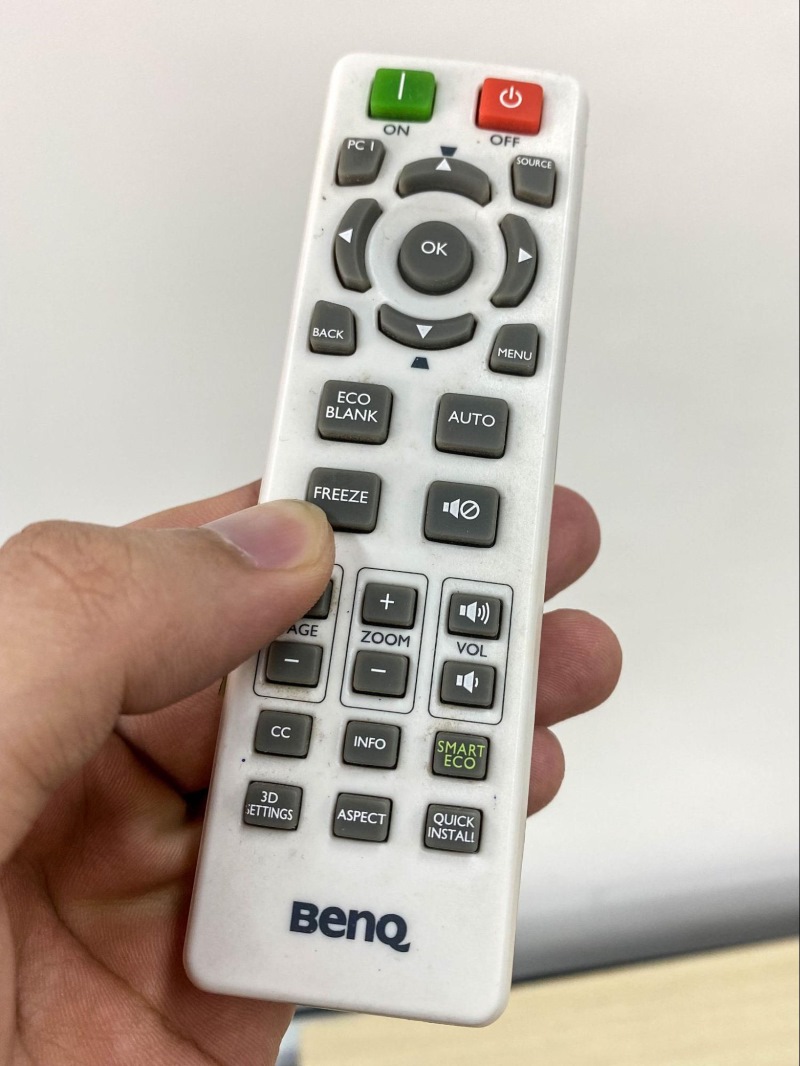
Using the remote control that comes with your projector is the simplest method to freeze the screen.
Most projector remote controls have a Freeze button that makes it easy to freeze any frame on the projected screen.

This will allow you to manage your presentation effectively when presenting to a group.
But what if your projector’s remote control lacks a Freeze button?
Continue reading to discover how to freeze your projector screen on both Mac and Windows laptops.
How To Freeze Your Projector (Epson) Without Remote
For Mac Users
When freezing your projector screen, the first thing I should mention is that it works slightly differently on a Mac and Windows.
In fact, it’s not quite freezing but more like extending your screen so others cannot see what you’re doing.
It’s also a tad handier because, in this sense, you can continue to play the movie or slideshow while you do what you need.
So, how do you do it on a Mac? You have to go to Extended Display mode instead of Mirror Screen mode.
The Extended Display mode extends your screen. Basically, you’re watching a movie on “half” of your screen that’s projected on your wall, and your monitor is using the other half.
Via Extended Display Mode
To set up an Extended Display mode with your Mac and an external monitor, such as a projector, start by clicking the Apple icon in the top left corner of your Mac’s screen.
Then, select System Preferences, where you can modify various settings.

Next, choose the Display option on the menu screen.

Then, double-click the icon representing your external monitor, and choose the Extend Display option to enable your Mac to use the projector as an additional screen.

Once done, your projector will display a static image, typically your Mac’s desktop background, giving you a larger workspace, similar to having an additional desk.

Via Shortcut Keys
In earlier Mac computers, shifting from Display Mirror to Extended Display was as easy as pushing the F-keys. Usually anywhere from F7 or below.
Newer Macbooks require you to press the Command key as well as F1.

Or you could assign a designated shortcut using the Fn key, which will allow you to switch as you wish.
For Windows Users
If you’re using a Windows laptop and want to “freeze” the display on your projector, just like you might do on a Mac, there’s a simple way to do it.
Windows laptops have a feature called Extended Mode.
This mode is handy for presentations. It lets you keep one frame on the projector while you can continue to use your laptop normally.
To make things even easier, Windows has some keyboard shortcuts.
By using these shortcuts, you can quickly and effortlessly control the Extended Mode.
This means you can switch between screens or freeze the projector without interrupting your flow during a presentation.
It’s a great tool for making sure your audience stays focused on the right thing while you manage your presentation behind the scenes.
Use Extended Mode
Let’s start with the Extended mode for Windows. This is extending your PC screen so you can multitask.
In other words, you can continue to watch your movie on your projector while you do something else on your computer without your viewers watching your every move.
Here’s how to set it up:
First, give your desktop screen a right-click and choose Display settings.

If you’re using Windows 10, look for the section labeled Multiple displays.
Click on that, and then select Extend these displays option.

It’s a bit different if you have Windows 11.
You’ll want to click the dropdown box next to the Identify button and choose the Extend these displays option from there.

Once you’ve done this, your computer’s wallpaper will appear on the projector screen.

This is your cue that everything’s set up correctly.
Now, you can drag whatever you want to display, like a movie or a presentation, right over to the projector screen.
It’s like having a giant, second computer screen – pretty cool for sharing your stuff with others or just enjoying a bigger view!

Use Shortcut Combinations
Switching your computer screen to Extended Display mode in Windows is actually quite simple and doesn’t have to be complicated at all.
There’s a really neat shortcut that makes this process quick and easy.
Imagine you’re in a hurry and need to change your screen settings fast. All you need to do is press two keys simultaneously.
Look for the Windows key on your keyboard – it’s the one that has a little flag on it. Then, press it together with the letter P.

Just like that, you can switch between different screen options effortlessly.
This shortcut is not only straightforward but also a big time-saver, especially when you’re busy and need to adjust your screen view quickly.
Why Do You Need to Freeze Your Projector Screen?
Upon learning that you can freeze your projector’s screen, most people ask themselves, why do it in the first place?
Freezing your projector is a handy option. For example, let’s say someone is watching a movie or a slideshow projected as intended. But now, you realize you have to search for another file or other images.
Searching for files while someone is watching a projection will pause the slideshow or movie and break that awesome sense of immersion. Also, no one wants to see you rifle through your computer’s clutter until you find what you’re looking for.
So, you can freeze the projected image and do what you need to do in this case.
In a sense, freezing a projector screen is kind of like pausing a movie, but in a much more convenient way. It will also keep things more convenient for you if you happen to have files you don’t want anyone else to see.
Bonus Tip: Using Presenter View in PowerPoint or Google Slides
If you’re using PowerPoint or Google Slides for your presentation, there’s a handy feature called Presenter View.

When you connect your laptop to a projector, this feature allows your slides to be displayed on the projector screen while your laptop screen remains private.
This means you can view your notes or make last-minute changes without the audience seeing.

Presenter View is excellent for staying organized and keeping certain information private while presenting; it resembles the action of freezing the projector screen that we discussed earlier.
To learn more about using the Presenter View feature, check out our detailed article on the topic.

Meet Vance. He’s a proud dad, a seasoned Electronics Engineer, and an avid tech lover. His proficiency in electronics and troubleshooting skills were instrumental in crafting Pointer Clicker. Vance is passionate about simplifying tech for those who aren’t well-versed in it.