
Black/Green Horizontal Lines on Projector Screen: Causes and Solutions

Causes and Solutions
- Faulty or loose cables can cause horizontal lines on a projector screen.
- Enabling a projector’s Progressive setting can prevent horizontal lines by changing how the image is scanned.
- Additionally, adjusting the projector’s resolution in the Setup Menu can fix refresh rate mismatches that may cause flickering horizontal lines.
In this guide, we’ll navigate through the possible reasons behind horizontal lines and provide practical solutions to clear up your projector’s display.
With concise, actionable steps, you’ll be equipped to tackle the issue head-on.
Let’s get to it.
Quick Navigation
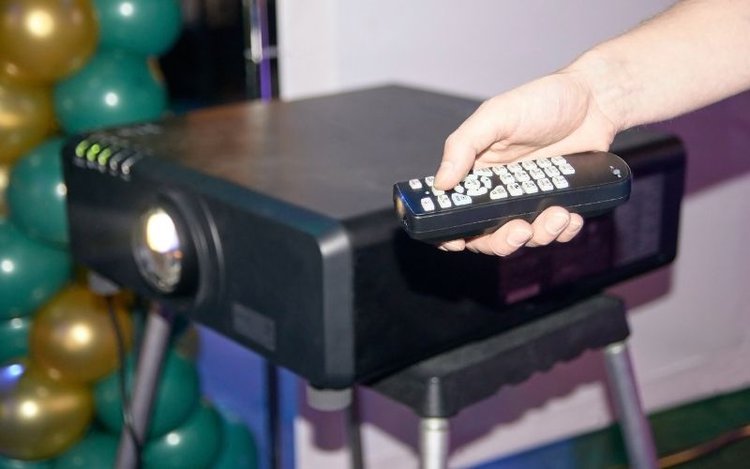
1. Adjust the Cables

Faulty or misplaced cables could be causing the horizontal lines on your projector screen, especially if they’re connected to an external input source (e.g. laptop, tablet, monitor, phone, etc).
Check each cable and adjust it, if needed. If you’re using a VGA cable, make sure its two screws are tight.
Some cables, like HDMI cables, need to be routinely replaced since they wear down over time.
2. Enable the Progressive Setting
Some projectors, like Epson projectors, have a Progressive setting.
When enabled, this feature scans all the lines on the projector screen at one time, instead of every other line.
This helps prevent the horizontal lines from forming on-screen, ensuring a smooth and evenly colored picture.
This setting is often found in the unit’s Picture Settings, though every projector brand will be different.
Turn on your projector’s Progressive setting and observe any changes to the image.
3. Change the Resolution
Your projector may be set to the wrong resolution, resulting in flickering horizontal lines.
The resolution will change, however, often your projector screen refreshes. If out of sync, it could create horizontal lines or other display problems.
Luckily, it’s an easy fix.
A projector’s resolution can commonly be found in its Setup Menu under Video Output Setup.
Go to Custom Resolution and select a different resolution, measured in Hertz.
This will require a bit of experimenting, so try out each resolution to see which one looks best.
You can also set it to “Auto” and see if this helps.
Watch the video below demonstrating how to change your projector’s resolution to fix horizontal lines on-screen.

4. Factory Reset Your Projector
Factory resetting your projector could help restore the correct picture settings and eliminate those dreaded horizontal lines.
This will erase any custom settings, delete any apps you’ve downloaded, and log you out of all of your accounts.
However, it’s an easy way to see if the lines are a result of the projector’s settings or the external hardware.
Note that every projector must be factory reset differently, so consult your user manual to see specific instructions for your projector brand.
Usually, you can factory reset a projector by going to its Settings, then to About.
Click on Reset or Recovery, and confirm that you’d like to factory reset your device by clicking Yes or OK.
Some projectors also have a Reset pin-hole which must be pressed with a long, thin, needle.
Once it’s been factory reset, set up your projector and see if the horizontal lines have been cleared.
Watch the video below demonstrating how to factory reset a projector, using a Nebula projector as an example.

5. Replace the Projector Lamp
A faulty or dying projector bulb can cause image problems.
First, check your user manual to see if your projector has a replaceable lamp unit.
If your projector’s lamp is not replaceable and you’ve tried all of the above solutions, consider calling customer support and taking your projector to a technician.
If the projector’s lamp unit is replaceable, order the correct lamp replacement online. Most projector brands will sell lamp replacements on their official websites.
Whenever replacing the lamp unit, always unplug the projector and allow it to cool before opening the lamp compartment.
Warning: Should you drop the lamp unit or find that it’s cracked, immediately leave your home and call health services. Projector lamps contain mercury, which can be fatal if inhaled.
Once you’ve replaced the lamp unit, turn your projector on, allow it to warm up, and check the results.
Tekzilla on YouTube has a great video demonstrating the dos and don’ts of replacing a projector lamp, using the Optoma HD20 projector as an example. Watch it below!

7. Replace the Controller Board
There may be something wrong with your unit’s controller board, causing horizontal lines to appear on-screen.
It’s possible to replace your projector’s controller board at home, though it’s a job best left to experienced projector technicians.
Even when unplugged, your projector could have a residual electrical current, which could electrocute you, severely injuring or killing you.
So, it’s crucial that you’re informed about the safety risks and how to avoid them before attempting to repair your projector.
If you don’t have experience repairing projectors, we suggest you take your unit to a projector technician.
8. Your Projector is Faulty
Is your brand new projector displaying image problems?
If so, then your unit may be faulty. Although rare, it’s not impossible for faulty projectors to slip past the manufacturer’s quality assurance tests.
We recommend you contact customer service and keep your warranty policy handy.
Tell them what’s wrong with the projector, and take pictures and videos to show them.
If your projector is new, they may issue a refund or offer to send a replacement.
Good luck!

Yesenia Achlim is a technical copywriter and editor with a focus on AV equipment. She aims to break down complicated topics and make technology accessible, no matter your technical expertise. When she’s not teaching you how to replace a projector lamp, you can find her reading and baking.