
How to Use a Fire TV Stick on any Monitor, No Speaker? No Problem!

What To Know
- To connect your Fire TV Stick to a monitor with HDMI, simply plug it into the monitor’s HDMI port and select HDMI as the input source.
- For monitors without built-in speakers, link the Fire TV Stick to Bluetooth audio devices, use the monitor’s audio output, or utilize an HDMI audio extractor for external sound.
- If your monitor lacks an HDMI port, purchase adapters like HDMI to VGA, DisplayPort, or DVI. You may also need an HDMI splitter or switch for HDCP issues.
In this article, we’ll explore methods to connect your Fire TV Stick to a monitor. These solutions have been tested and proven effective, providing step-by-step guidance with demo images.
Let’s dive into the simple yet effective ways to link your Fire TV Stick with different monitor setups, even those without HDMI ports.
Quick Navigation
How to Connect a Fire TV Stick to a Monitor
Connecting a Fire TV Stick to a monitor is quite simple, needing only the stick and the monitor itself.
If your monitor doesn’t have an HDMI port, no worries! I’ll explain how to connect your Fire TV Stick to a non-HDMI monitor later on.
Step 1: First, make sure your Fire TV Stick and monitor are turned on.
Step 2: Next, insert the Fire TV Stick into your monitor’s HDMI port.
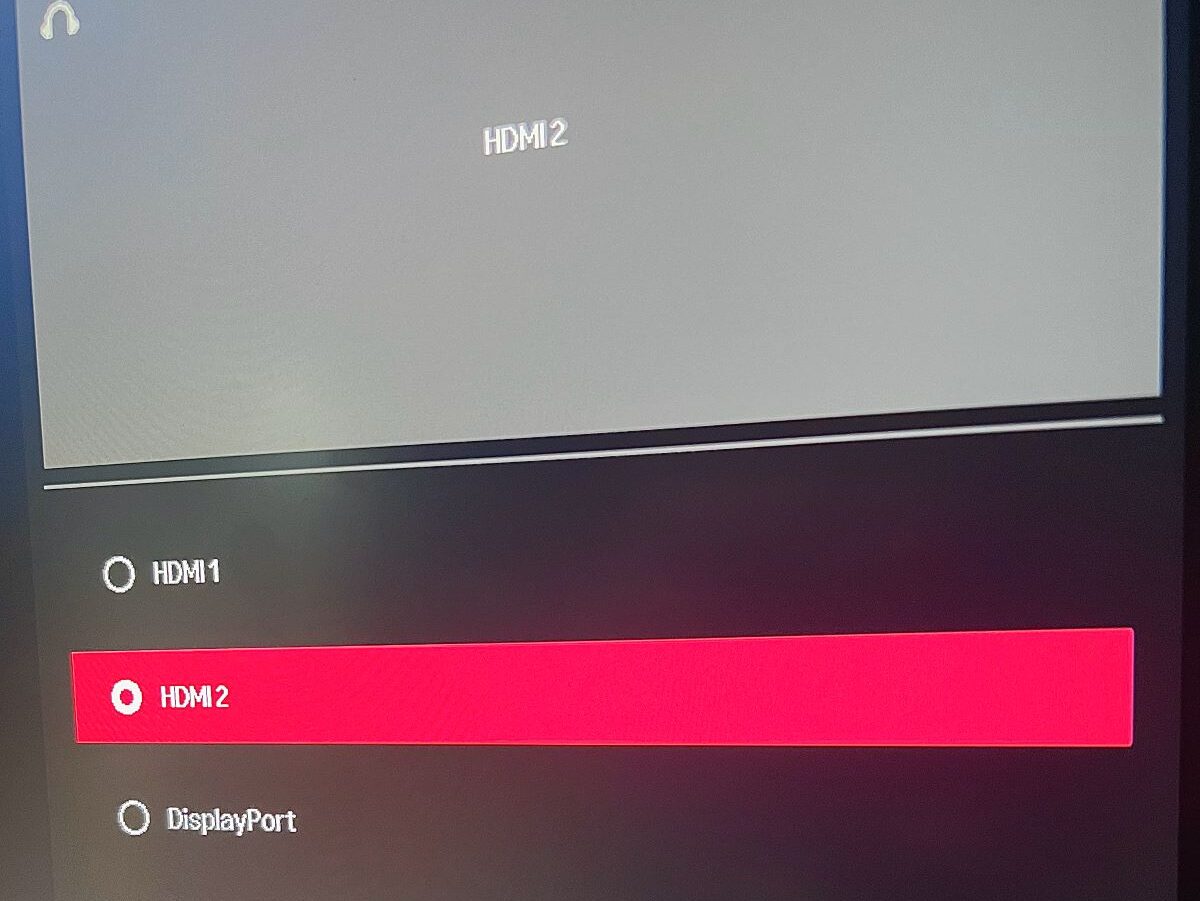
Step 3: On the monitor, switch the input source to HDMI, where you should now see the Fire TV Stick’s interface.
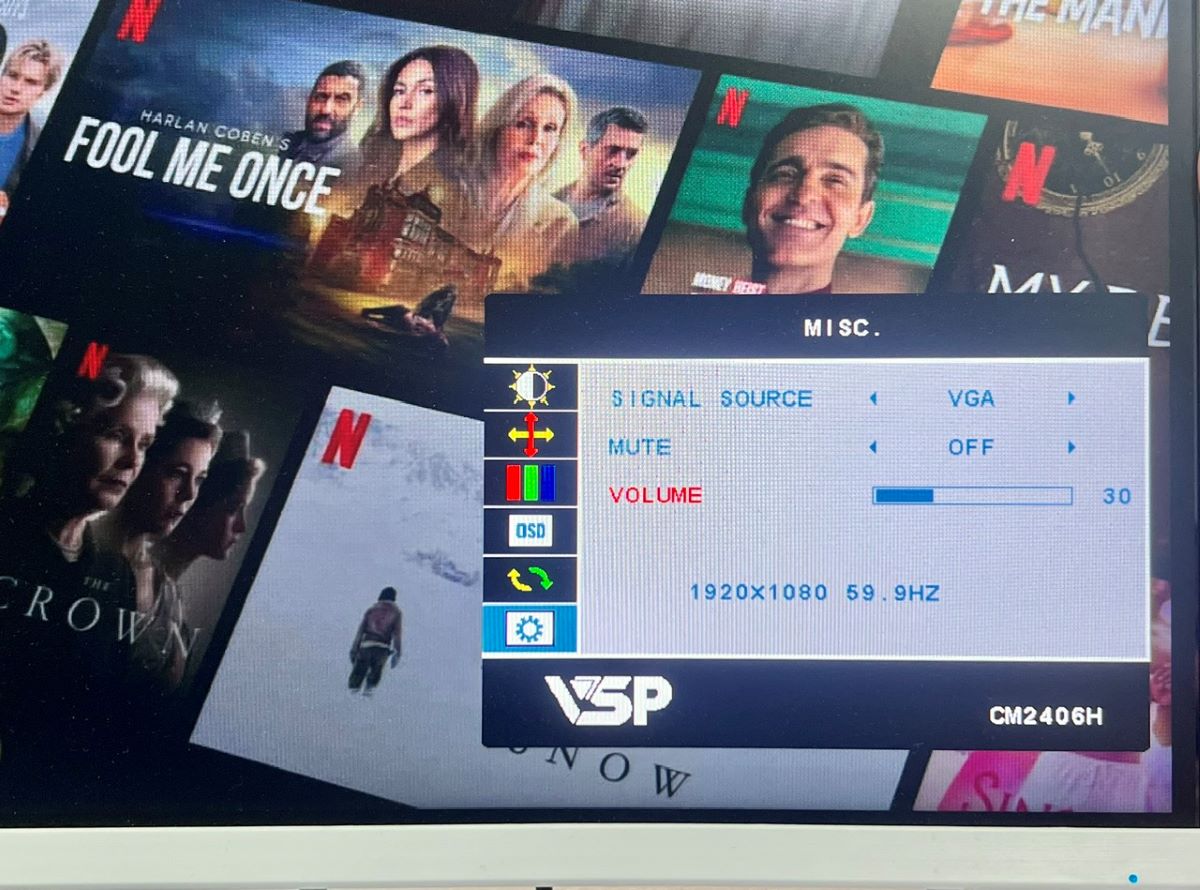
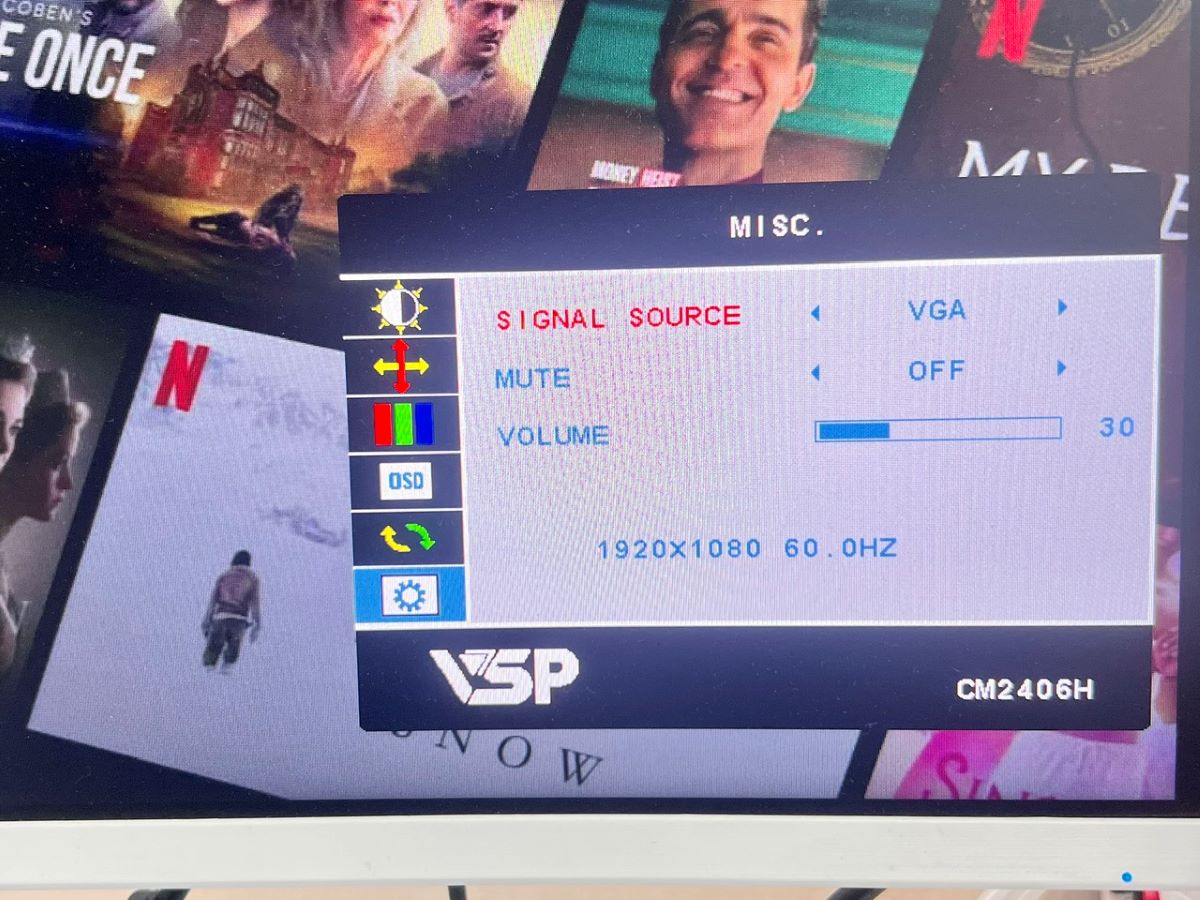
This approach works perfectly for monitors equipped with built-in speakers, like my CM2406H model, where you can easily control the volume via the screen settings.
For those using a monitor without built-in speakers, like my LG 27UP600-W, the following section is tailored for you.
I’ll show you how to handle the audio output from your Fire TV Stick to ensure an immersive viewing experience.
3 Solutions for Monitors Without a Built-In Speaker
No built-in speaker on your monitor? No problem! Here are three practical solutions to enjoy audio with your Fire TV Stick:
1. Connect the Fire TV Stick to Bluetooth Headphones or Speakers
All Fire TV Stick models, including the first generation from 2014, are equipped with Bluetooth.
This makes connecting to a Bluetooth audio device a straightforward and effective way to get sound from your Fire TV Stick.
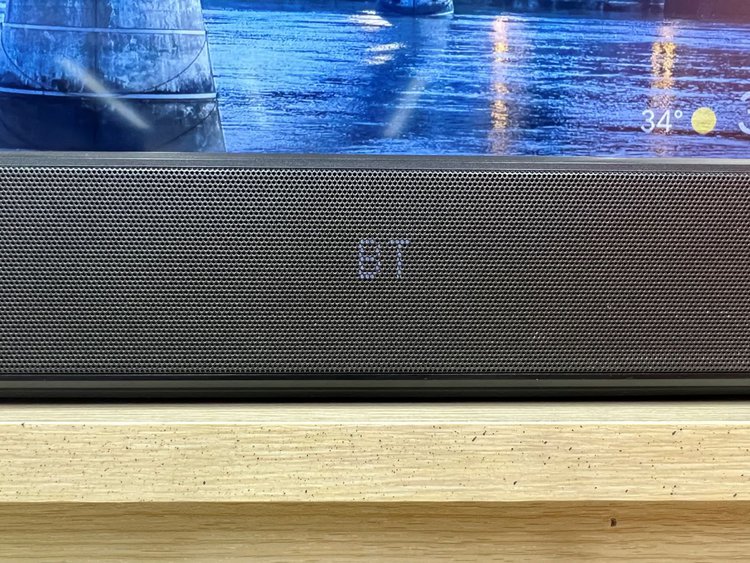
I’ll demonstrate using my Fire TV Stick 4K 2nd Gen. (2022) paired with my SN8Y LG soundbar:
Step 1: Turn on all devices you’ll be using.
Step 2: Set your soundbar (or other Bluetooth audio device) to Bluetooth mode.
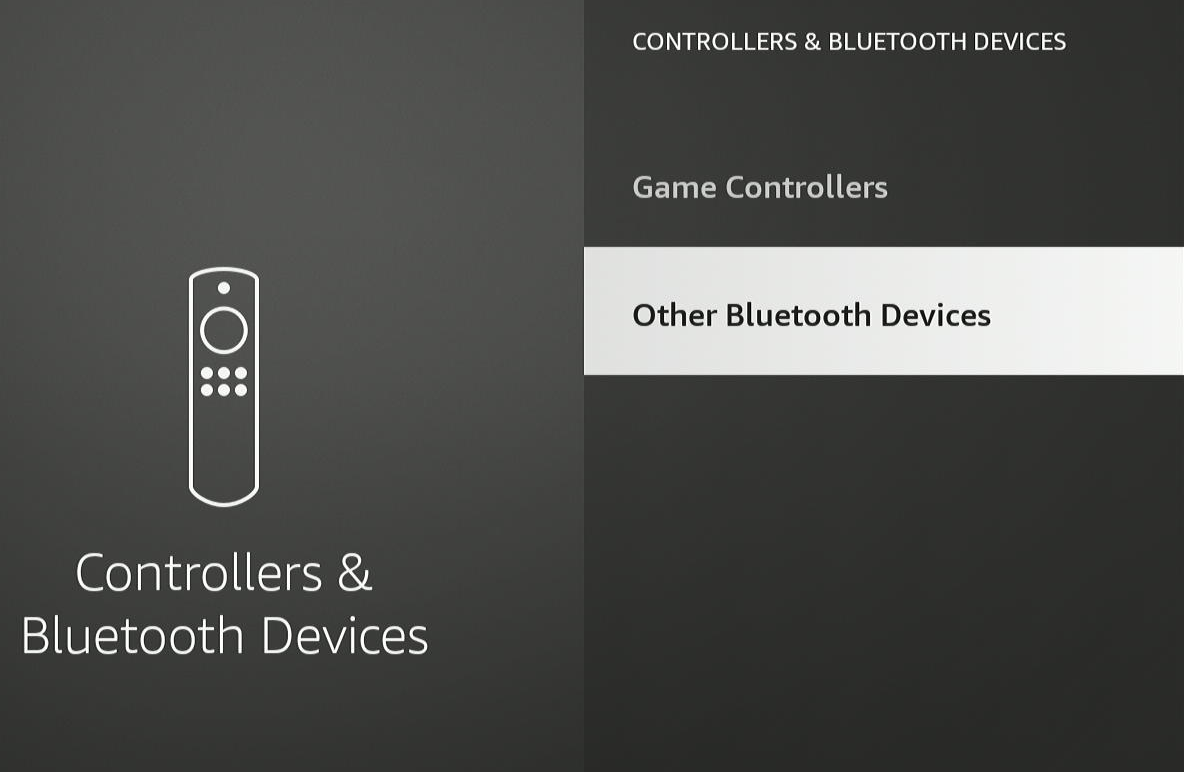
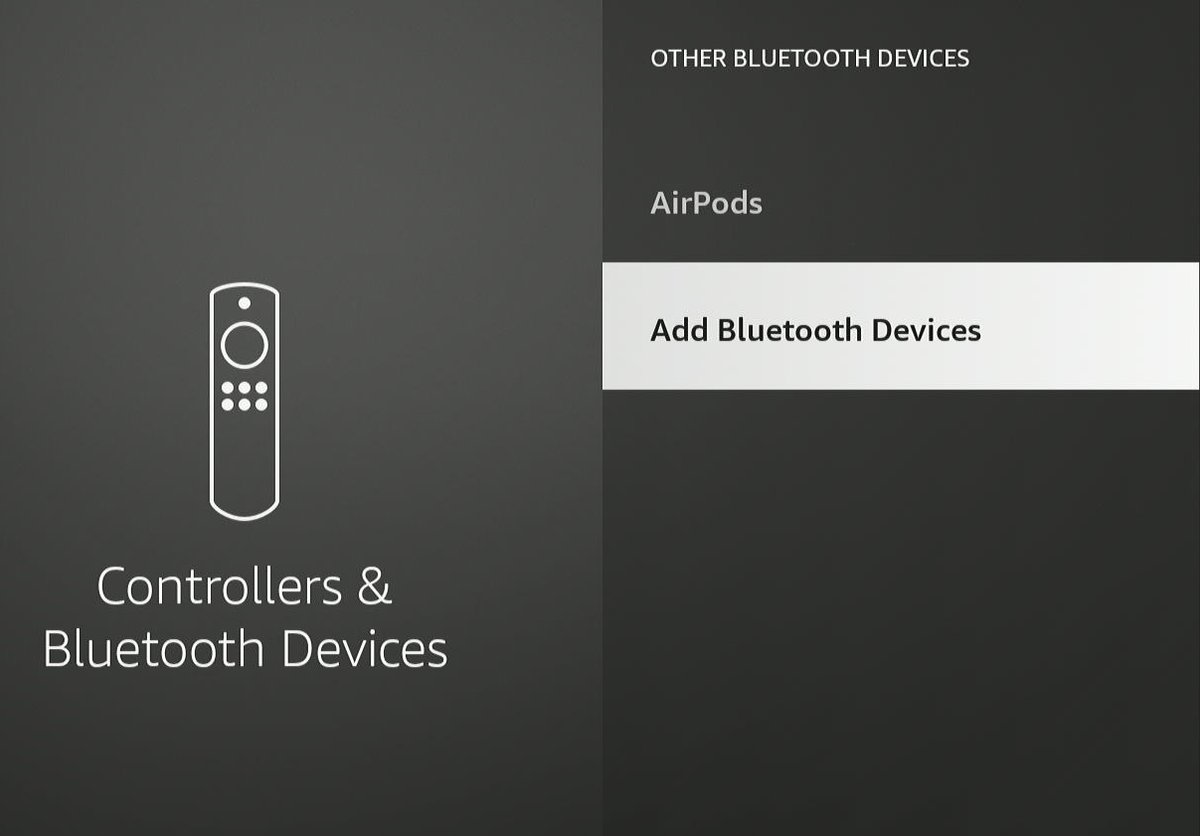
Step 3: On the Fire TV Stick, navigate to Settings app, then Controllers & Bluetooth Devices.

Step 4: Select Other Bluetooth Devices.
Step 5: Click on Add Bluetooth Devices.
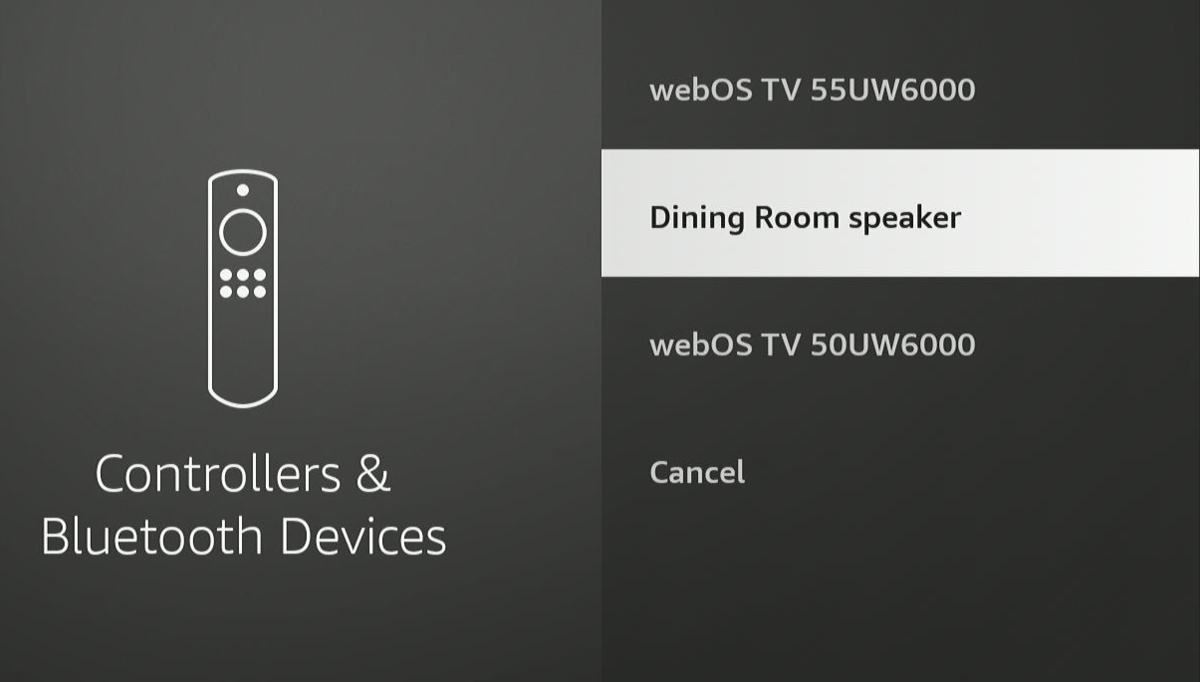
Step 6: From the list, pick your Bluetooth audio device and begin the pairing process.
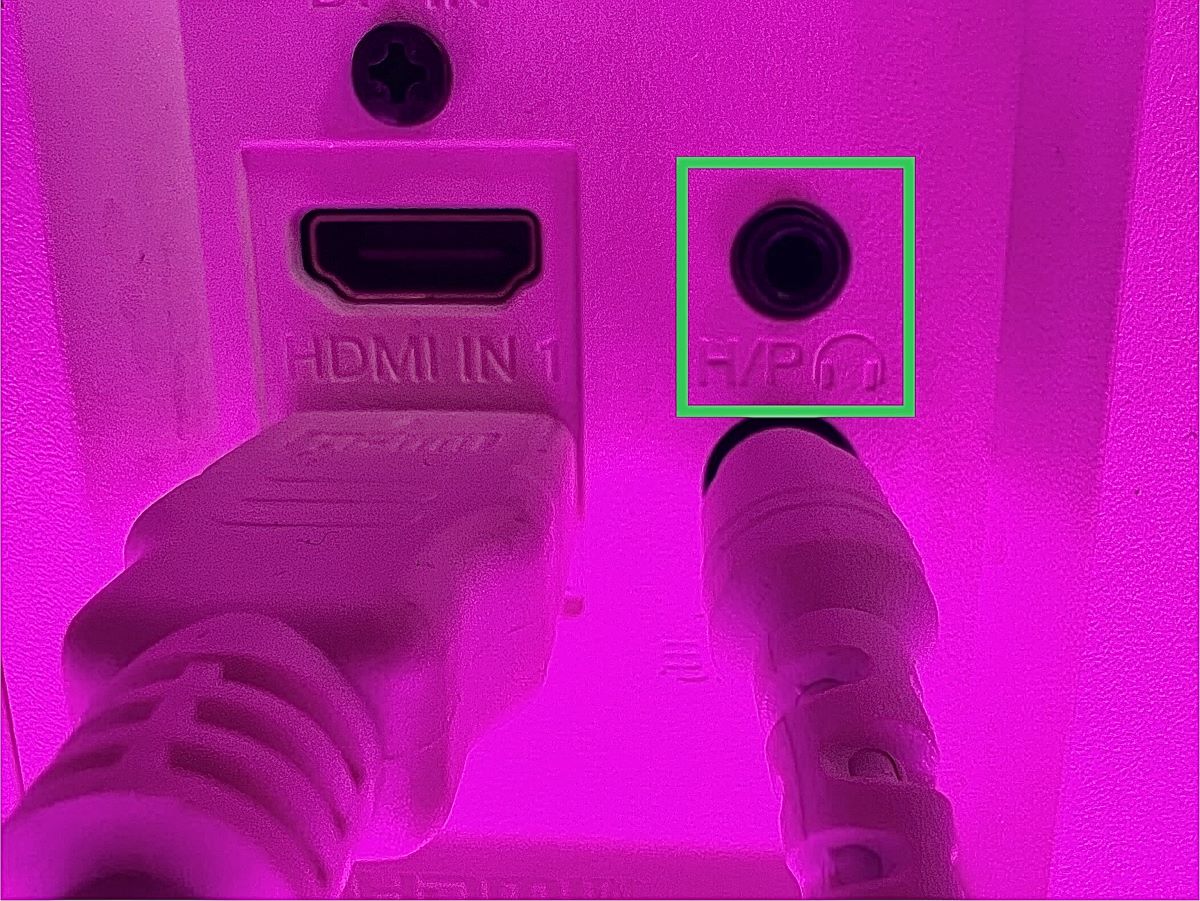
2. Use the Monitor’s Audio Output Port
If your monitor, like my 27UP600-W LG model, includes a 3.5mm audio output port, simply connect your Fire TV Stick to the monitor and then plug in your audio device using a 3.5mm audio cable.
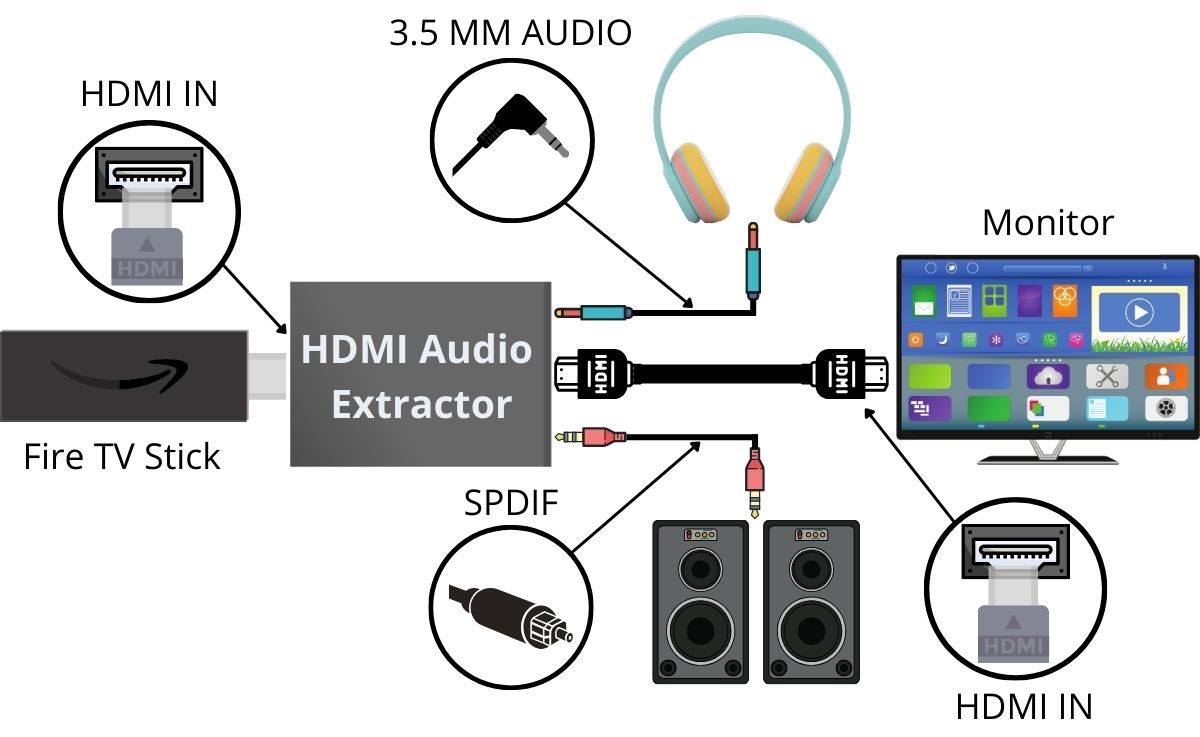
3. Use an HDMI Audio Extractor
In cases where you don’t have a Bluetooth audio device or your monitor lacks an audio output port, an HDMI audio extractor is an excellent alternative.
This device separates the audio signal from the HDMI connection, allowing you to use an external audio port, like SPDIF (optical) or 3.5mm.
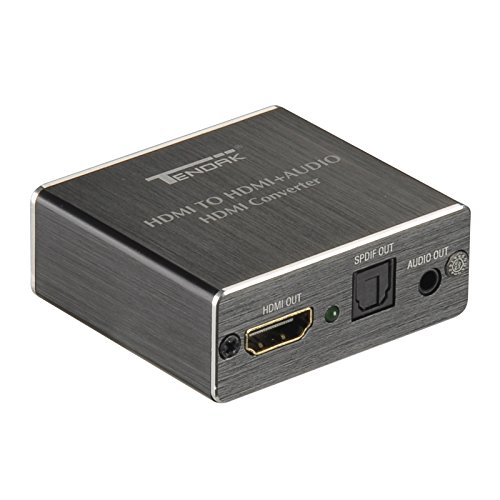
- HDMI Audio Extractor: HDMI audio extractor features one HDMI input and one HDMI output (Pass-Through...
- 4K High Video Resolution: HDMI audio converter support 4Kx2K@30Hz/3D /1080p /1080i...
- Multiple Audio Formats: 3.5mm audio output supports 2CH PCM stereo audio only. SPDIF Output supports...
(Paid Link.)
These HDMI audio extractors are versatile, and also fitting for other devices like streaming devices, gaming consoles (such as PS4, PS5, Xbox), and Blu-ray or DVD players, particularly with monitors that don’t have built-in speakers.
To connect your Fire TV Stick to a monitor using an HDMI audio extractor:
Step 1: Ensure all devices are turned on.
Step 2: Plug your Fire TV Stick into the HDMI IN port of the extractor.
Step 3: Connect external speakers or headphones to the extractor’s Audio Out or Optical port using the appropriate audio cable.
With these solutions, you can fully enjoy your Fire TV Stick’s audio, regardless of your monitor’s capabilities.
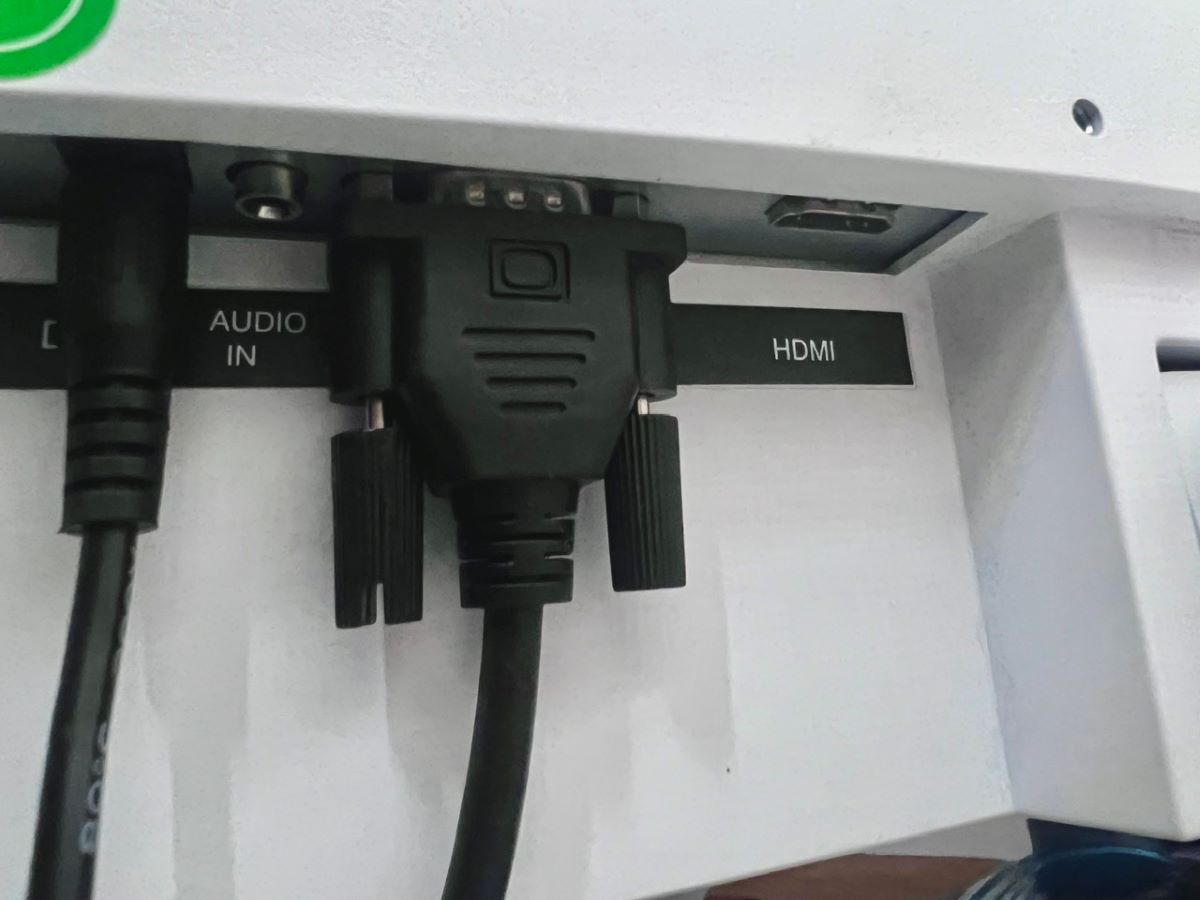
How to Connect Your Fire TV Stick to a Monitor Without an HDMI Port
Connecting your Fire TV Stick to an older monitor lacking an HDMI port is entirely possible.
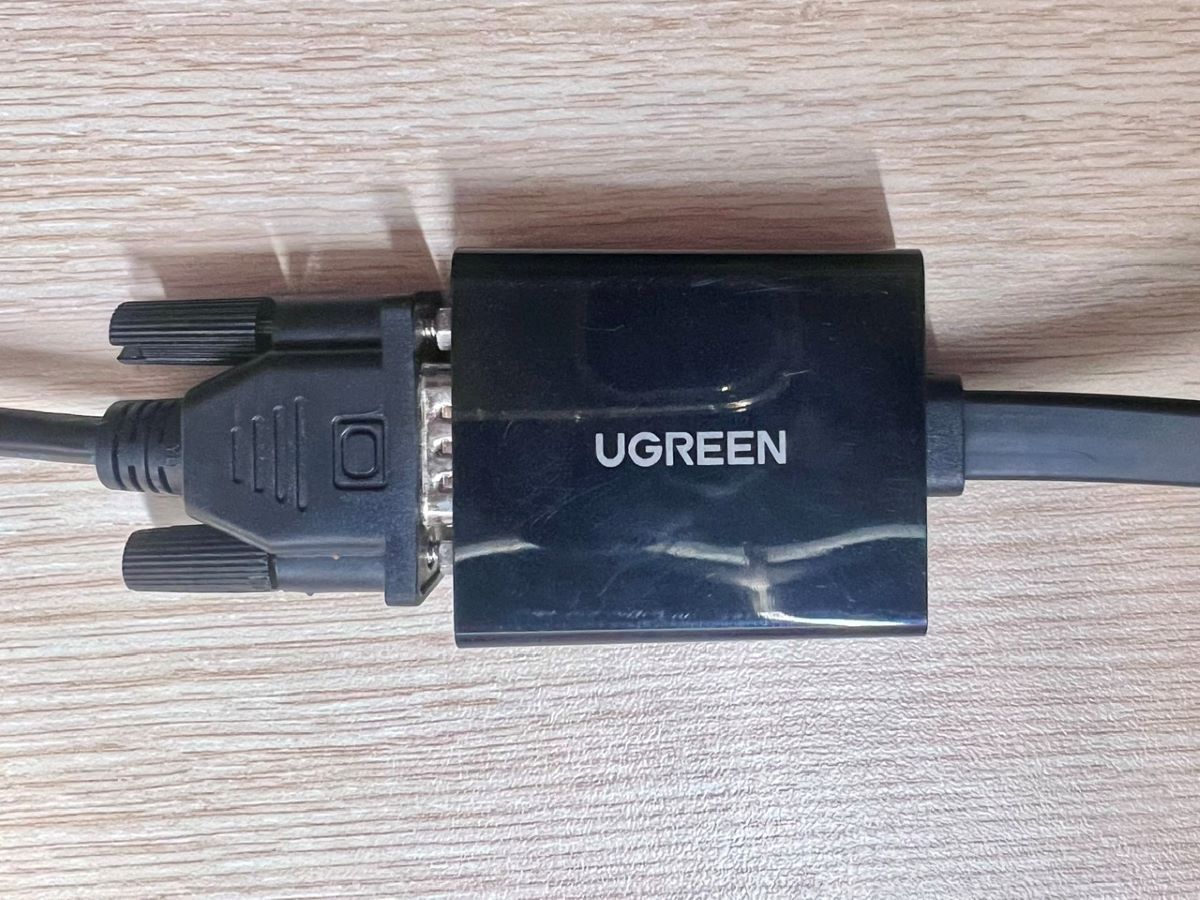
You’ll need to utilize alternative video ports such as DisplayPort, DVI, or VGA, paired with a compatible HDMI adapter. Here are some adapter recommendations for each type of port:
However, you may encounter an HDCP (High-bandwidth Digital Content Protection) issue with a VGA connection.
HDCP is a digital copy protection mechanism designed to prevent the copying of digital video and audio content, particularly over HDMI connections (also DisplayPort and DVI).
While I didn’t face this issue with my HDMI to VGA adapter, many users in various forums have reported it.
If you encounter an HDCP conflict, content from platforms like Netflix or Hulu may not display on your monitor.
To address this, consider using an HDMI splitter or switch. Here’s a detailed guide for a VGA connection encountering an HDCP issue:
Step 1: Power on all devices in your setup.
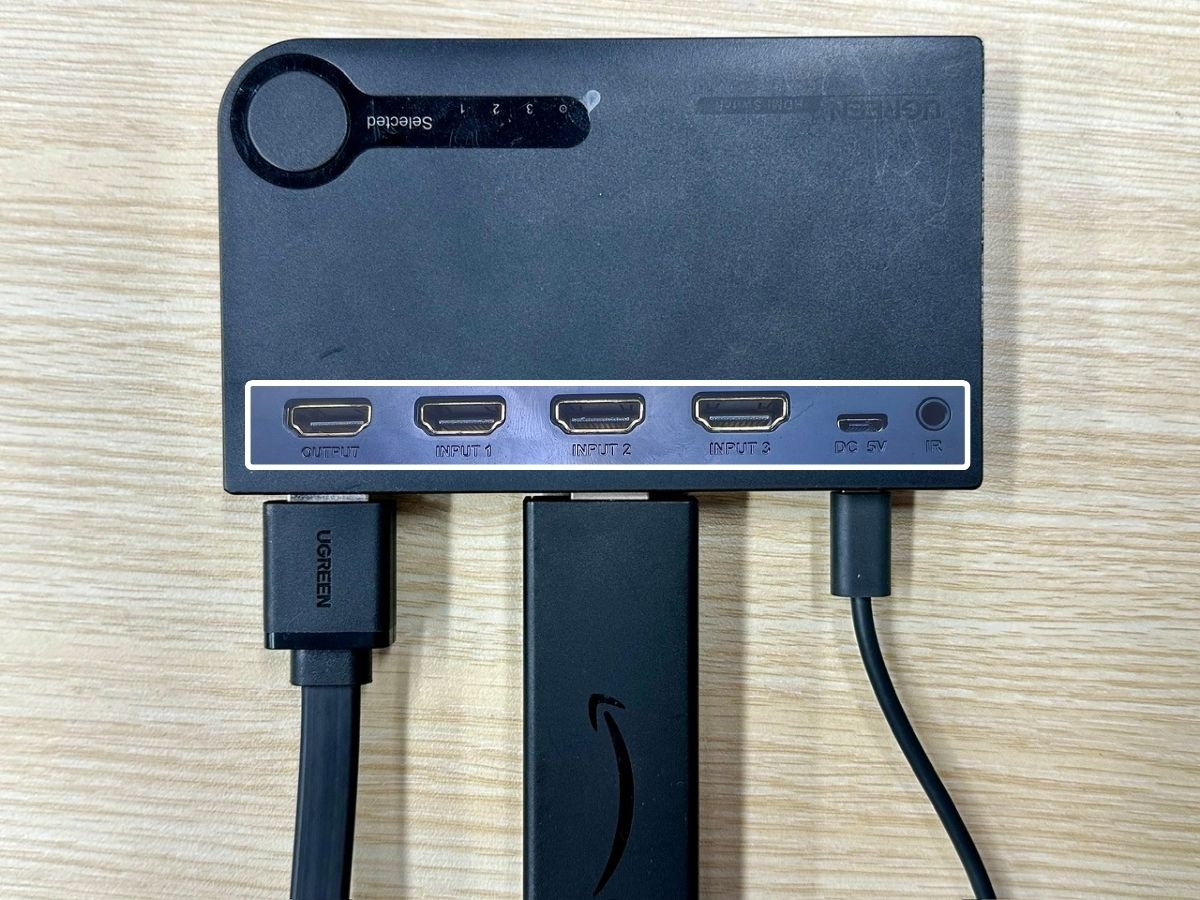
Step 2: Connect your Fire TV Stick to the HDMI Input port of the HDMI splitter or switch.
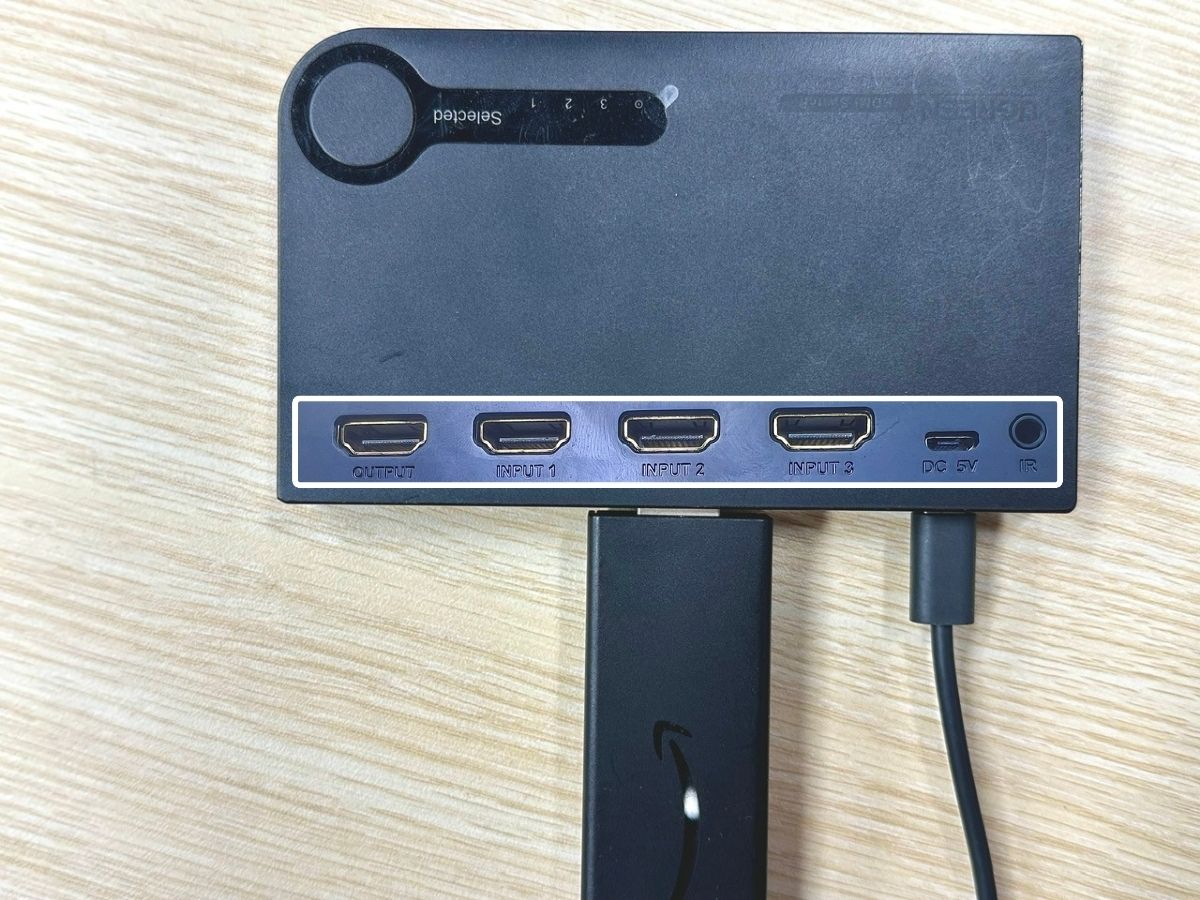
Step 3: Attach the adapter’s HDMI end to the HDMI Output port of the HDMI splitter or switch.
Step 4: Connect the adapter and your monitor using the VGA cable.
Step 5: Switch your monitor’s input to VGA.
For setups utilizing DisplayPort or DVI ports, simply select the suitable adapter from the above recommendations.
You can generally skip the HDMI splitter or switch for these connections since both DisplayPort and DVI support HDCP.
However, it’s worth noting that while the DVI standard accommodates HDCP, some DVI port monitors from unlicensed manufacturers may not. In such instances, an HDMI splitter or switch might still be necessary to circumvent potential HDCP issues.
Bonus: Connect a Fire TV Stick to a Laptop or a PC
We’ve previously provided comprehensive articles with step-by-step guides on projecting your Fire TV Stick onto a laptop, covering both Windows OS and macOS. Here are the articles for your reference:
By following the instructions in these articles, you can also establish a connection between your Fire TV Stick and your PC.
This setup does more than just allow you to view Fire TV Stick content on your computer screen; it also enables you to utilize other functions of your PC simultaneously.
One of the advantages of using a PC setup is the flexibility it offers in audio output.
A PC typically has more audio ports than a monitor, providing you with various options to connect external speakers (via HDMI, Optical, 3.5mm, etc.).
This feature enhances your viewing experience, allowing you to enjoy your favorite shows with superior sound quality while still managing your computer tasks effectively.
Essentially, it’s a seamless blend of entertainment and productivity.

Duy Anh is a seasoned technical editor specializing in helping readers troubleshoot TV, projector, and Wi-Fi issues. He’s always been drawn to logical problem-solving. His ability to approach matters from various angles with a neutral mindset enhances his technical expertise.
Thanks for the VERY useful tips. I was in the process of setting up a Bluetooth speaker I had lying around to work as my monitor’s speakers, when I realized I could just pair my Fire Stick with a nearby Echo Dot! That is even easier and the sound quality is better than with my cheaper Bluetooth speaker. You could also include that solution in your tutorial! Thanks again!