
10 Outdoor Projector Setup Ideas

Creating the perfect outdoor projector setup can transform your backyard into a cozy movie night haven.
With a few creative ideas, you can set up a projector screen that brings the magic of the big screen to your home.
Whether you prefer a DIY approach or a more polished setup, these outdoor projector setup ideas are sure to inspire.
Enjoy the charm of watching movies under the stars while making unforgettable memories.
Let’s dive into ten amazing ways to enhance your outdoor movie experience.
Quick Navigation
1. Rooftop Movie Vibes
Hosting a movie night on a rooftop brings a thrilling twist to your usual gatherings, creating a special place for friends to unite under the stars
Imagine setting up comfy chairs in a cozy circle, with string lights above adding a warm, inviting glow.

As everyone finds their spot, enjoying their favorite drinks, the sound of laughter sets the tone for a memorable evening.
It’s essential, though, to ensure you have a power source for your projector. If an electrical outlet isn’t available, a portable projector with a built-in battery can be a perfect solution.
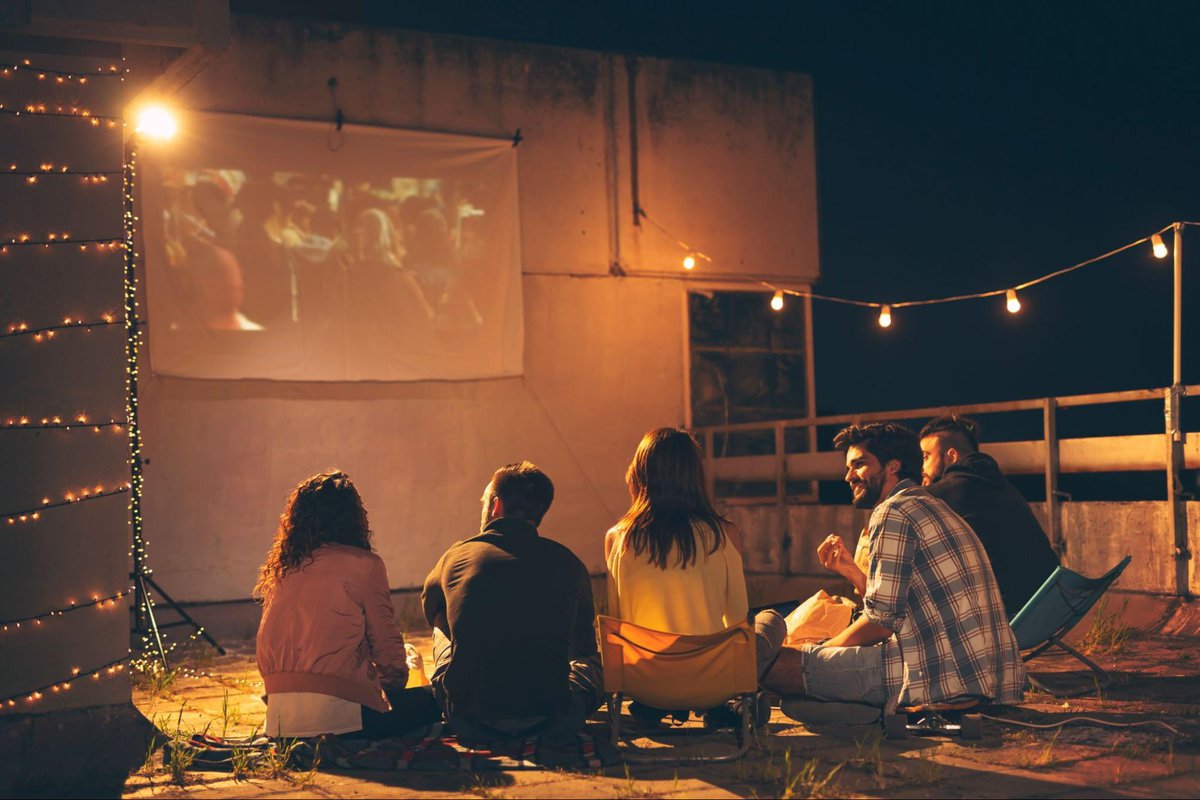
And, of course, prioritize safety: keep a key to the rooftop handy and leave the door unlocked during the event for easy emergency access.
2. Roadside Movie Breaks
The relentless pace of city life can be quite draining at times.
I’ve always found the city’s bright lights and constant hustle a bit overwhelming.
This has led me to dream about a peaceful journey across the country with my friends, away from the urban glare.
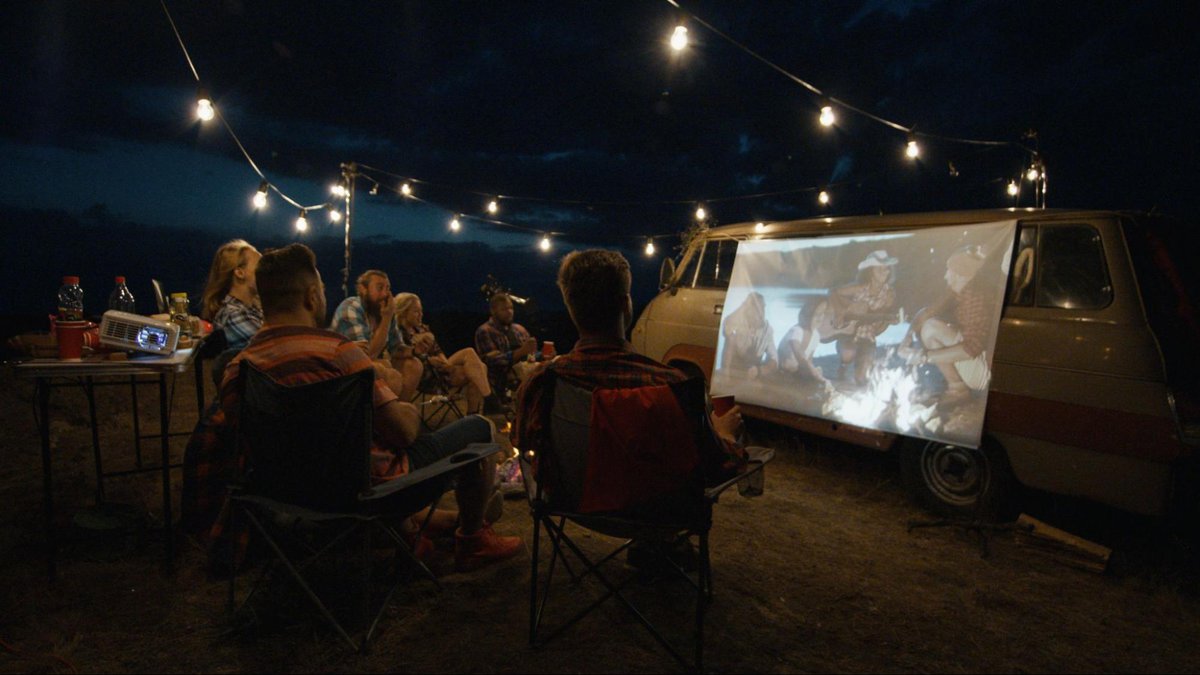
We’d drive through the day, and as the evening sky turned pink and gold, we’d set up a simple outdoor cinema by our van.
With just a screen, a laptop, a projector, and an optional few chairs, we’d create our own little cinema under the stars.
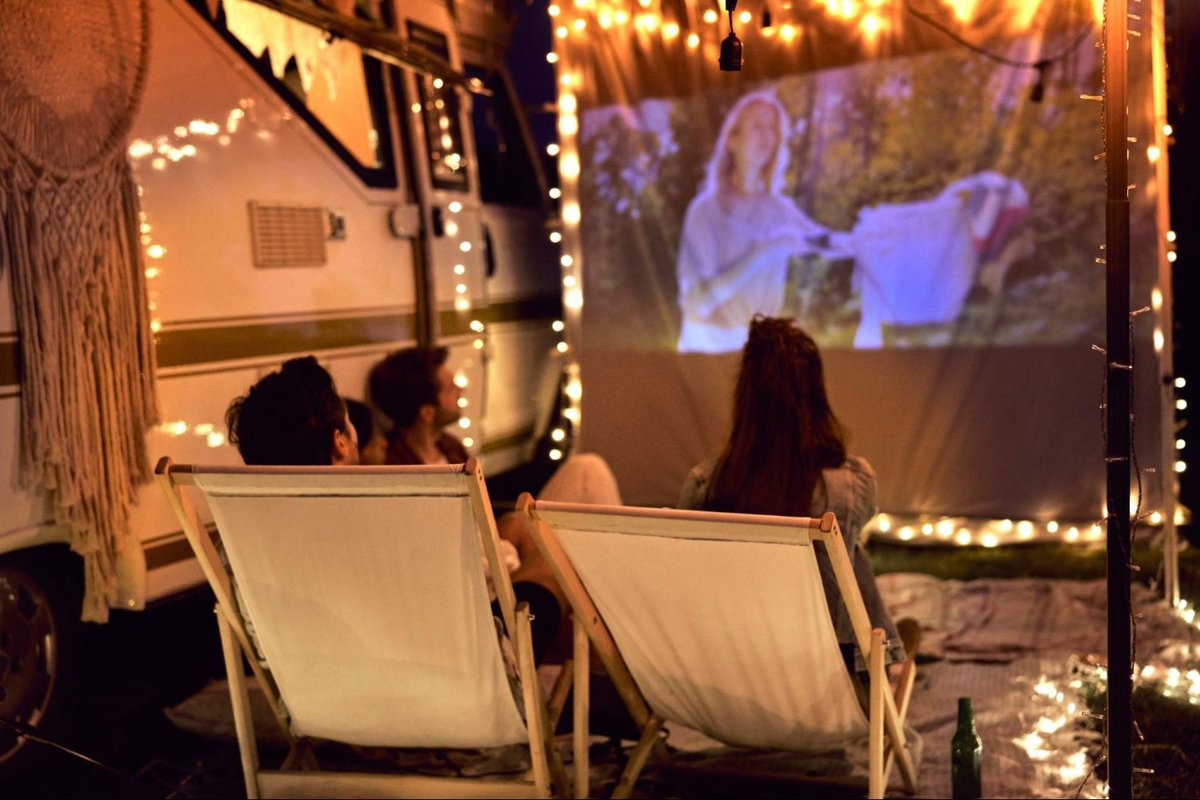
As the night deepens, we’d switch from movies to roasting marshmallows, sharing quiet drinks, and enjoying meaningful conversations, all while strengthening our bond in the calm in the middle of nowhere.
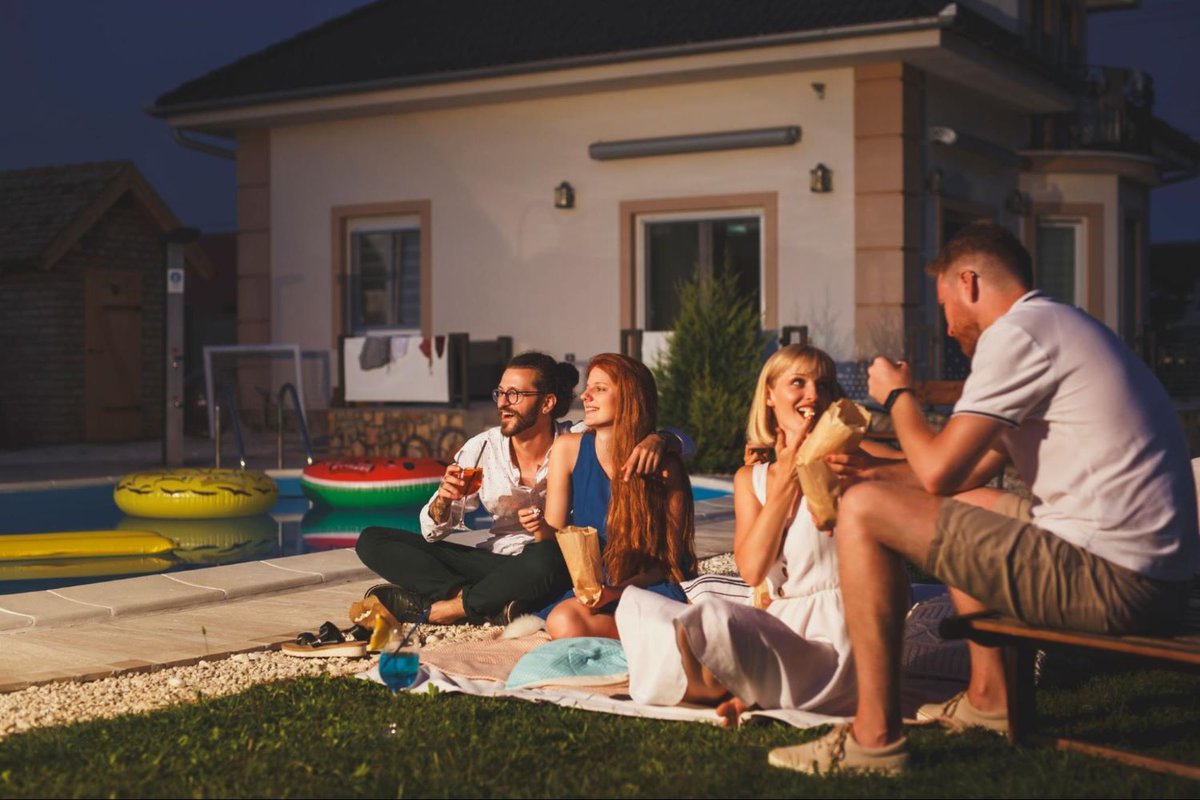
3. Poolside Film Nights
A poolside movie night offers a unique charm, especially during hot summer evenings.
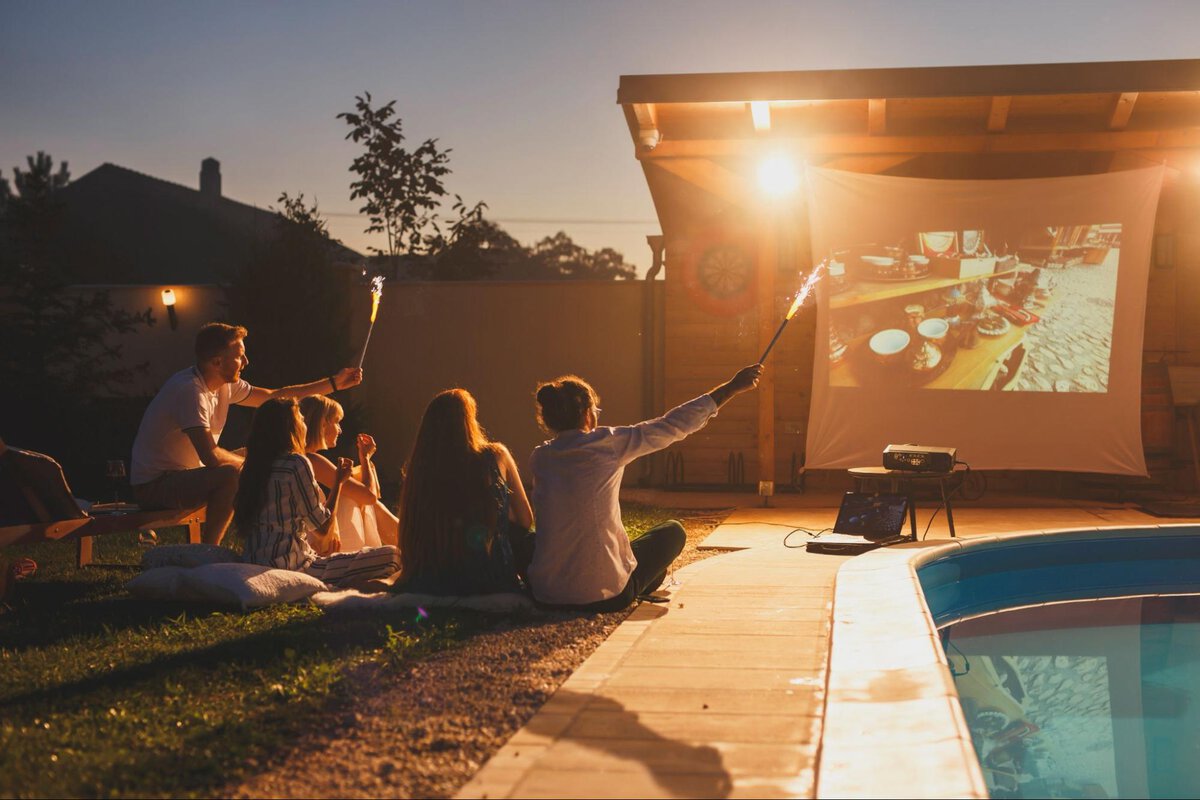
Picture yourself lounging on a float, gently bobbing on the water’s surface as you watch your favorite movies under a starry sky.
The soft glow of the projector illuminates the pool, creating a mesmerizing ambiance that blends the coolness of the water with the warmth of the film’s narrative.
However, this setup is best enjoyed in warmer weather; attempting a poolside movie night in cooler seasons might leave you with a chill.
So, reserve this special setup for those balmy nights when the air is as warm as the water, perfect for a relaxing and unforgettable cinematic experience.

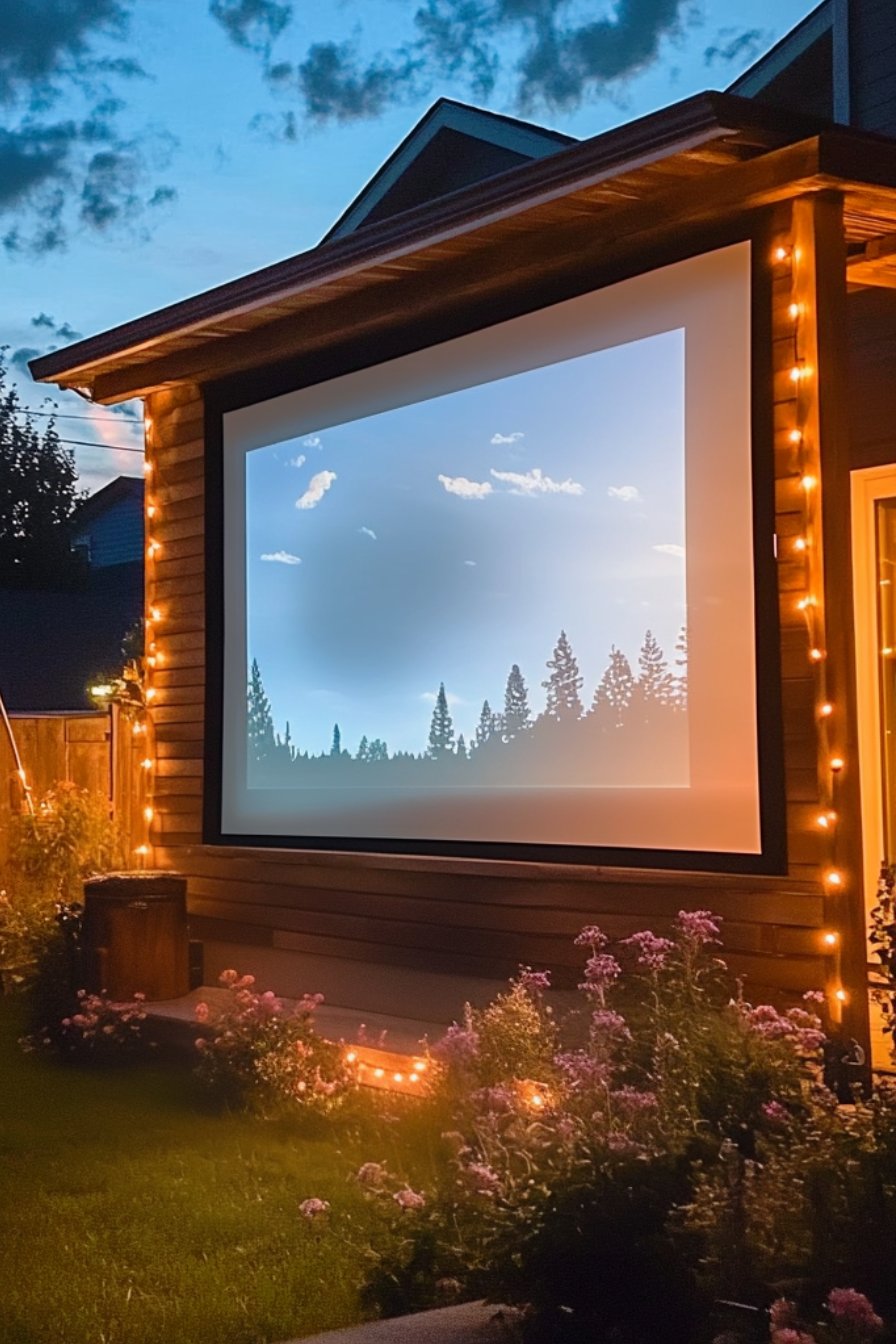
4. Utilize Your Wall
If you have a spare wall at your disposal, it can be the perfect backdrop for an impromptu movie night.
There’s no need for a dedicated screen when a flat, unadorned wall is available.

This approach simplifies the setup process, making it ideal for those spontaneous evenings when the thought of erecting a screen feels like too much effort.
Just position your projector, grab some comfy seating, and you’re all set.

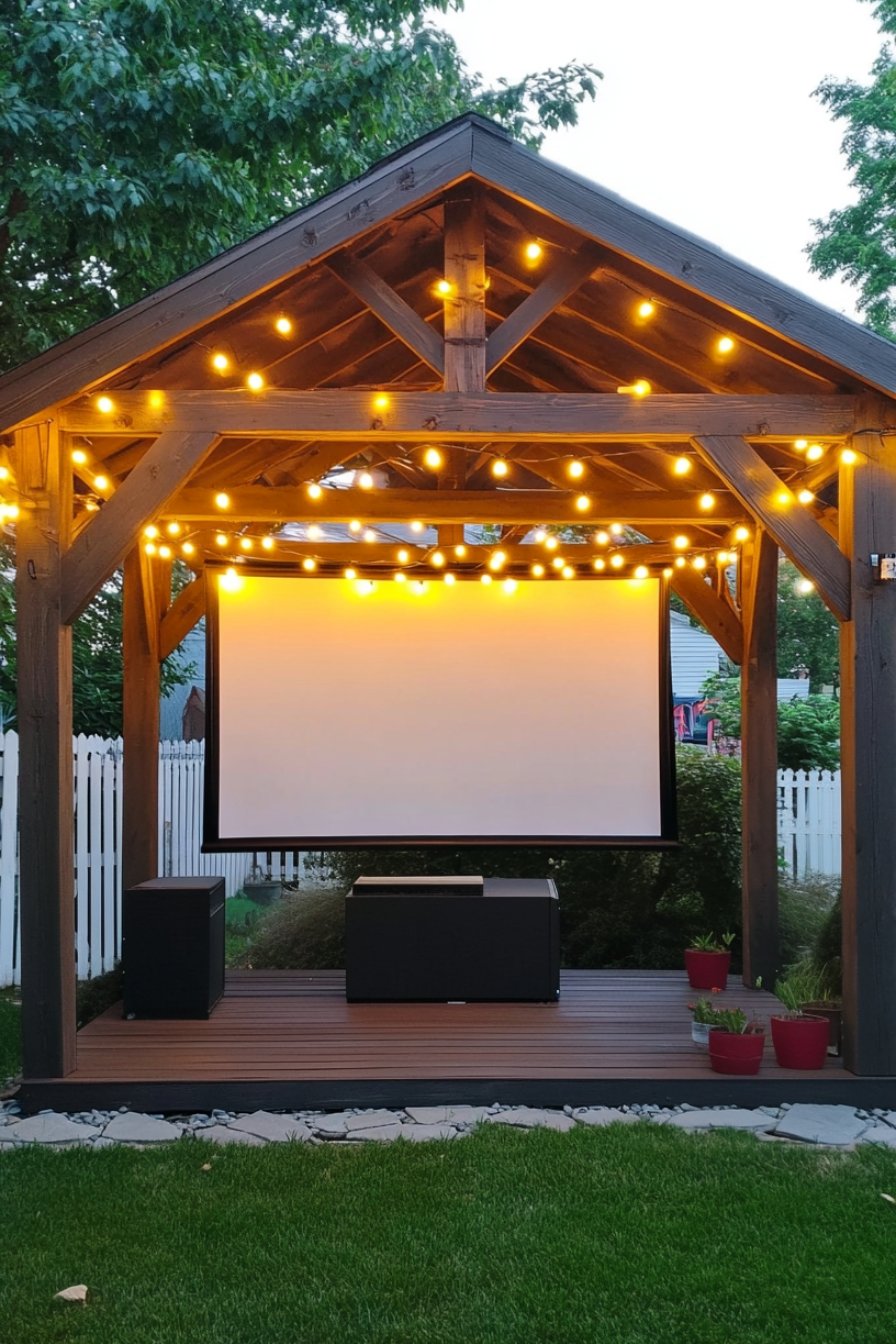
5. Wooden Deck Theater
Building a dedicated wooden deck can transform a simple movie night into a memorable summer gathering spot.
From my own experience, there’s something inherently cozy and inviting about a wooden deck.
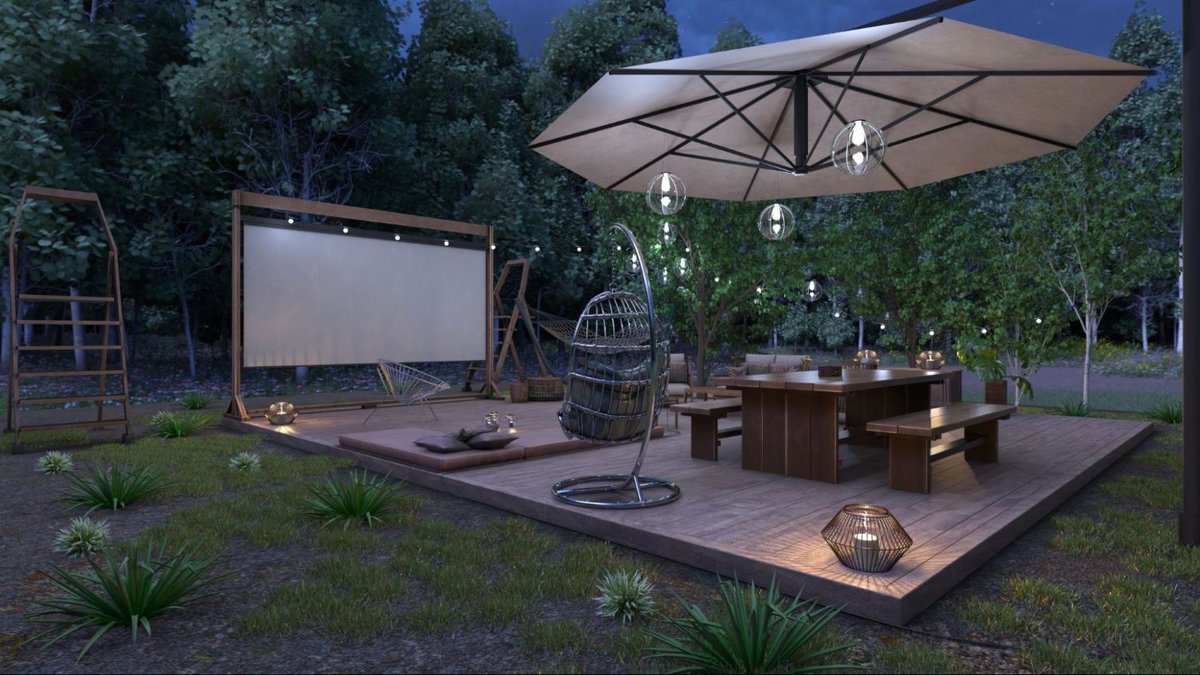
It’s not just a place for watching movies; it becomes a hub for friends to come together, relax, and enjoy each other’s company under the starry sky.
The rustic charm of the wood under your feet enhances the ambiance, adding a natural touch.
Plus, a deck provides a stable and level surface for setting up your projector and seating, ensuring everyone’s comfort.
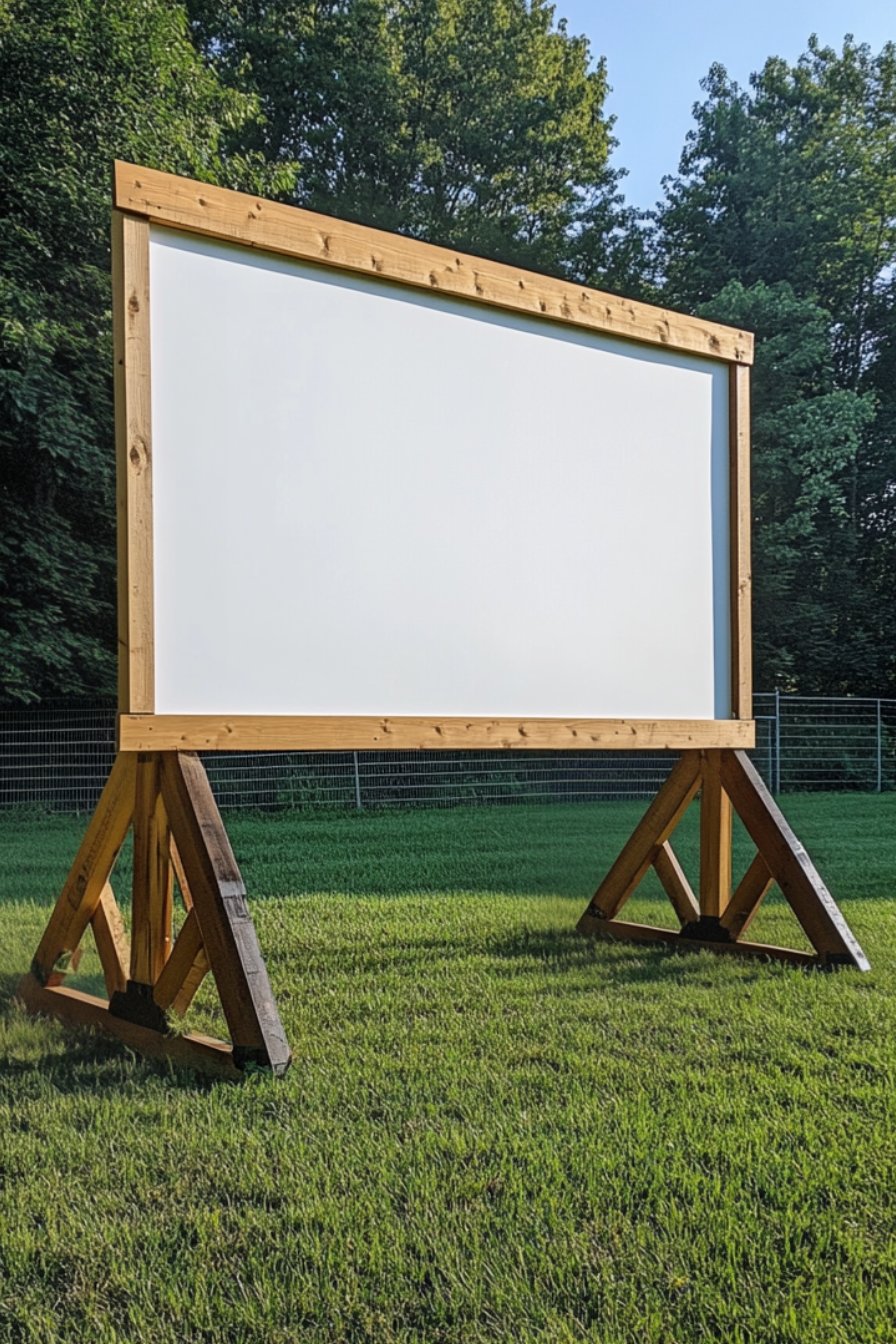
6. Inflatable Outdoor Screen
Using an inflatable screen is a wonderfully convenient option for outdoor movie nights.
These screens are incredibly easy to set up, making them ideal for those who want a no-fuss solution.

You can quickly inflate them to create a large, clear viewing surface, and once the movie is over, they deflate just as easily for compact storage.
However, it’s important to remember that you’ll need an air pump to inflate the screen.

While this adds an extra step to the setup, the ease, and convenience of having a large, portable screen more than make up for it.
This makes the inflatable screen a practical choice for those impromptu movie gatherings under the stars.
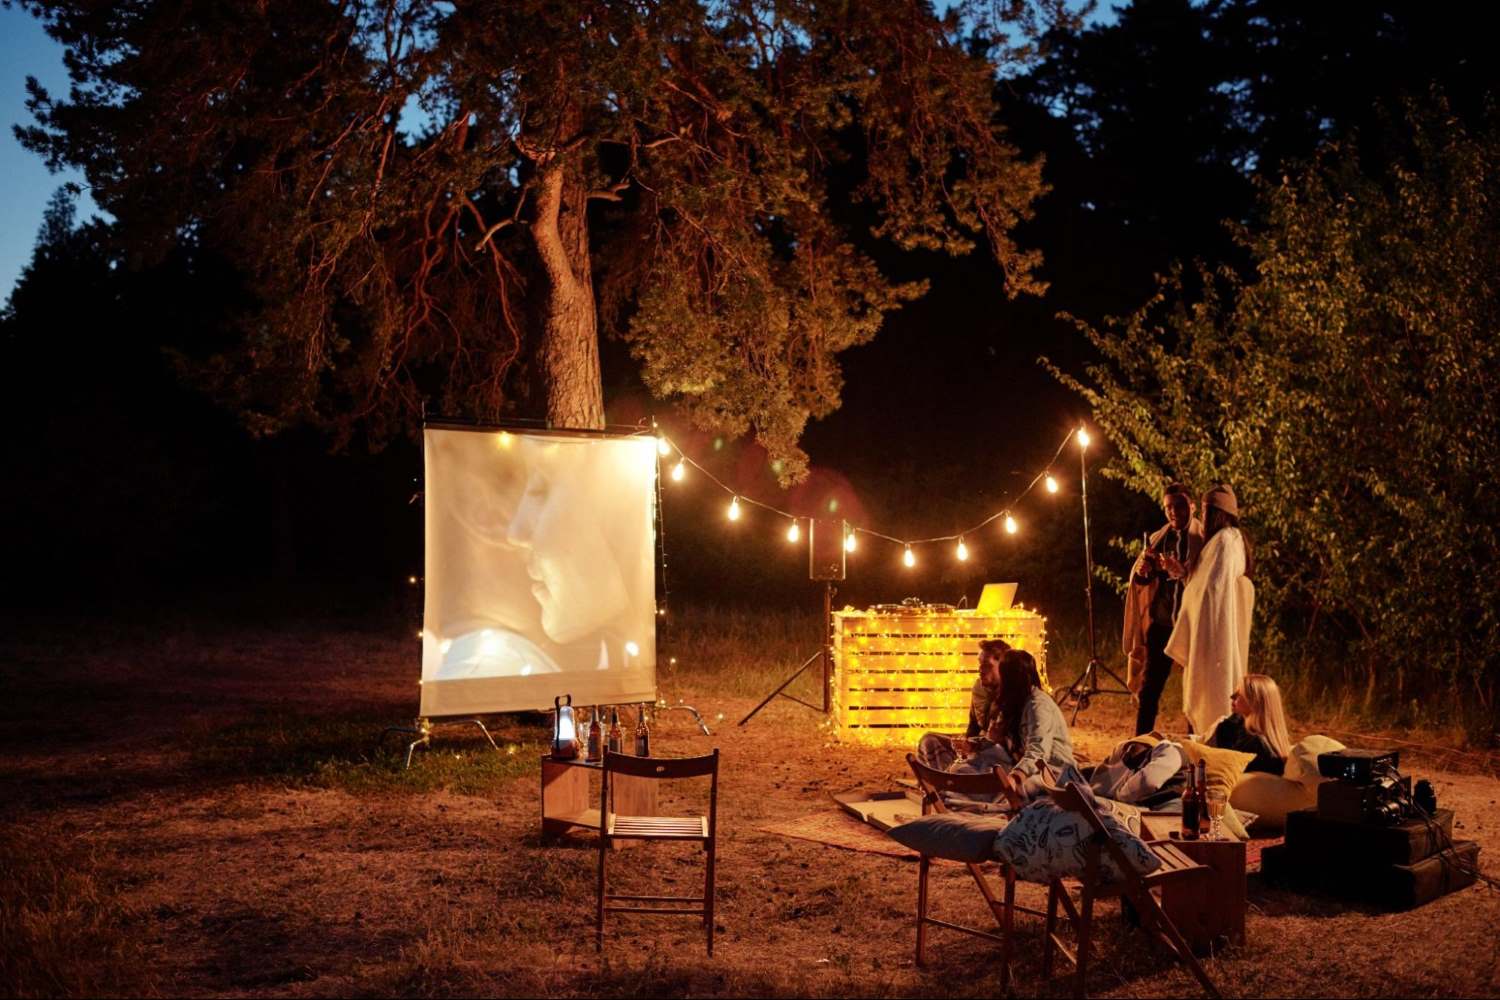
7. Budget Backyard Setup
Creating a budget-friendly backyard setup for your outdoor projector is both easy and enjoyable.
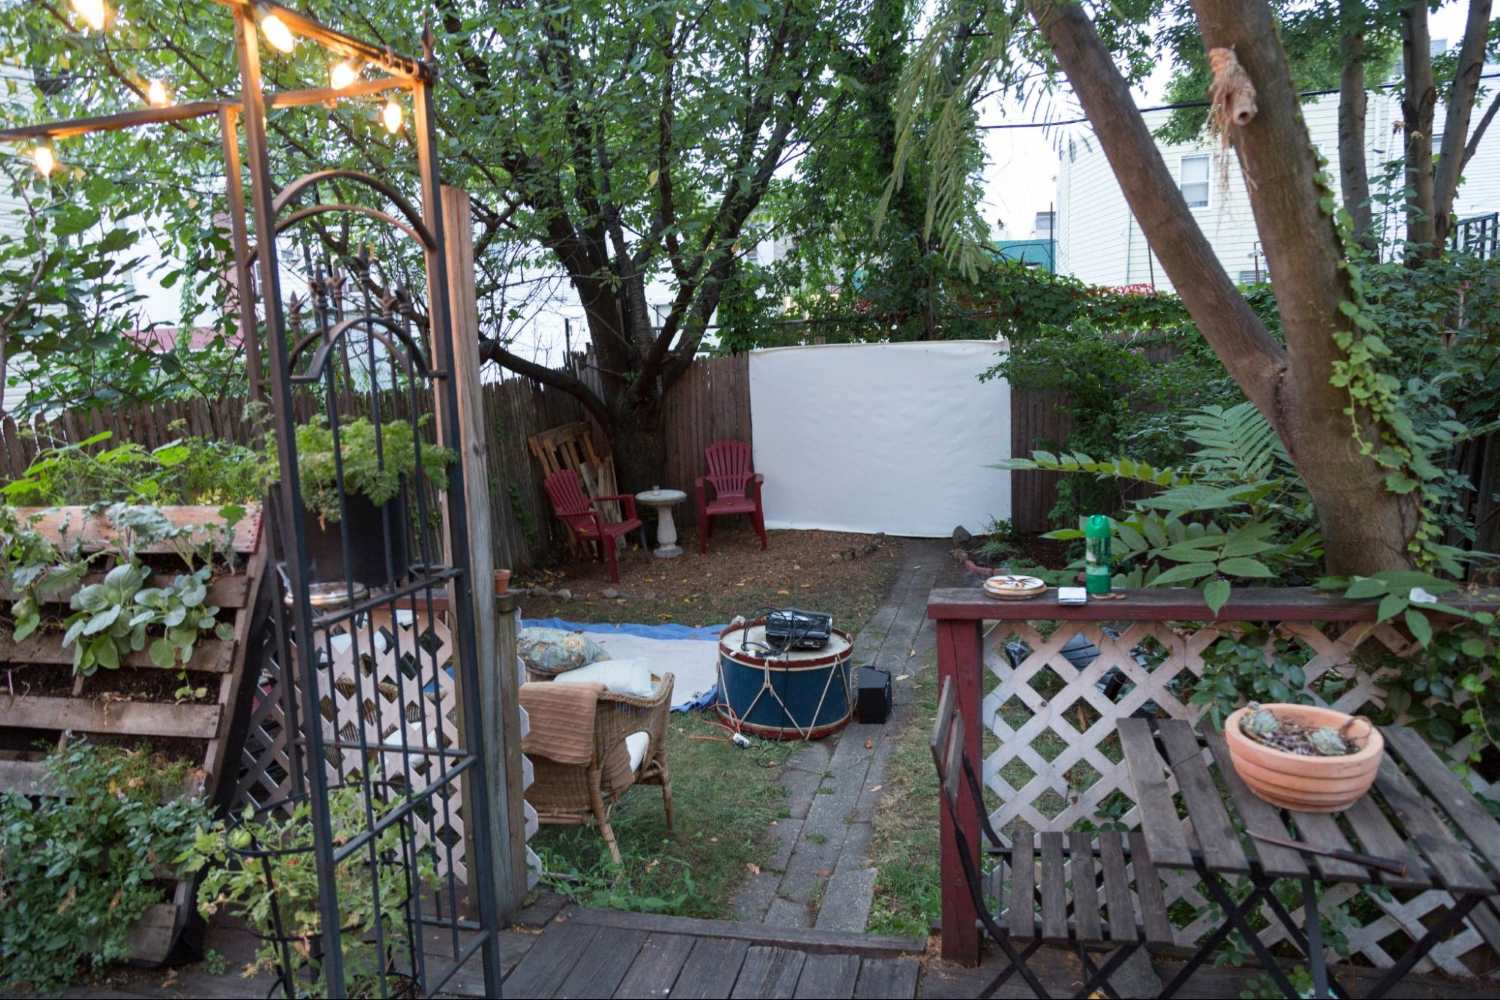
One cost-effective idea is to craft a DIY projector screen, which can be as simple as hanging a white sheet in a clear area.
To add a touch of magic, I recommend adding fairy lights around the viewing space, giving it a cozy and enchanting feel.
If you still find the setup a bit plain, consider adding decorations that match the theme of different holiday seasons.
For instance, spooky ornaments for Halloween or festive lights and garlands for Christmas can elevate the atmosphere.

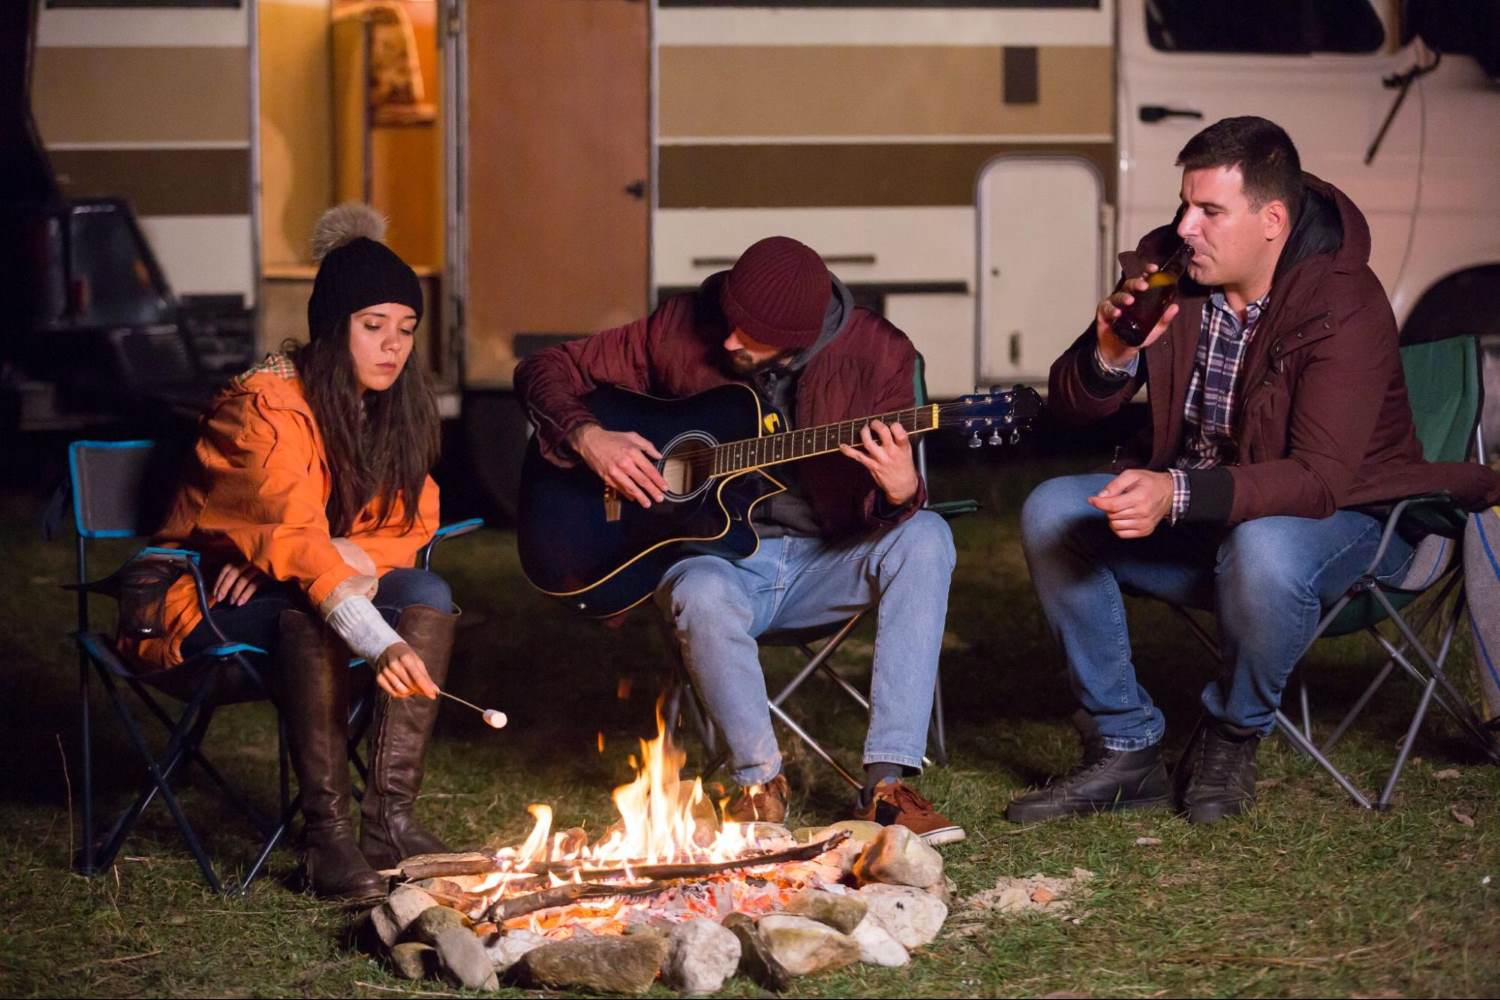
8. Woodsy Movie Escape
Hosting a movie night in the woods is an adventurous twist to the classic cinema experience.
When I think about it, it feels like combining the excitement of camping with the fun of a movie marathon.
All you need is a portable projector and a white sheet to serve as your screen, easily hung between two trees.
Don’t forget to set up tents for a cozy stay and a campfire for warmth and light.
It’s also important to bring along anti-insect sprays to keep the evening comfortable.
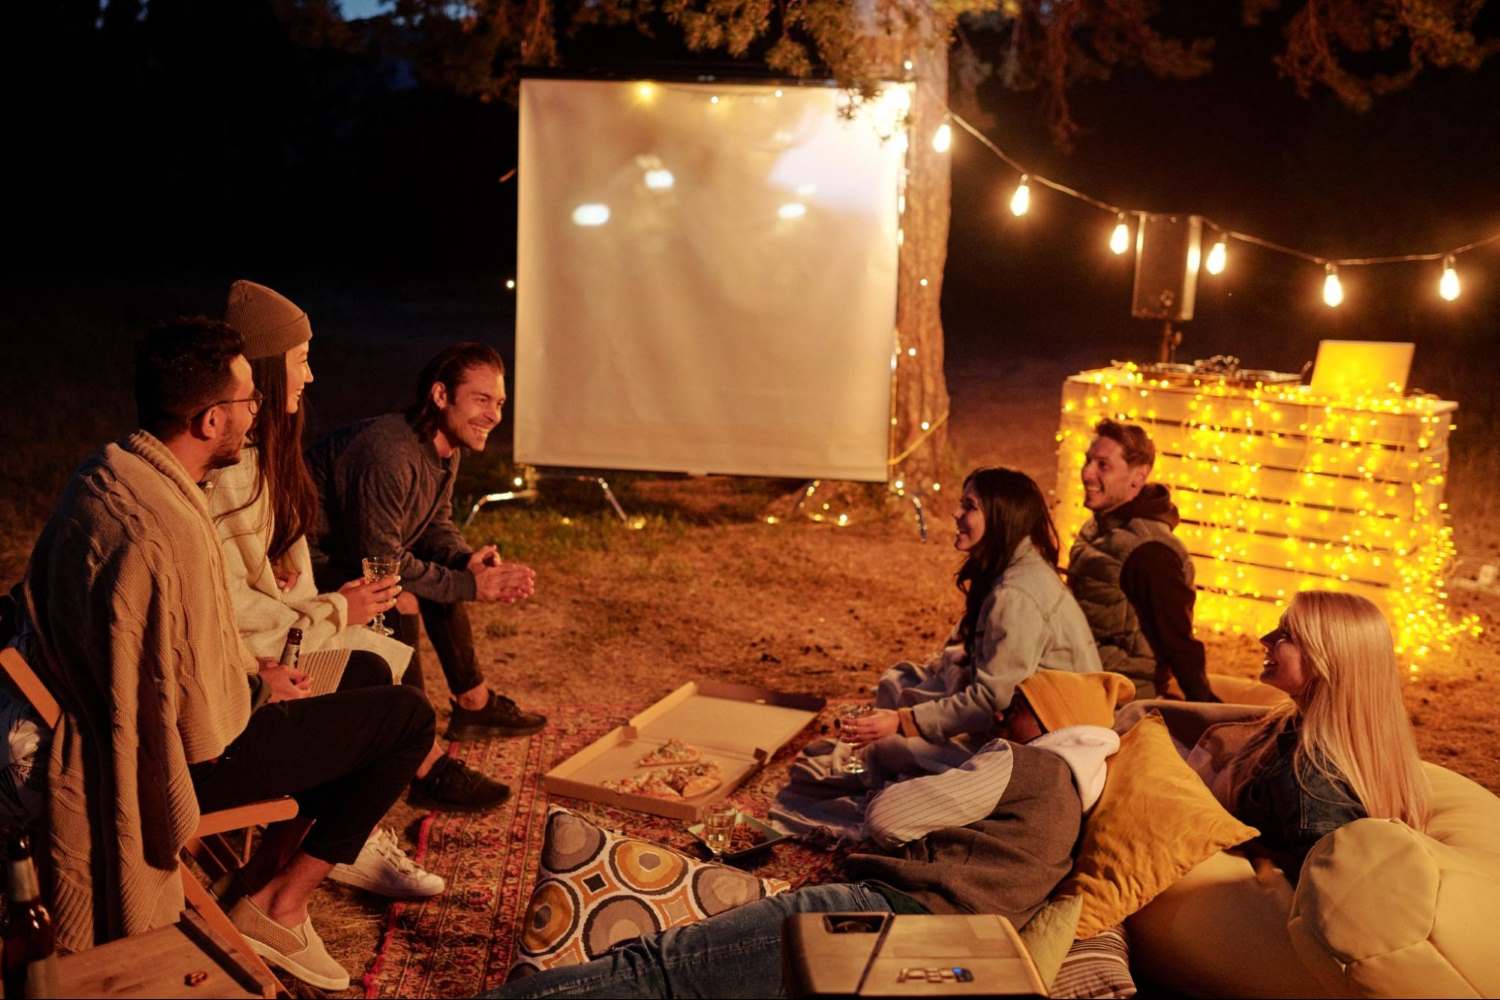
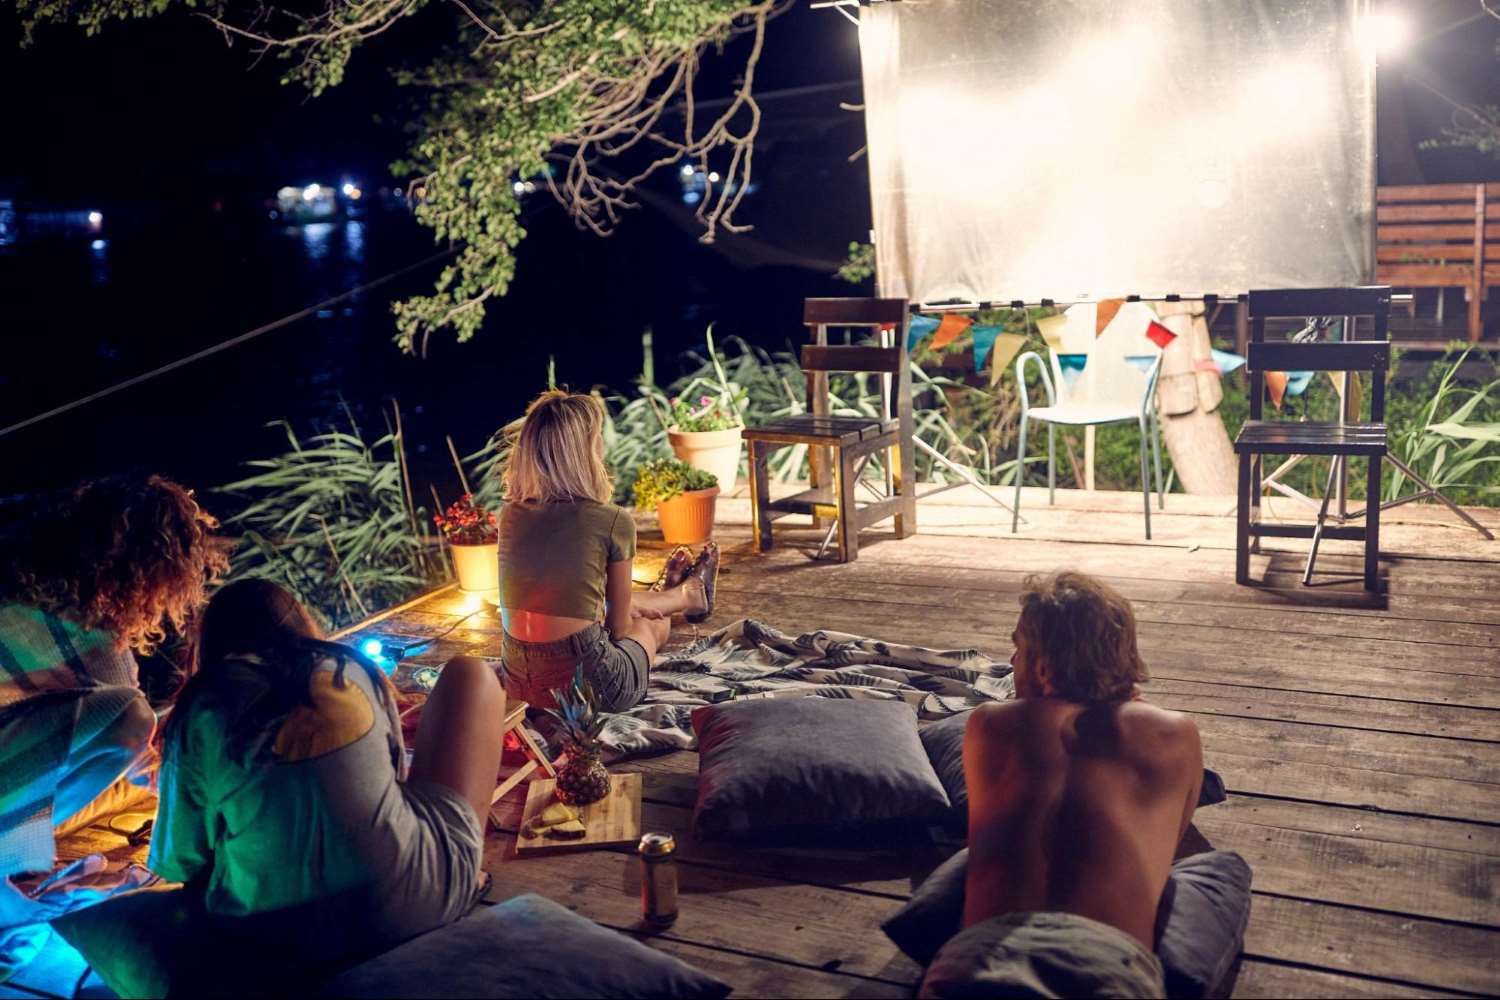
9. Patio Cinema Setup
Setting up a projector on your patio can effortlessly elevate your outdoor space into a cozy movie haven.
If you’re handy, crafting your own DIY projector mount adds a personal touch and something to brag about with your friends.
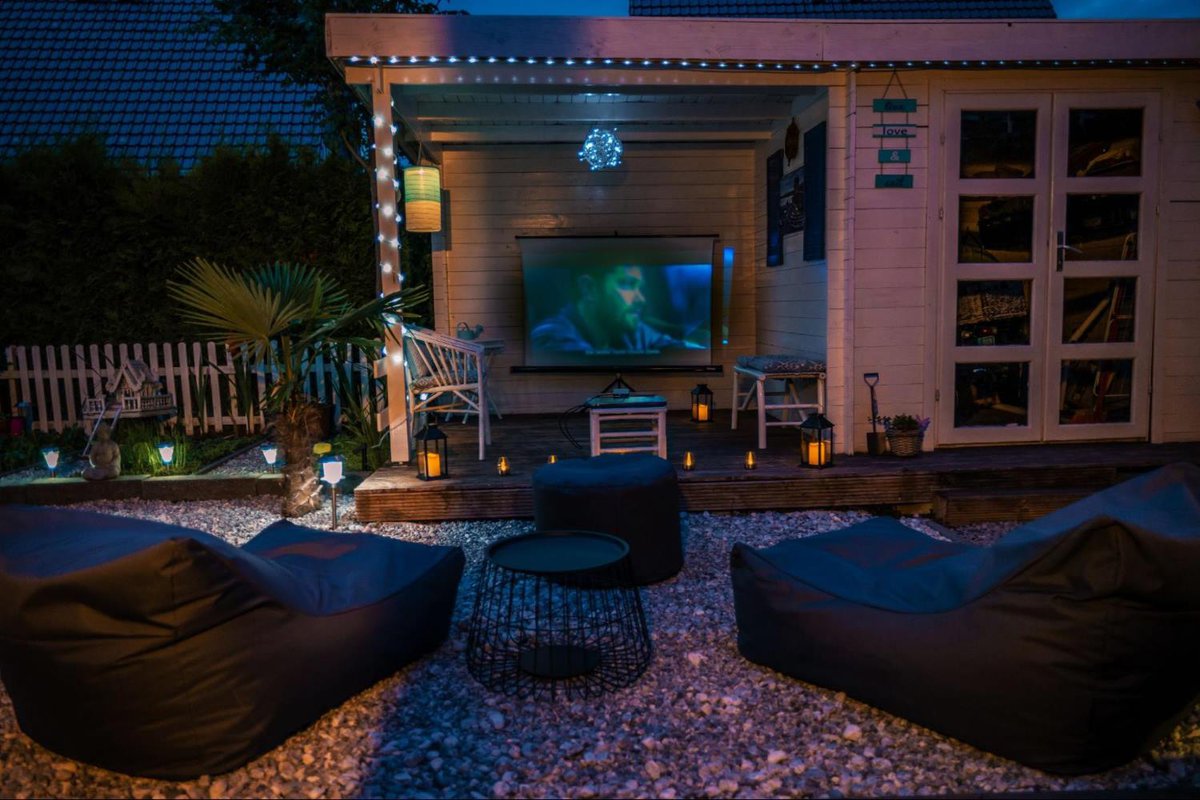
I recommend positioning your setup near a fire pit, especially if you enjoy movie nights on cooler evenings.
The warmth of the firepit not only keeps you comfortable but also adds to the ambiance, making the experience even more enjoyable.
Don’t forget to scatter some outdoor pillows and comfy chairs around – they’re essential for creating a snug and inviting atmosphere.

10. Balcony Movie Nook
I’ve found that setting up a projector on a balcony can create a delightful little cinema right at home.
You can simply set up some chairs or an outdoor sofa for comfortable seating.

For the screen, I suggest mounting a retractable projector screen onto the ceiling.
This way, you won’t have to worry about it toppling over in strong winds, which can be a concern with tripod-mounted screens.
Adding some pretty lights around the space can really enhance the ambiance, making your balcony the perfect spot for a cozy movie night.
The video below is labeled as a patio setup, but it actually showcases a balcony projector arrangement. Hopefully, this will spark some creative ideas for you.

Wrapping Things Up
There you have it, folks.
These 10 outdoor projector setup ideas are designed to turn your ordinary evenings into magical movie nights under the stars.
Whether it’s on a rooftop, by the poolside, or in a cozy patio corner, each setup promises a unique and enjoyable experience, bringing cinema magic right to your doorstep.

Meet Vance. He’s a proud dad, a seasoned Electronics Engineer, and an avid tech lover. His proficiency in electronics and troubleshooting skills were instrumental in crafting Pointer Clicker. Vance is passionate about simplifying tech for those who aren’t well-versed in it.