
How to Make a DIY Projector Without a Magnifying Glass

What To Know
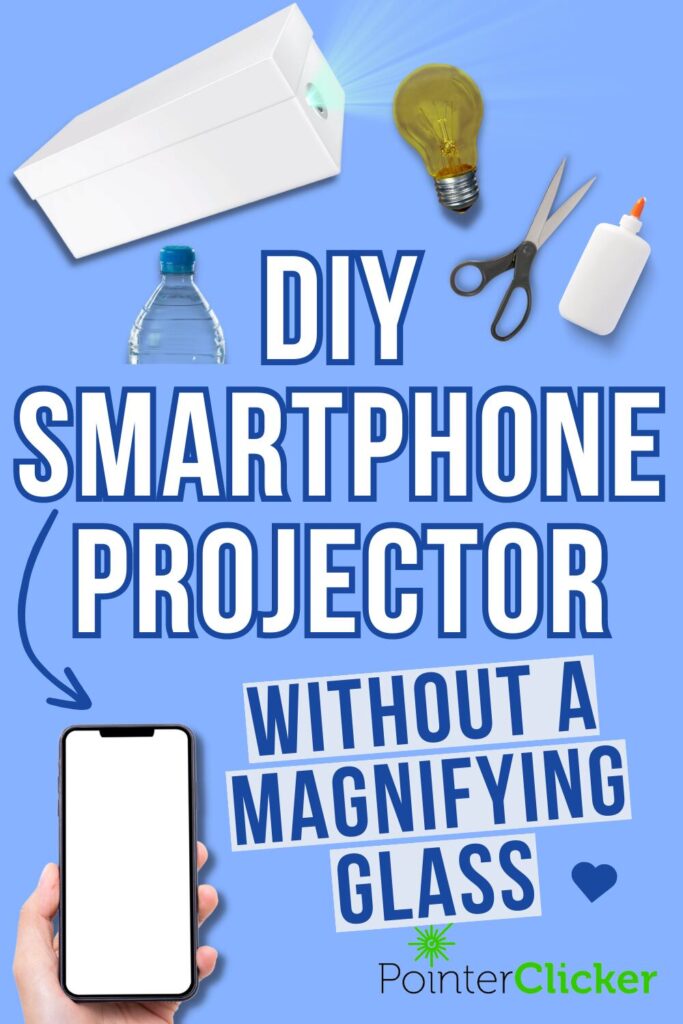
- You can create a smartphone projector using a glass bulb filled with water, a shoebox, and a few common household items, without the need for a magnifying glass.
- The glass bulb acts as a lens, enlarging the smartphone’s light to project the image, with the water assisting in manipulating the light for better projection.
- To enhance the projector’s effectiveness, ensure the shoebox interior is dark, the phone’s brightness is at maximum, and the phone is placed upside down for correct image orientation.
In this article, I’ll show you a clever and budget-friendly way to make a projector without a magnifying glass using things you already have at home.
Let’s get started on creating your very own DIY projector for an epic home cinema experience!
Quick Navigation
Making a Smartphone Projector With a Glass Bulb

Make sure you collect the following materials:
- A smartphone
- Phone stand
- Bulb
- Shoebox with cover
- Water
- A bottle top
- Pen/pencil
- Scissors or razor blade
- Tape or glue
The materials listed above are easily accessible. They also work as long as you follow the steps keenly.
Creating a smartphone projector without a magnifying glass is easier than you think! Follow these simple steps outlined below to enjoy a big-screen experience right at home.

- Assemble all the requirements. These items are readily found at home; ensure you have all of them on your work table.
- Use a scissor or any sharp material to cut the small cover of the bulb carefully. Remove all the contents and remain with only the glass cover.
- Trace the circular shape of the bulb using a pen on one of the small sides of the shoebox and another piece of carton. Cut off the traced part carefully.
- Open up the shoe box and place the bulb inside the shoe box, next to the cut outside. Place the glass bulb upside down with the opening we made facing up.
- Take the other side you cut out and place it on the other side of the glass bulb. Please make sure they fit perfectly in the box. You can use tape and glue to hold them together firmly.
- Pour water into the glass slide until it is full. Close the top of the bulb with a bottle top. Use tape or glue to secure it and make it tight.
- Place the phone stand inside, on the other smaller side of the box. The stand should perfectly fit inside.
It is hard to find a phone stand that fits in the box; therefore, we find it more comfortable, making a basic one that freely moves inside the box.
The purpose of the stand is to hold the phone inside the box.
- Play the movie or video on your phone.
- Slide the phone inside the box and leave it in a position that produces clear images. Don’t forget to place your phone upside down.
- The projector is almost done. Place the box cover on top and ensure everything is enclosed. You can cut out the part the bottle top sits in if it is longer than the box’s height.
Remember that the bottle top is used to close the bulb to ensure that there is maximum concentration of light for projection purposes.
You can also decide not to use a bottle top and cover the top of the bulb with just cardboard.
How Does the Homemade Projector Work?

The basic operation of this invention is:
You are using the glass bulb, filled with water, as a lens to manipulate and produce larger images from the light produced by the smartphone. Place the phone upside down in order to produce upright images.
Here are some advantages glass bulb projectors have over technology projectors.
- They are easy to construct and use. All you need is less than 30 minutes to assemble everything correctly, and you are good to go.
- Homemade projectors are cost-effective while still producing acceptable image quality. You might end up spending nothing when constructing because everything is at your disposal.
- The projectors are portable and light.
- They are easily replaceable. Both types are delicate, but in case you drop the homemade, they are easy to replace.
Helpful Tips To Consider When Making Glass Bulb Projectors
- Before covering the shoe box, determine the right distance to the phone from the glass bulb. Identify the position that produces clear and quality images.
- Use a shoebox with a darker interior. If the one you have has a bright color, say white, use darker materials to cover the sides.
This facilitates the concentration of light in the glass bulb.
- After making the interior dark, ensure your phone’s brightness is maximum to produce more light and for better quality.
- Place your phone upside down to have upright images.
- Use a medium-sized box. If you use a small box, the contents might not fit, and if you use a large box, the light doesn’t concentrate on the bulb effectively.
Conclusion
Homemade projectors are an excellent alternative to manufactured ones. Even though manufactured machines have more customizing settings, they operate using the same principles.
The projectors are easy to make, use, and efficient. All the information you need in order to construct one is provided in the article.
Save yourself money and resources you would have spent buying one. As useful as they are, why not make one yours today?

Meet Vance. He’s a proud dad, a seasoned Electronics Engineer, and an avid tech lover. His proficiency in electronics and troubleshooting skills were instrumental in crafting Pointer Clicker. Vance is passionate about simplifying tech for those who aren’t well-versed in it.
Wow this is amazing and simple to make. You are so creative and ausome. Thnx for helping because it is my sister birthday and that is why I wanted to surprise her
I have enjoyed the program please bring more
literally saved my life, need to record myself giving a PowerPoint presentation for a class but had no projector to work with, this worked and I was able to get my assignment done.