
Facing ‘Error in Auto Iris’ on Your Epson Projector? 5 Fixes Inside!

What To Know
- Epson projector error in auto iris can arise from improper connections, dust accumulation, worn-out gears, or manufacturing defects.
- Common fixes for the error in auto iris include rebooting the projector in a specific manner and switching to another viewing mode like Natural Viewing.
- If initial solutions fail, consider cleaning the projector’s internals, replacing broken components, or seeking assistance from the Epson Technical Team as a last resort.
Encountering an “error in auto iris” message on your Epson projector can halt a movie night or a crucial presentation.
Addressing the frustrations of Epson projector users, this guide delves into this common hiccup, from its causes to actionable fixes.
Dive in to remedy your projector’s auto iris woes.
Quick Navigation
What Causes Errors in Auto Iris in an Epson Projector?
Your Epson projector could encounter auto-iris errors for a few different reasons. The following are some of the most common causes:
- Improper connection or the device may not have been plugged in correctly. The link could have come loose.
- Accumulation of dust and dirt could have caused the optical block or iris motor to get stuck.
- The auto-iris gear/motor may have worn out, requiring repair or a replacement.
- The module could be defective to begin with — a rare manufacturing oversight.
Though not an error per se, the auto iris component could make some noise while in motion, which could be distracting or annoying and may force users to turn it off.
The iris shifting its position to accommodate the luminance of a given scene could also be a bit obvious at times. Therefore, some people may choose to turn off the feature and resort to manual iris adjustments instead or have the iris setting fixed.
Below is a sequence of projector status indicators that point to the auto iris error:
- Power light: off
- Status light: flashing blue
- Lamp & temp light: flashing orange
Turning Off Auto Iris Doesn’t Help
By turning off the auto iris function and rebooting, your Epson projector will usually start in the normal iris mode or auto iris enabled since the system needs to do a proper check-up each time a boot-up is done.
And if an auto iris failure is detected during the system-wide scan, your projector won’t turn on.
Suppose you have an Epson projector that hasn’t encountered an auto iris error (yet). If you’ve permanently turned off the feature to avert the issue or not deal with an impaired projector in the first place, the strategy won’t work, unfortunately.
Your Epson projector would either never have the issue or eventually be inflicted with it at any time. It’s just a waiting game.
Disabling the auto iris feature during usage would put a slight strain on the hardware. The motor would wear considerably less as it would not constantly switch between dark and bright scenes during projector usage.
That could mean a lower likelihood of the auto-iris failing or the error message not popping up on the screen during bootup.
5 Ways to Fix the Error in Auto Iris Message
1. Reboot in a Specific Way
A simple reboot is one of the first recommended troubleshooting methods with projectors and other media devices.
There are several ways to reboot your projector, but this user fixed their Auto Iris error by rebooting in a specific manner. Follow the steps below to try their method.
Step 1: Turn on your Epson projector.
Step 2: Wait until the error message “Error in Auto Iris” appears.
Step 3: Power off the projector and wait for a while until the fan completely stops.
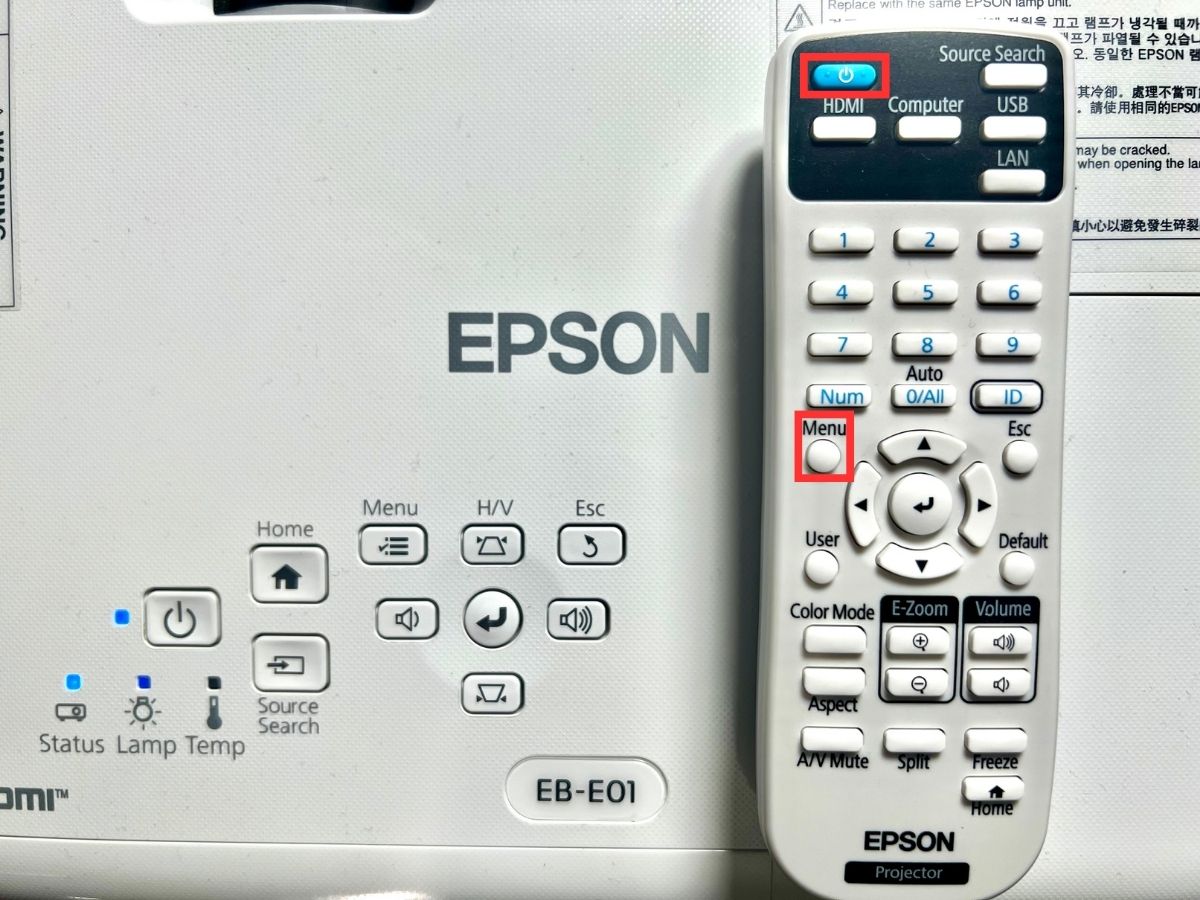
Step 4: Press the Power button on your remote controller to turn on the projector and hold down the Menu button simultaneously.
When the projector comes back on, wait to see if the error messages appear again.
2. Switch to Natural Viewing (Color) Mode
Your Epson projector offers various viewing modes to optimize brightness, contrast, and color for different viewing environments and image types. You can switch between modes to select which gives you the best results.
According to this user, the Auto Iris error started when they switched from Natural to Cinema modes, and it took ten days before everything returned to normal.
If you have recently switched viewing modes, follow the steps below to change Viewing Mode.
Step 1: Turn on your Epson projector and display an image.
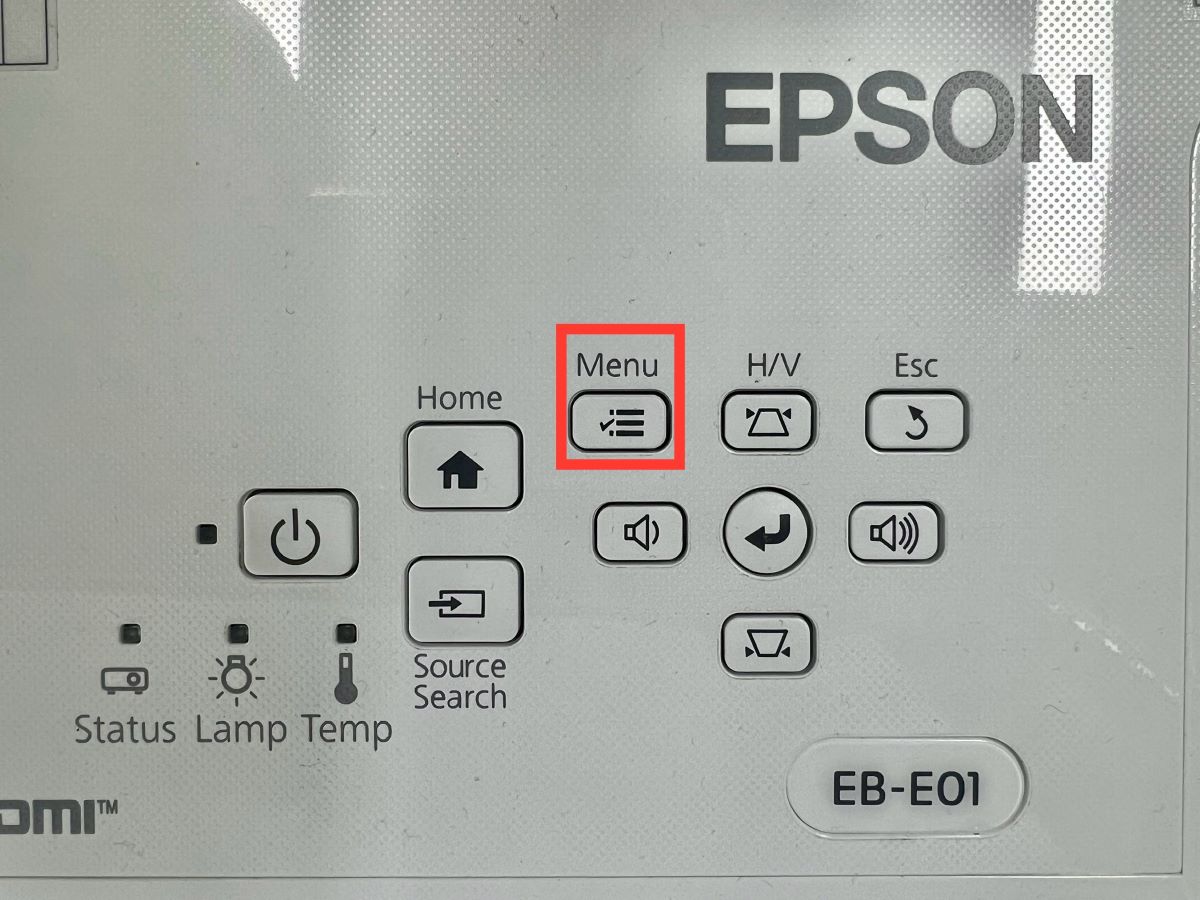
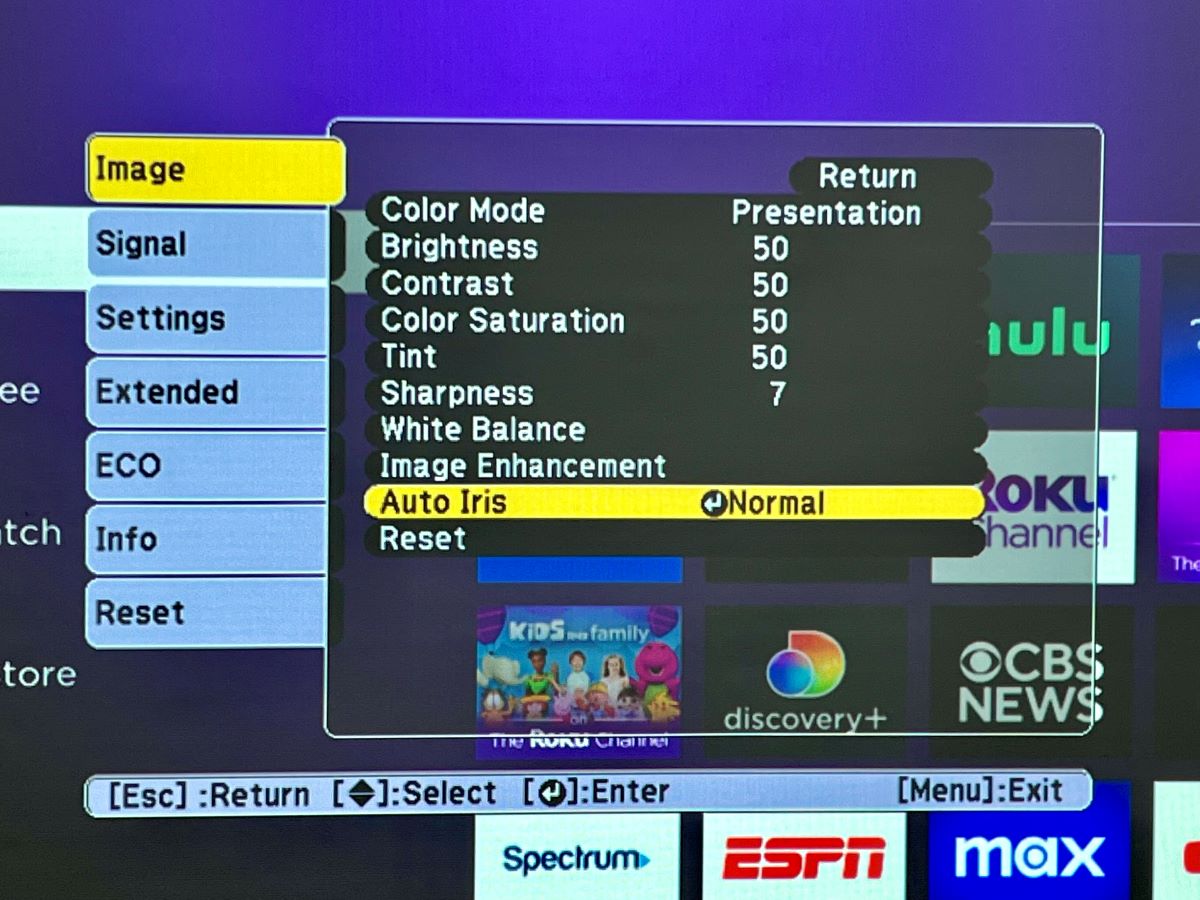
Step 2: Press the Menu button to access the settings menu.
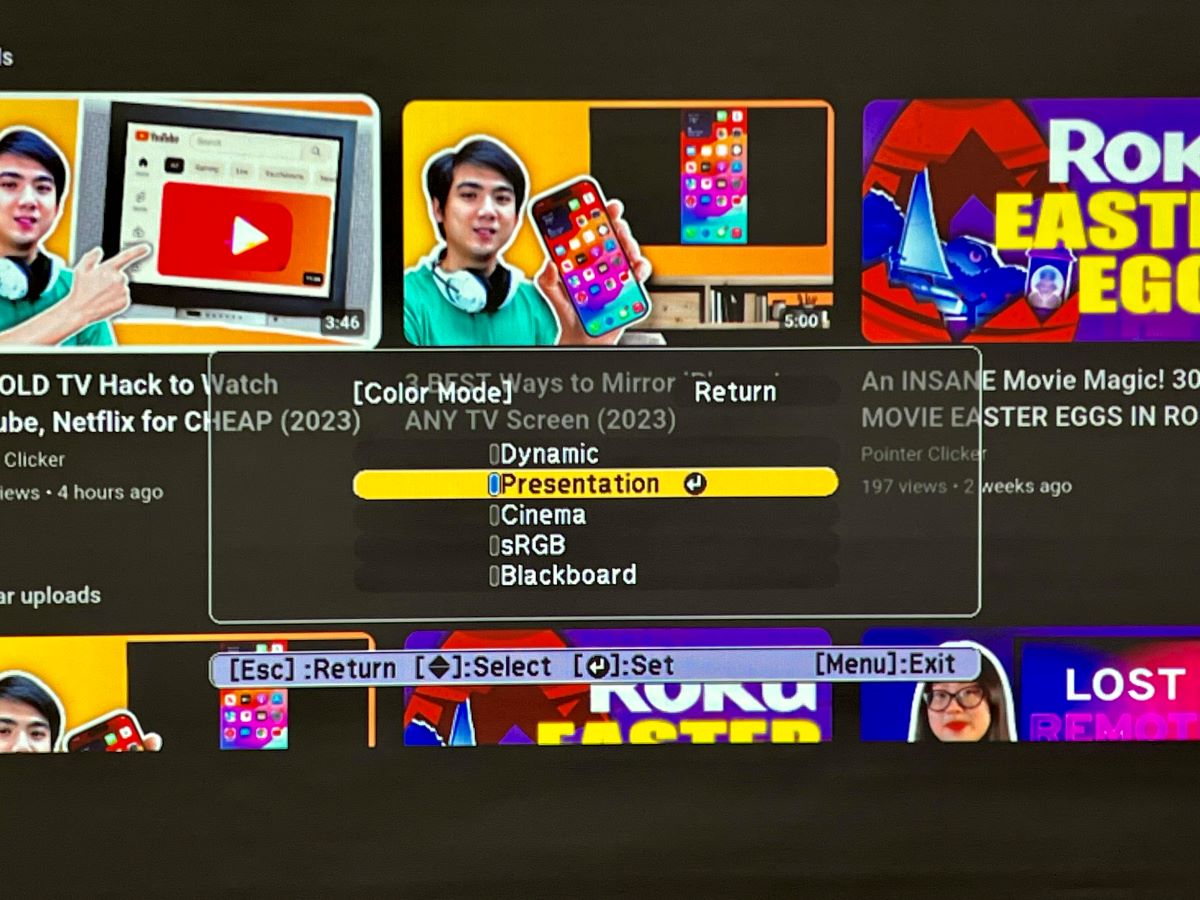
Step 3: Navigate through the menu and go to Picture/Image > Color Mode.
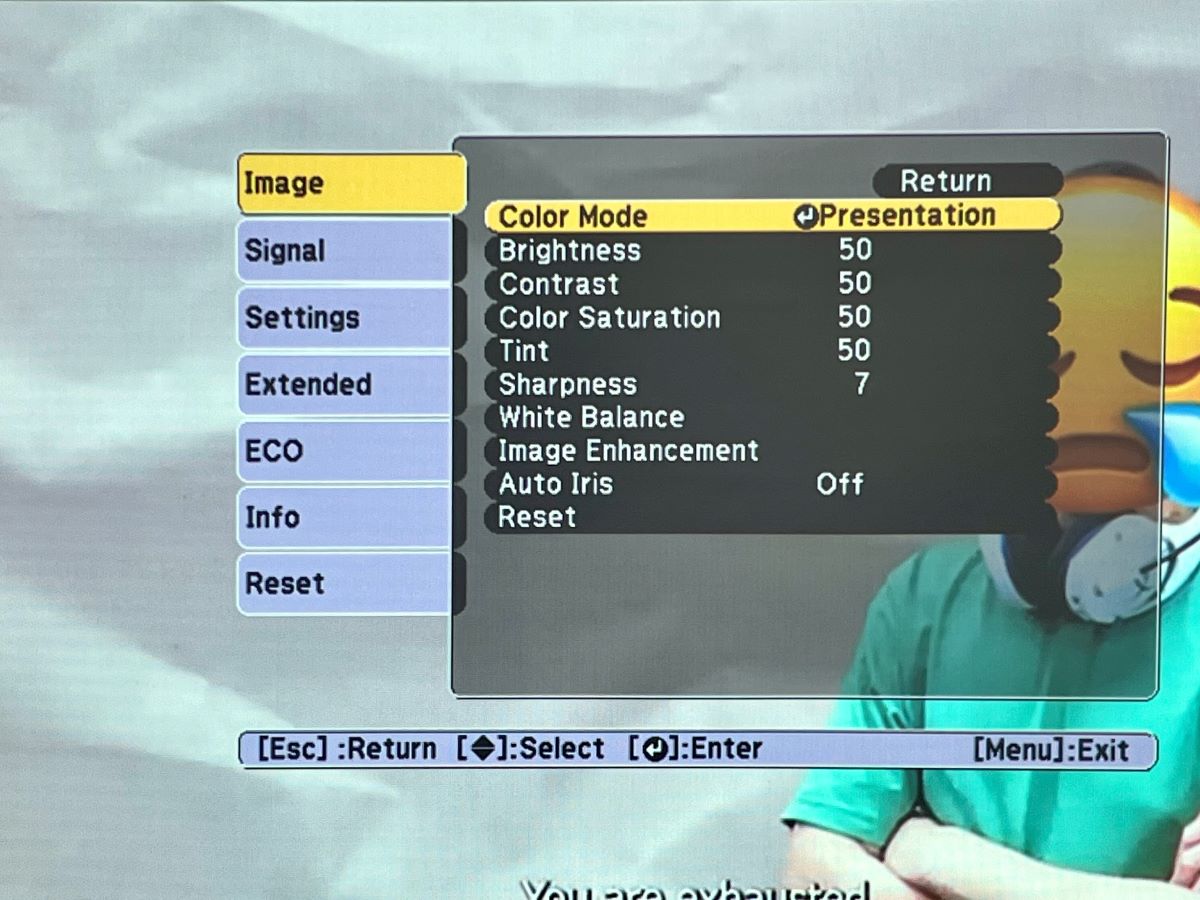
Step 4: Select any viewing mode BUT Cinema from the list.
3. Disassemble and Clean
If that doesn’t work, you may have to dismantle the device and clean up its innards. Take off the projector’s cover and look for dust particles or other impediments blocking the physical movement of the motor.
If you live in a busy neighborhood and you use your projector outdoors from time to time, dust buildup is quite likely. Even indoor usage with the windows open (for ventilation) could result in minute particles settling and accumulating inside the device and around the auto iris motor.
Inspect the different gears constituting the motor and ensure none of them has cracks. If there are signs of fissures, no amount of cleaning would resuscitate the auto iris. A replacement would, therefore, be inevitable.
Suppose the cleaning doesn’t help or the projector is brand-new to accumulate any severe amount of dust already and there are no visible signs of damage. In that case, the issue could lie in something more technical that you may not be aware of.
If you are not handy with projectors, it’s advised you get a professional on board. Even if you are good with electronics, it’s still recommended you talk to Epson for expert assistance.
4. Replace the Broken Plastic Toothed Wheel
Often, your projector can malfunction due to worn-out or broken components in its engine. When this happens, your best bet is to replace the faulty part.
For instance, this Epson user reported that their projector’s Auto Iris error originated from a small broken component that contributes to controlling the projector lens. This component is a simple motor shaft—a plastic-toothed wheel—in the Auto Iris assembly.
To replace a broken motor shaft, you must open up the projector and disassemble the engine. If you are not tech-savvy enough to DIY, we advise that you contact a skilled technician for this process.
5. Contact the Epson Technical Team
If you have tried all the steps listed above and are still experiencing the Auto Iris error, we advise that you turn it off. Fiddling further with the projector can result in more damage.
Reach out to Epson’s customer support for further assistance. You can find the Epson projector support on their website.
What Does “Auto Iris” Mean on a Projector?
“Auto iris” is a piece of hardware instituted between your Epson projector’s lens and bulb. It opens and shuts itself up based on the projected image’s overall luminance. The mechanism helps modify the amount of light that eventually gets projected. The task is done automatically or without any manual intervention.
For bright visuals, the iris opens larger to let in more light. It closes in or narrows down when working with dark images. In certain color modes, you may turn the auto iris setting on to optimize the image automatically depending on the projected image’s brightness.
Essentially, the auto iris feature helps your Epson projector boost its contrast levels or achieve the right kind according to a scene. This means dark visuals are fittingly dark, and bright scenes are well-lit, irrespective of the ambient light.
When the auto iris element in your projector is not working, the images will look desaturated or washed out, or the contrast ratio will go for a toss. For instance, if your projector has a 1000:1 ratio with auto iris enabled, it will likely decrease to around 700:1 when the auto iris is turned off.
If that drop in contrast ratio reads significant, you bet it is.
Auto Iris Apparatus
Based on the Epson projector model you have, the actual hardware that provides the auto-iris functionality would vary.
Generally, the component looks like a leaf shutter covering a camera. Based on the image’s requirements, the blades move in proper synchronization to decrease or increase the iris’ size.
Some other projectors (Epson or another brand) could use a wheel-like tool instead, with an aperture that shrinks gradually. It rotates to alter the opening’s size, thereby achieving the right contrast-enhancing effect.
Irrespective of the design, the primary working mechanism of the module (as explained above) is the same.
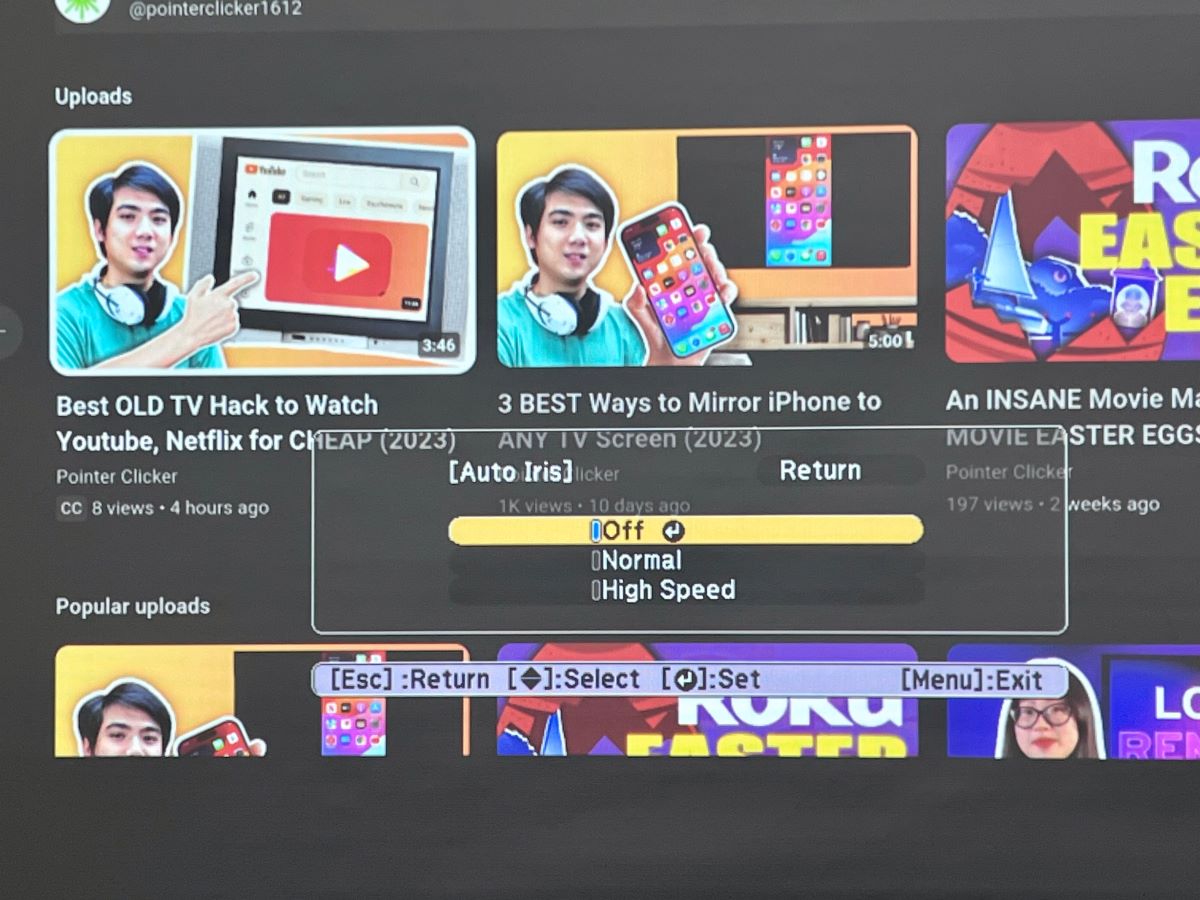
Auto Iris Modes (Normal vs. High-Speed)
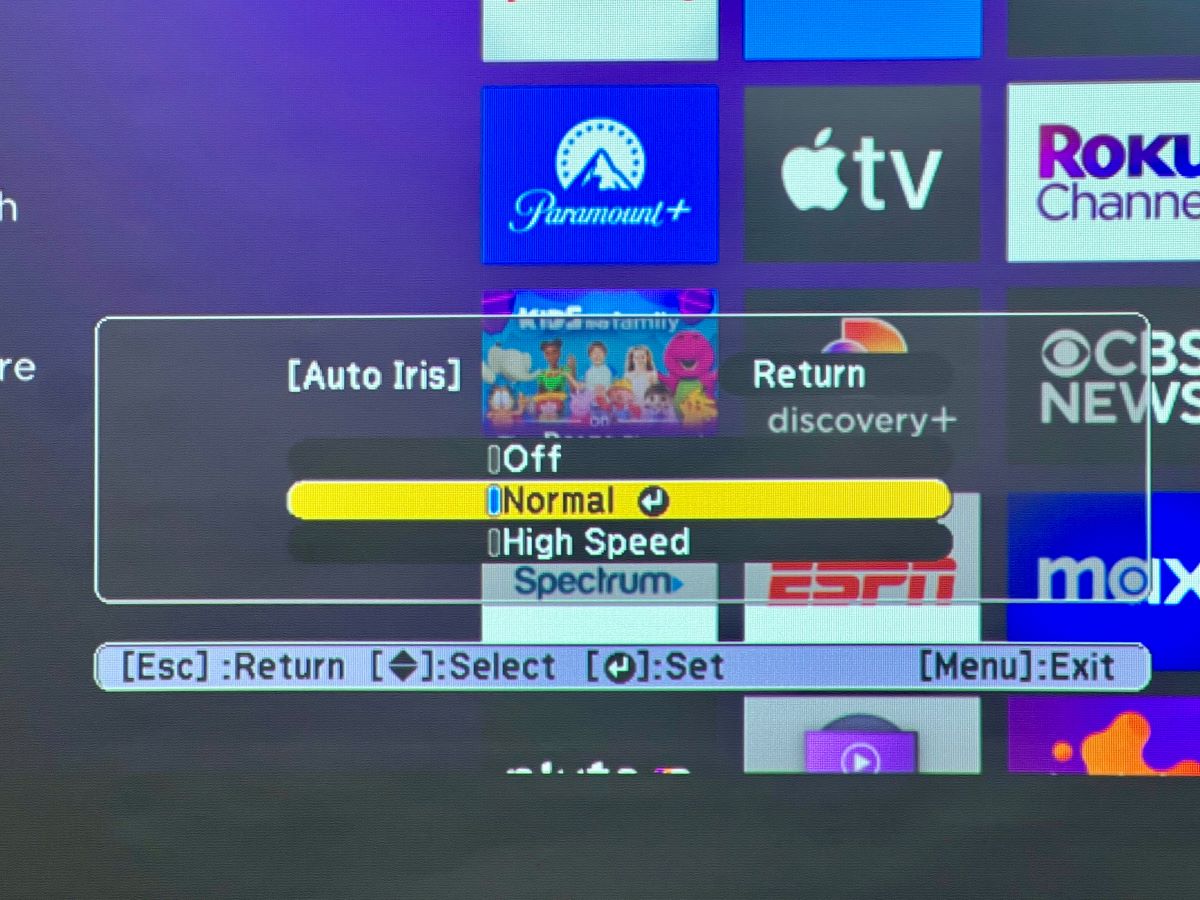
The auto iris feature in most Epson projectors, particularly in the affordable range, can either be turned on or off. However, in some projectors, the auto iris could come with different modes: High Speed, Normal, and Off.
As the name suggests, the Off mode turns off the feature. “Normal” is the standard iris speed and perhaps ideal for all ambient lighting scenarios. “High Speed”, on the other hand, adjusts the brightness as soon as a scene changes, all at once rather than gradually.
This shift is usually not noticeable, but if a very dark scene suddenly switches to a very bright scene, the user may perceive the quick change as it happens.

Catherine Tramell has been covering technology as a freelance writer for over a decade. She has been writing for Pointer Clicker for over a year, further expanding her expertise as a tech columnist. Catherine likes spending time with her family and friends and her pastimes are reading books and news articles.

Duy Anh is a seasoned technical editor specializing in helping readers troubleshoot TV, projector, and Wi-Fi issues. He’s always been drawn to logical problem-solving. His ability to approach matters from various angles with a neutral mindset enhances his technical expertise.
Thanks gang!! I was able to restart my 7 yr old 760HD projector and hope it keeps playing at least thru football season because I bought a box of NERF toys and I loathe the Buccaneers. So I’ll be back to throwing them at the screen in frustration. Wheeeeeee!!