
How to Restore Brightness to Your Dim Projector: 8 Expert Techniques

What To Know
- Adjusting the input image brightness, the projector’s brightness settings, and turning off Eco Mode can significantly improve projection brightness.
- Optimal room lighting and wall color enhance the clarity and brightness of projected images.
- Regular maintenance, including checking the lamp’s condition and ensuring its proper installation, ensures a bright and clear projection.
Are you experiencing a dimming projector issue? You’re not alone.
While the dimness can stem from internal components in the project to room conditions, identifying the cause is key.
In this article, I’ll swiftly guide you through eight underlying reasons and effective solutions to brighten your viewing experience.
Let’s dive in!
Quick Navigation
Is Your Input Image or Video Too Dark?
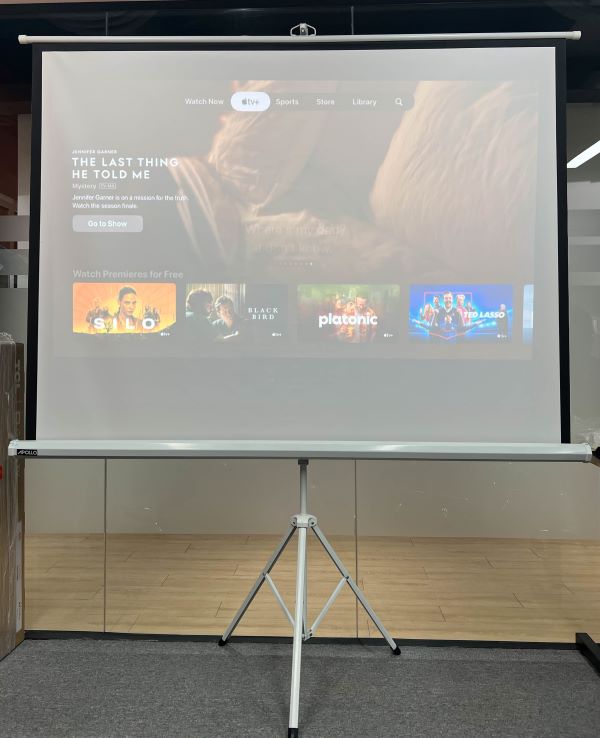
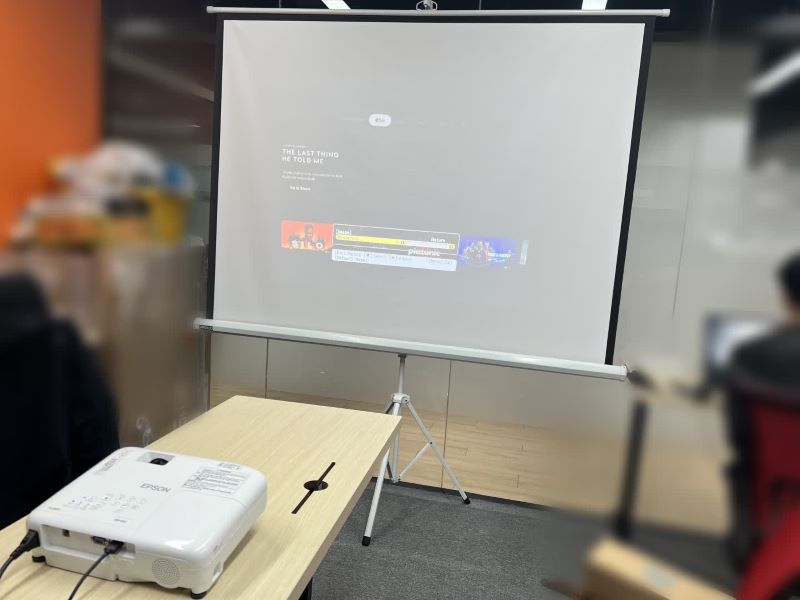
If the input image is dim, the output image on your projector will appear dim as well, which can significantly impact your viewing experience, making the visuals appear less vibrant and clear.
To demonstrate this, I conducted an experiment using my Epson projector, displaying a video at two different brightness levels: low and high.
The results were striking, clearly showing a significant difference in brightness on the projection screen.
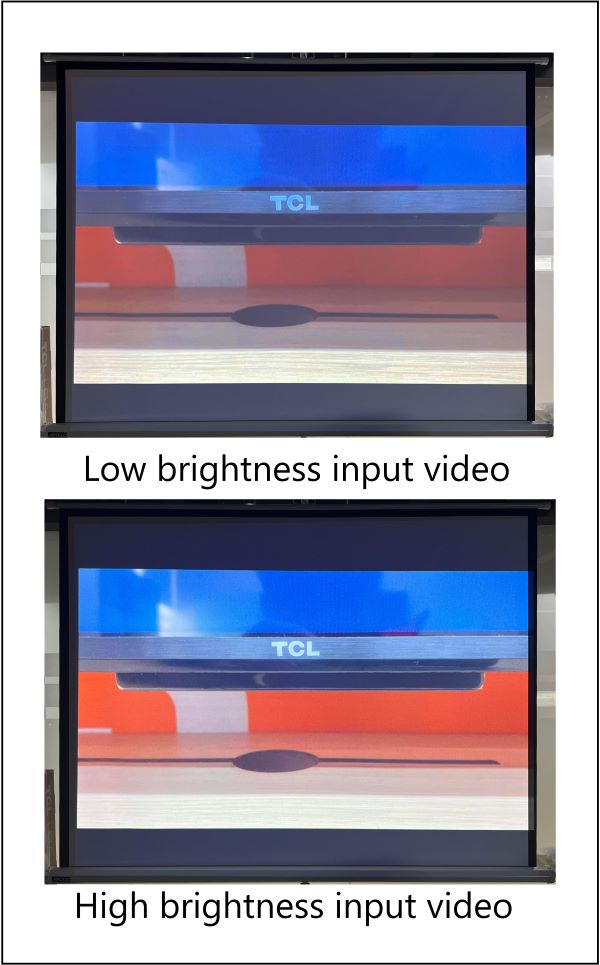
The low brightness setting resulted in a dim and somewhat washed-out image, while the high brightness setting showcased vivid colors and sharp details on the projection screen.
When you encounter a dim output image on your projector, it’s crucial to start by checking the brightness of the input image.
Adjusting the input image’s brightness can directly affect the quality of the projected visuals, ensuring a more enjoyable and immersive viewing experience.
Is the Eco Mode ON?
Another reason for a dim image on your projector could be the Eco Mode, which is designed to reduce lamp brightness and conserve power.
While this energy-saving feature is beneficial for prolonging the lamp’s lifespan and reducing power consumption, it can sometimes result in a dimmer projection.
To turn off the Eco Mode on your projector, you can follow these step-by-step instructions (The instructions are captured on an Epson projector):
- Press the Menu button on the projector remote to access the Menu screen.
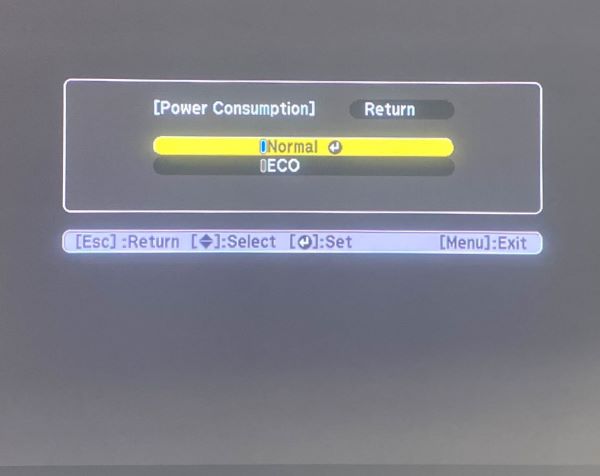
- Navigate to the ECO option and select Power Consumption.
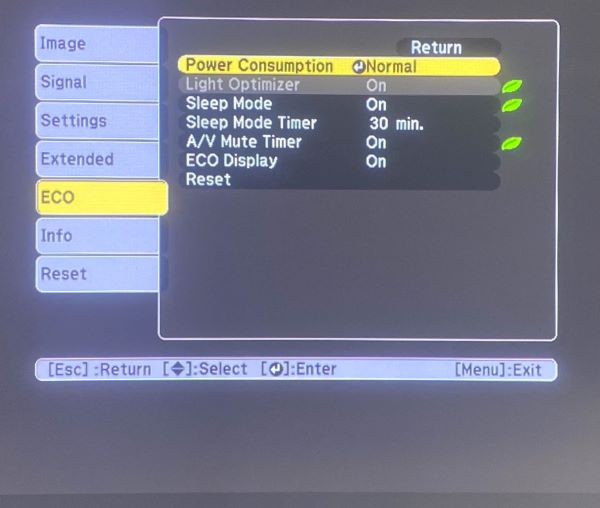
- Switch the Eco Mode to Normal.
By disabling the Eco Mode, you allow your projector’s lamp to emit more light, resulting in a brighter and more vibrant image projection.
Is the Wall Color too Dark?
If you are projecting the image into a wall, the color of the wall could be causing the projector to seem like it is dim.
In reality, when the color of the wall is dark, or even just not white, this could be the reason why the projector’s image does not look like it is bright enough.
To test whether or not the wall color is causing your projector to appear dim, there are a few things that you can try.
When you can move your projector to a different room that has a lighter wall color, try that. Turn your projector on and place it approximately the same distance away from the wall as it was in the other room, to see whether the image looks any brighter than it did before.
In case you’re unable to relocate your projector or lack lighter walls, you might attempt placing several sheets of paper on your wall to determine whether the projector can project a distinct, luminous image onto the paper.
Should your projector perform better on either a lighter wall or a sheet of white paper, the dimness is likely caused by the color of the wall.
To fix this, you must either buy a screen or repaint your wall white (or a small portion of your wall).
Some projectors have settings for darker walls, but the image will be best on a white background, regardless.
Check the Room Lighting
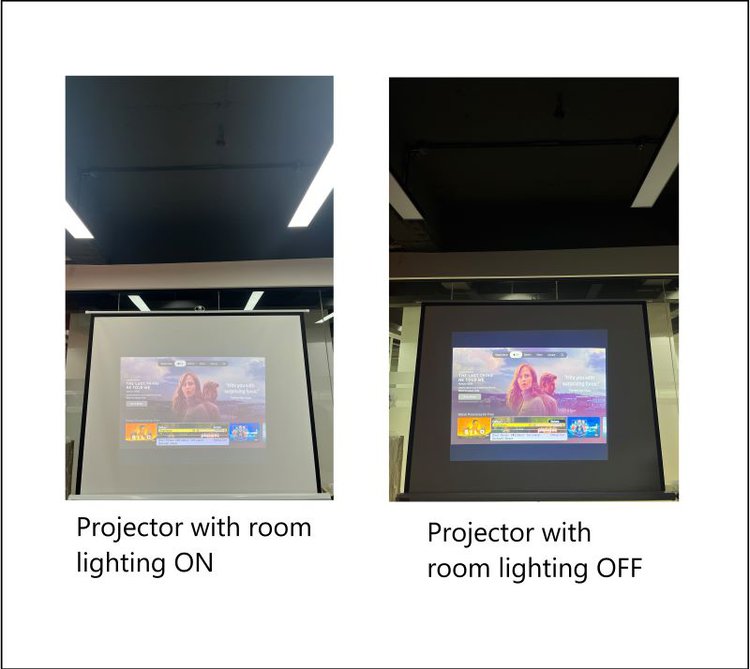
The lighting in the room is another common factor as to why your projector is not displaying a bright image.
Test the brightness of your projector by turning off all other lights in the room and trying your best to shut out any sunlight coming in through windows.
Most projectors will work best when it is darker, because there is less conflicting light.
Even when you usually use your projector with some light in the room, you might want to turn off a lamp or two to get a better image.
Nonetheless, assuming your projector is in proper working order, the visibility of the image should endure despite the presence of ambient light in the room.
Low Brightness Settings
Most projectors have brightness adjustments in their settings, so make sure you turn that brightness setting all the way up (or until it is bright enough) if you are using the projector in a room that has other lights.
To further enhance the brightness settings on your projector, you can follow the below instructions. Although the steps provided are specifically for Epson projectors, they can generally be applied to other projector brands too:
- Press the Menu button on the projector remote to access the Menu screen.
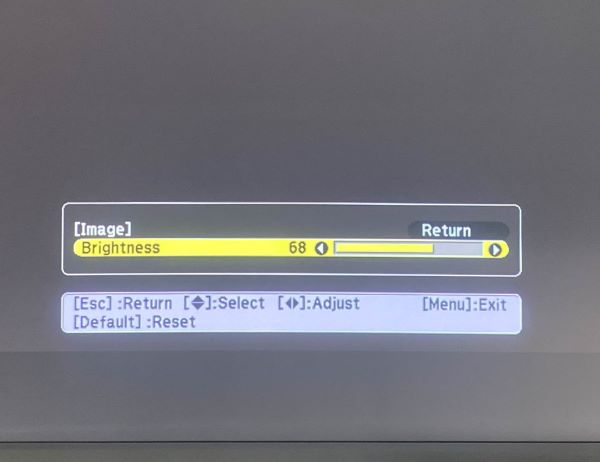
- Navigate to the Image option and select Brightness.
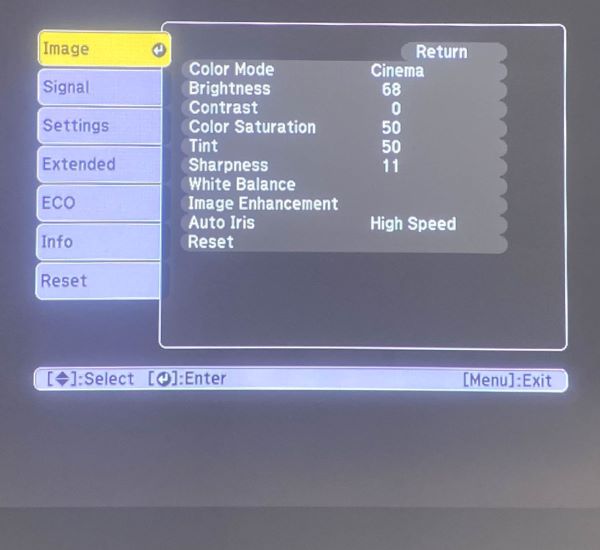
- Use the Right arrow button on the projector remote to increase the projector brightness.
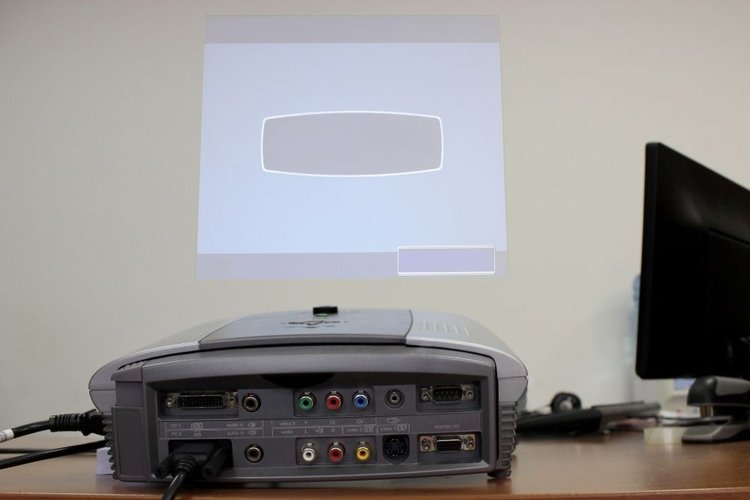
Distance from the Screen or Wall
When the projector is positioned too far away from the wall or the screen, it can result in a dim and blurry image.
Projectors have specific reach capabilities, and you can find distance guidelines in the projector manual to determine the optimal positioning.
You could also check to see whether the distance between the projector and the screen or wall is the issue by moving the projector itself.
Bringing the projector a little closer to the wall and achieving a sufficiently bright image suggests that the initial positioning was too far away.
In case you need to get very close to the wall in order for your projector to display a bright enough image, this is likely not what was causing the problem.
Ideally, you should be able to view a good image from several feet away with almost any projector.
If the projector needs to be positioned so close to the screen or wall that it becomes impractical to use, it is not a suitable solution for you.
Dim Projector Lamp
As time passes or with regular usage of your projector, there will come a point when you need to replace the projector lamp.
Replacing a projector lamp is fairly simple to do, and you should replace the lamp regularly to maintain a clear and bright image.

Your projector might be able to track when the lamp needs to be replaced, but this isn’t always an accurate indicator, and if you can tell that the lamp needs to be replaced, you should do it.
With a new lamp in your projector, you should see the image become clearer, the colors more defined, and the image brighter.
When Your Projector Lamp is Brand New
If you’ve recently replaced the lamp in your projector, but your image is still coming out dim, there are a few things that could have gone wrong.
There could be causes other than the lamp that is making the projector seem dim, like the room lighting and wall color.
In the case where no external factors are involved, potential issues with the installation of the new lamp could be responsible for producing a dim image.
It’s possible that the lamp is misaligned inside the projector. Try to take the lamp out again, and then place it back in place.
The lamp should fit nicely in the projector, and should not wobble or easily become dislodged. In case you encounter difficulties in achieving a proper fit for the lamp, it suggests that you might have acquired the incorrect type of lamp.
Double-check that you have put the correct lamp in, and you should have a nice bright image.

Meet Vance. He’s a proud dad, a seasoned Electronics Engineer, and an avid tech lover. His proficiency in electronics and troubleshooting skills were instrumental in crafting Pointer Clicker. Vance is passionate about simplifying tech for those who aren’t well-versed in it.