
TV’s Response to the Remote is Slow? 6 Solutions to Speed It Up

- Ensure there are no obstacles between your remote and the TV, especially for IR remotes; even dust can interfere with the signal.
- Reboot your remote and TV by removing the batteries from the remote and unplugging the TV for at least a minute to reestablish the connection.
- Keep your TV’s software updated and consider factory resetting if issues persist; also, regularly check and replace remote batteries.
Experiencing a lag between pressing your remote’s buttons and your TV reacting can be really frustrating.
This article will guide you through simple fixes for a slow-to-respond TV, whether it’s a Samsung, Panasonic, or any brand.
Stay with us to transform your remote troubles into smooth channel surfing in just a few steps!
Quick Navigation
1. Remove Any Obstacles
Infrared (or IR) remotes require a clear path to the TV’s IR receiver, commonly found in one of the bezel’s bottom corners. If something is blocking its path, your TV will take an inordinate amount of time to respond to the remote’s command or, in some cases, not respond at all.
So, check that nothing is blocking the path between your remote and TV. You may also want to ensure that nothing is covering your remote and TV’s IR receivers. While you’re at it, give them a quick dusting as debris may be stifling the signal.

Some TVs may also use radio frequency (or RF) remotes. As the name suggests, these remotes send commands to the TV using radio waves. While RF remotes do not need to be pointed at the TV’s RF signal like IR remotes do, you should still remove any metal obstacles in its course.
Metal can absorb radio waves, preventing them from arriving at your TV’s RF receiver.
To improve your remote’s signal, try moving your remote closer to your TV. While IR remotes generally have a 10-meter (or 30-feet) range, their IR sensors can weaken over time, reducing their range dramatically.
RF remotes have a 30-meter (or 100-foot) range but are prone to signal absorption, so it’s best to be closer to your TV to prevent any lagging.
2. Power Cycle Your Remote
Power cycling your remote will reboot it, hopefully reestablishing its connection with your TV. Please note that this method is only applicable for remotes with user-removable batteries accessed through the battery mount on the back of the remote.
Step 1: Remove the remote’s battery mount cover by gently pressing down and sliding it away from the remote.
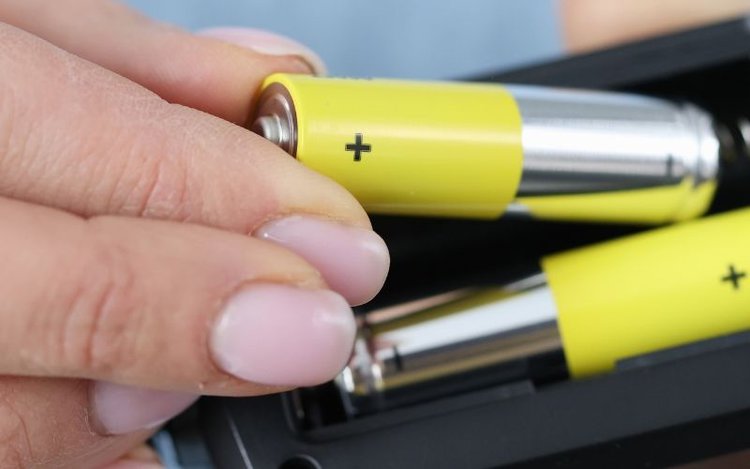
Step 2: Carefully remove the remote’s batteries. If you notice that they’re corroded, properly dispose of them and replace them with new ones. Take care not to touch the old corroded batteries with your bare hands.
Step 3: Wait for at least 60 seconds before putting the batteries back into the remote’s battery mount. Pay close attention to their polarity (or the batteries’ negative and positive sides).
Step 4: Slide the battery mount’s cover back in place and see if the remote works correctly.
3. Power Cycle Your TV
You can reboot your TV’s connection with its remote by power cycling it. This process will drain your TV’s power, rebooting all of its components, including its IR or RF receiver.
You can power cycle any TV, smart and non-smart.
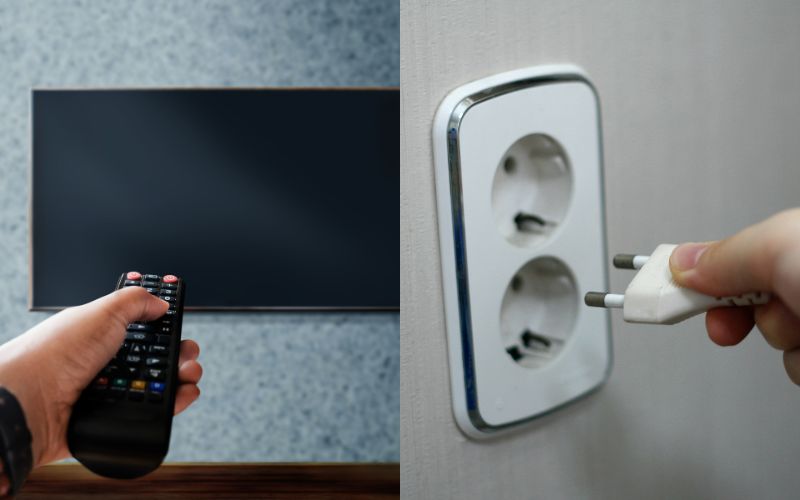
Step 1: Turn your TV off using its remote or control panel buttons. Then, remove its power cable from the wall outlet. Allow it to remain unplugged for at least one minute. For Android TVs, leave it unplugged for at least two minutes.
Step 2: Plug the TV back into its power source then turn it on using the remote or control panel’s Power button.
4. Replace the Remote’s Batteries
If your TV remote’s batteries are dead or nearly dead, it’s a good idea to replace them. While remotes with nearly dead batteries may still work, they often tend to be much slower, leading to longer response rates.
When purchasing new batteries, ensure they’re the right type for your remote. For the best results, avoid inserting used batteries from other appliances in your home into your remote.
If you’re not sure if your remote batteries are dead, there are two ways you can test their charge: using a multimeter or bouncing them.
Let’s learn how to do both!
a. Using a Multimeter
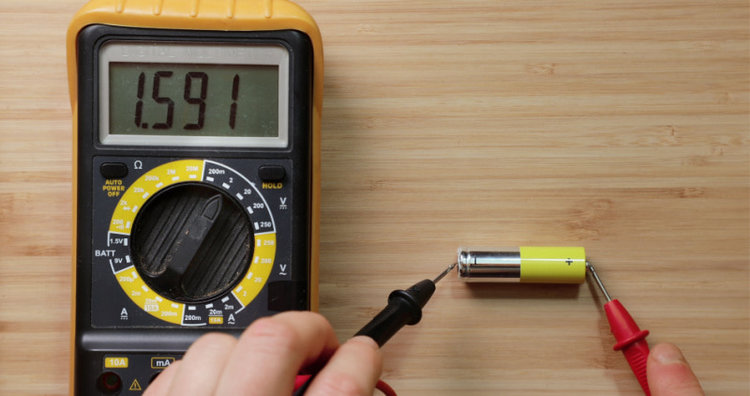
Step 1: Adjust your multimeter’s unit to Volts. Depending on the model, you can do this by either twisting the device’s dial or pressing a button.
Step 2: Find the multimeter’s positive probe (or its red cable) and attach it to the positive side of the battery marked with a Plus (+) sign.
Step 3: Then attach the multimeter’s negative probe (or its black cable) to the battery’s negative side, which will either be marked with a Minus (-) sign or be black.
Step 4: Notice the multimeter’s value. If it remains the same (or zero), then the battery has no charge left and is dead.
b. Bouncing the Batteries
Another way to test your alkaline battery’s charge is by dropping them onto a flat, hard surface.
If the battery bounces, then it’s dead and must be replaced. If the battery does not bounce and instead drops to the floor, then it still has some charge left.
While this method is less precise, it’s generally accurate and is a great low-tech way of testing your battery’s charge.
Watch the video below demonstrating how to test if your batteries are dead.
WARNING: While the linked video suggests touching a 9-volt battery to your tongue to test its currency, we strongly don’t recommend this as you could ingest battery acid, which can be lethal.

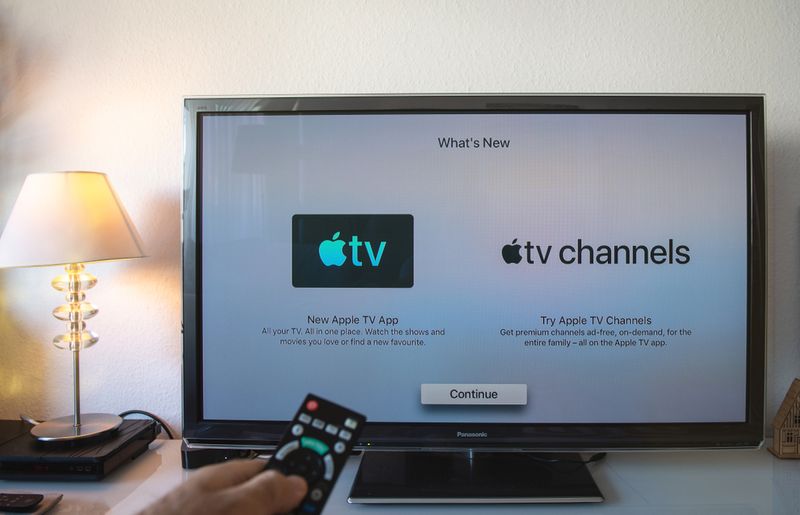
5. Update Your TV
Updating your TV’s software may help to improve its response time. This method is only applicable to smart TVs with a built-in interface.
Ensuring your TV is up to date will not only shorten the amount of time it takes for your TV to respond to the remote’s commands but also decrease your unit’s lag time. This means that your TV will open apps more quickly and start up faster.
You can update your TV through its settings. Since every smart TV brand’s settings are different, this process will vary from brand to brand.
Let’s learn how to update Sony and Samsung smart TVs!
Sony
Step 1: Click your TV remote’s HOME button.
Step 2: Scroll to the left side of the screen and click on Apps.
Step 3: Select the Help app from the app list.
Step 4: Navigate to Status & Diagnostics.
Step 5: Click on System software update.
Step 6: Go to Software Update.
Step 7: Wait for your TV to scan for available software updates. If the scan reveals new updates, follow the on-screen instructions to install them.
If you’re a visual learner, watch the video below demonstrating how to update your Samsung smart TV.

Samsung
Step 1: Head to the Settings.
Step 2: Navigate to Support.
Step 3: Select Software Update.
Step 4: If available, click on Update Now. This option will be greyed out if your Samsung smart TV is already up to date.
Watch the video below to see how to update a Samsung smart TV.

6. Factory Reset Your TV
There could be something wrong with your smart TV’s software, causing it to struggle to respond to your remote’s commands.
Factory resetting your TV will erase all of its user data, including uninstalling any third-party apps, files, settings, and login credentials. So, if you have any files saved on your smart TV that you’d like to keep, save them onto an external storage device.
Every TV brand will have different factory reset instructions.
We’ve outlined instructions below on how to factory reset your Sony or Samsung smart TV.
Sony
Step 1: Press the TV remote’s HOME button.
Step 2: Go to the top-right corner of the home screen to select Settings.
Step 3: Head to Storage & Reset.
Step 4: Go to Factory data reset.
Step 5: Select Erase everything.
Step 6: When asked if you’re sure you want to factory reset your TV, select Yes.
Watch the video below demonstrating how to factory reset Sony TVs with Android TV.

Samsung
Step 1: Go to your smart TV’s Home page by clicking the remote’s Home button. Then, head to the Menu.
Step 2: Head to Settings.
Step 3: Navigate to All Settings.
Step 4: Click on General & Privacy.
Step 5: Select Reset.
Step 6: You will be asked to insert your TV’s PIN. If you haven’t set a custom PIN, insert 0000.
Step 7: Finally, click on Reset to factory reset your TV.
To see how to factory reset your Samsung smart TV, watch the video tutorial below from Samsung’s official YouTube channel.


Yesenia Achlim is a technical copywriter and editor with a focus on AV equipment. She aims to break down complicated topics and make technology accessible, no matter your technical expertise. When she’s not teaching you how to replace a projector lamp, you can find her reading and baking.