
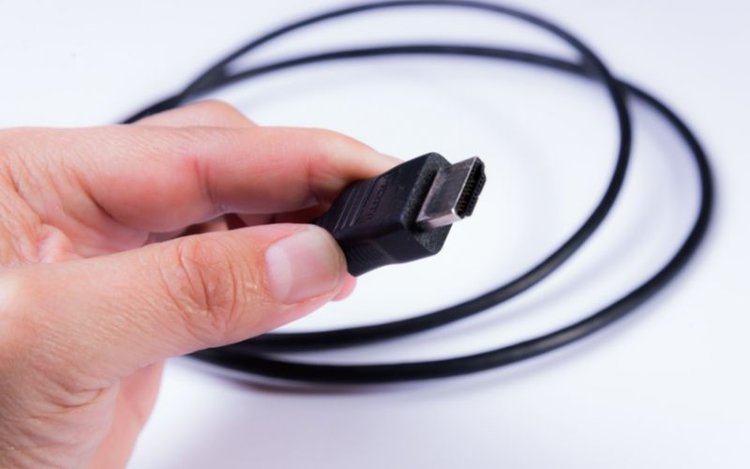
How to Repair the End of an HDMI Cable?
What To Know
- HDMI cables can be repaired, especially if the damage is only on the connectors or ends.
- To repair a damaged HDMI cable end, one needs to cut off the broken HDMI end, strip the wires, and use a continuity test to identify which wires connect to specific terminals
This guide will walk you through the process of giving your HDMI cable a fresh start by attaching a new connector.
Ready to breathe new life into your HDMI? Let’s get started!
Quick Navigation
Can you Replace the End of an HDMI cable?
HDMI cables can be repaired as long as the damage is restricted to the connectors or the ends. With just a few tools, you can replace the end of an HDMI cable with a new connector.
If damage is directly on the circuit board, it will be best to buy a new HDMI cable.
How to replace the end of a damaged HDMI cable?
If your HDMI connector is damaged, you can always have it replaced with the help of an HDMI repair kit.
Last update on 2024-07-14 / Paid Link.
To get a glimpse of what we’re talking about, watch this video:

Replacing HDMI connectors is now easier than ever, thanks to solderless HDMI adapters .
Tools

To get started, here are some tools you should prepare:
- Tape measure
- Needle nose pliers
- Flush cutter
- Wire strippers
- Micro screwdriver 1/16-inch
- Coax/Category stripper
- Shrinkwrap
Step-by-step guide
Follow our step-by-step instructions to replace the end of an HDMI cable easily
1. Cutting the ends and removing the insulation
Remove the mounting screws. Then cleanly cut the HDMI ends, making sure the inner wires are the same length.
Remove at least 1.5-inch of the insulation with a coax or category cable stripper.
Then, Install the shrink wrap around the cable.
2. Removing the metal shielding and prepping the core
Pull the metal shielding away from the cable, carefully separating the copper ground wire from the woven shield.
Start to remove the shield wires using the flush cutter, taking extra care of the colored wires in the core.
Pull away the foil and non-wire strings from the core, then cut them off.
Tin the bare wires with solder to keep them from unraveling.
3. Stripping down the wires
Strip the tips of the shielded wires and the ground wire. Carefully remove the plastic and foil from the foiled wires.
Carefully use a 24-gauge wire stripper to close down on the strippers, and pull it away from the inner wire. Then, tie the ends of the wire sets.
4. Inserting your wires with the help of a continuity tester
Use a continuity tester to figure out the pinout of the HDMI cable.
Plug the working end of the HDMI cable into the adapter base. Then, clip the end of the continuity tester to the solder joint on the bottom of the HDMI repair kit base.
Check each wire for the appropriate terminal. Insert the wires into the appropriate terminal and screw it in.
5. Connect and test the HDMI cable.
Once the configuration is complete, move the shrink wrap up and heat it to lock it into place. You may also add another layer of electric tape for added support.
What are the signs of a faulty HDMI cable?

As we said, HDMI reliably produces flawless audio-visuals with little to no issue. However, there are tell-tale signs that it’s time to repair or replace your HDMI cable. Before you take matters into your own hands, it would be best to verify that the issue is with the cable itself and not some other hardware issue.
To help you out, here are the common signs you’ll come across when you troubleshoot an HDMI cable:
- No visual output
- No sound
- Fuzzy or out-of-focus photo
- Discolored image
- Intermittent video
- Bad screen resolution
- “Shooting stars” or sparkling video output
What causes the HDMI cable to stop working?
There are many reasons why your HDMI cable might stop working.
The most probable cause is a weak or bad connection between the cable or the device. The issue is usually a loose cable, so you can remedy this issue by plugging/unplugging the cable.
If the problem persists with your HDMI cable, the most likely issue is a cabling issue.
What to do when I have a faulty video signal?
To help you out, we’ll list down the potential routes you can consider to remedy a faulty or damaged HDMI cable.
Before you start cutting up your HDMI cable, get back to these basic tips to diagnose the issue:
1. Check HDMI connections

As we’ve said, the issue may be a loose connection.
To resolve this issue, make sure that both ends (source and display) are plugged in properly.
Disconnect and reconnect the HDMI cable at both ends if needed.
Before anything else, double-check if both devices you’re connecting are switched on. As for the cable, make sure that it’s not coiled or scrunched up.
2. Change the HDMI channel inputs

The HDMI cable needs to successfully complete a handshake between necessary communication channels to make the audio-video connection.
If any of these video signals fail, you’ll have a bad HDMI connection. To resolve the issue, all you have to do is switch between HDMI channels 1 or 2 until you have a clear image and audio output.
3. Repair or Replace your HDMI cable
Other times, the two previous solutions won’t cut it. It may be time to accept that the HDMI cable is damaged.
You can either opt to repair it yourself or buy a new HDMI cable .
Continue to the next section to find out what kind of HDMI cable damage is repairable.
Conclusion
Faulty wiring and connectors will give you a bad picture and audio quality. In the worst-case scenario, you won’t get a signal at all.
Don’t panic, though! HDMI cables are relatively easy and cheap to repair.
To put it simply, you’ll need to cut off the broken HDMI end, strip your wires with a coax stripper, and unravel the core wires from the HDMI cable.
You need to perform a continuity test to determine which wires go to a specific terminal. You will then need to insert the wires into a new HDMI cable adapter.

Meet Vance. He’s a proud dad, a seasoned Electronics Engineer, and an avid tech lover. His proficiency in electronics and troubleshooting skills were instrumental in crafting Pointer Clicker. Vance is passionate about simplifying tech for those who aren’t well-versed in it.