
Why Does Your TV (Monitor) Go Black When HDMI is Plugged In?
 Go Black When HDMI is Plugged In?")
- Check and ensure the proper functioning of your TV/monitor and source device, as HDMI black screen issues can stem from faulty hardware or an incorrect power supply.
- Inspect and potentially replace HDMI cables and ports, and confirm the correct HDMI input source setting on your display.
- Adjust the output resolution setting of the source device to match the display’s capability and update graphics card drivers to resolve compatibility issues.
In this article, I will present eight possible solutions to help you resolve HDMI black screen issues on your TV and monitor.
Let’s get started.
Quick Navigation
Can HDMI Cause Black Screens?
Yes, HDMI cables/ports can cause your display’s black screen.
If you’re using an HDMI cable to connect an input device to a display, it must be set up correctly to work properly.
An incorrect HDMI setup could lead to an inconsistent video or audio feed, a distorted image, and in some cases, a black screen.
What Causes HDMI Black Screen on Your TV or Monitor?
The following are some likely causes of a black screen on your television or monitor:
- A display with a failed backlight, faulty LCD/LED panel, etc.
- A faulty source device.
- A damaged HDMI cable/port or a loose HDMI connection.
- The wrong choice of HDMI input source.
- Faulty power supply.
- Mismatch of resolution between the source and display devices.
- “Projection Mode” is set to “PC screen only” or “Second screen only.”
- Bad or outdated graphics card drivers.
We’ll discuss the above in detail below, alongside their fixes.
How to Fix HDMI Causing Black Screen on TVs or Monitors
1. Check Your TV or Monitor
Begin by ensuring your television or monitor turns on and is functional. It may fail to power itself on for different reasons.
The panel or backlight could be bad, an internal component (resistor, capacitor, integrated circuit, etc.) may have failed, the display could be defective from the factory or worn due to age or wear, etc.
If you suspect any of the above, get a professional to inspect the device since a defective backlight, panel, or internal component must be professionally diagnosed and repaired.
Don’t attempt a repair if you don’t have the tools, technical knowledge, or solid experience handling capacitors, resistors, etc.
And if the device is under warranty, don’t take matters into your own hands, even if you are proficient to do the job.
2. Check Source Device
Try connecting the source device, like your laptop or game console, to another TV that you know is working.
This step will help you determine if the HDMI black screen issue is due to the source device.
Ensure your laptop or game console is in working condition and, if needed, properly powered.
Also, check that it’s turned on and hasn’t gone into standby mode.
If possible, try connecting another source device to your display to see if the problem still persists.
If the screen remains black, there may be something wrong with the display. If the display begins working correctly, there could be something with your input device.
3. Check the HDMI Ports and Cables
Check your television or monitor’s HDMI port and see if there’s visible damage. Although HDMI ports are fairly resilient, they can be compromised with reckless use.
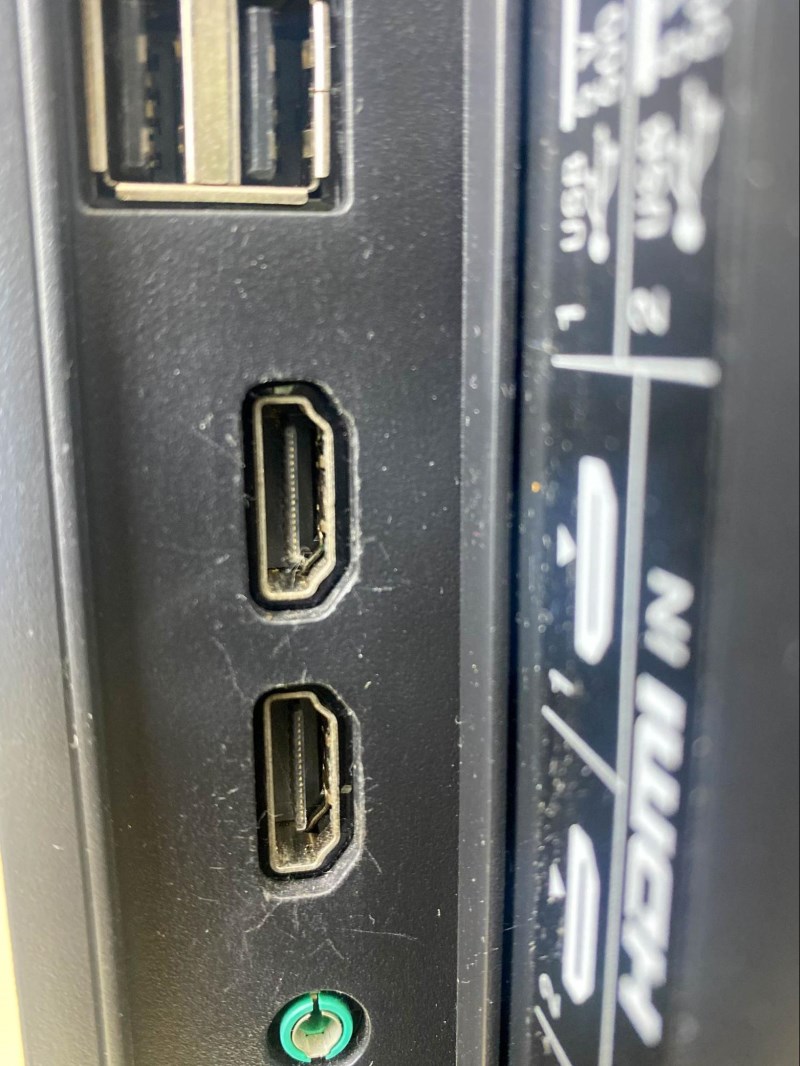
If your device has several HDMI ports, use the alternative ones to check whether the issue persists. Also, use another HDMI cable to rule out cable issues. A damaged HDMI cable is commonly associated with the black screen issue.
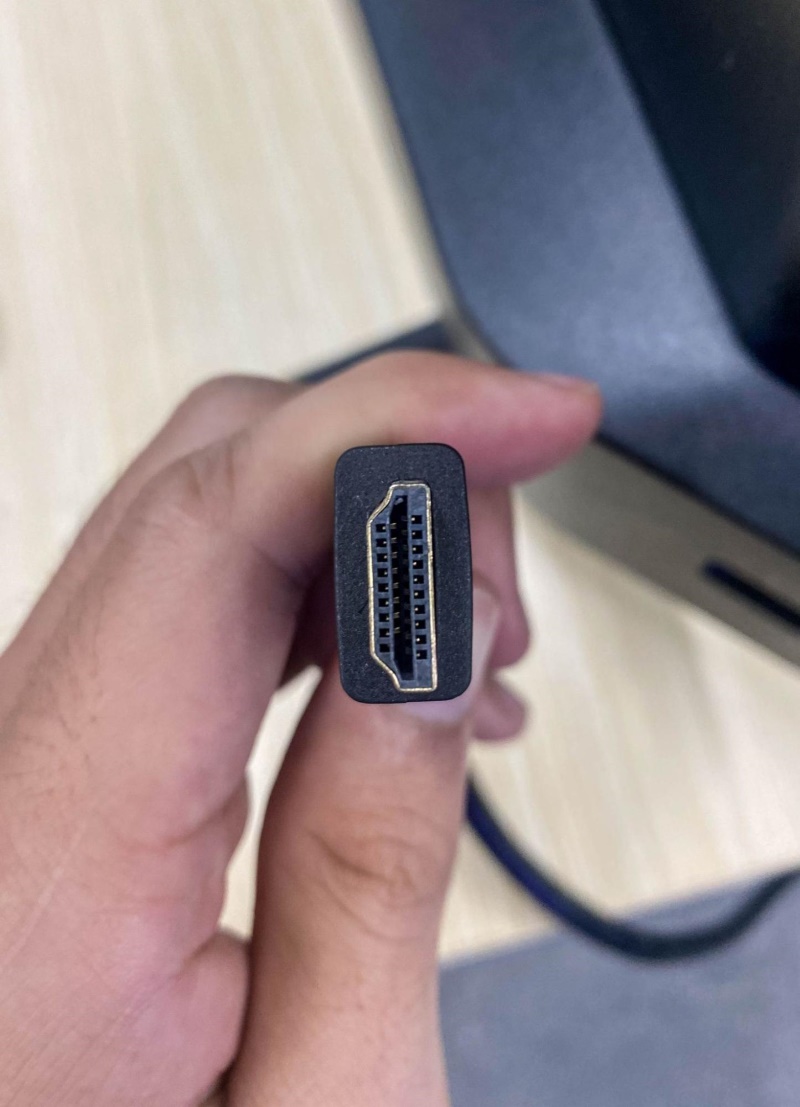
If the HDMI port or cable is fine, try resetting the connection. Turn off your television or monitor, unplug its HDMI cable, wait a few minutes, and reinsert the cord.
In case the cable was loose or partially unplugged, such physical resetting would help reestablish the link.
If you’ve tried the solutions above and have confirmed that your HDMI cable and port are indeed working, consider investing in a cable lock/clamp. This will hold your HDMI cable in place without damaging it, ensuring your connection will not be interrupted by a loose cable.
Depending on your device, you can choose which one of the two designs listed below will work best for you.
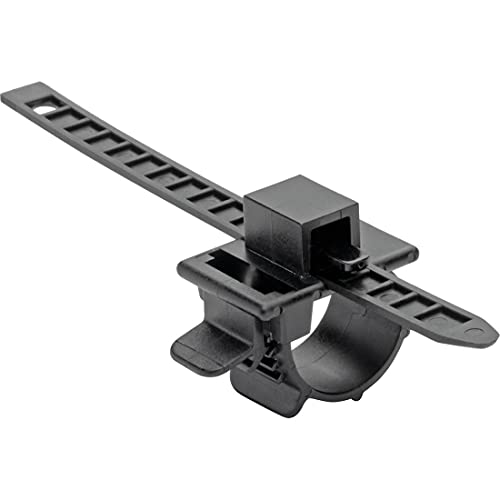
- Hdmi port lock: the HDMI lock safely secures your HDMI cable to its port. Locking capability avoids...
- Prevent accidental disconnection: HDMI port lock helps prevent an HDMI cable from coming loose from...
- Universal design: this HDMI lock works with any HDMI cable and any device with a fixing or locking...
(Paid Link.)

- No more signal dropouts from loose HDMI cables
- Secures HDMI cables in place to eliminate intermittent signal loss or disconnected HDMI cables
- Provides strain relief on your HDMI input by supporting the HDMI cable from the component's chassis
(Paid Link.)
Watch the video below demonstrating how easy and fast it is to install and use an HDMI EZ lock.

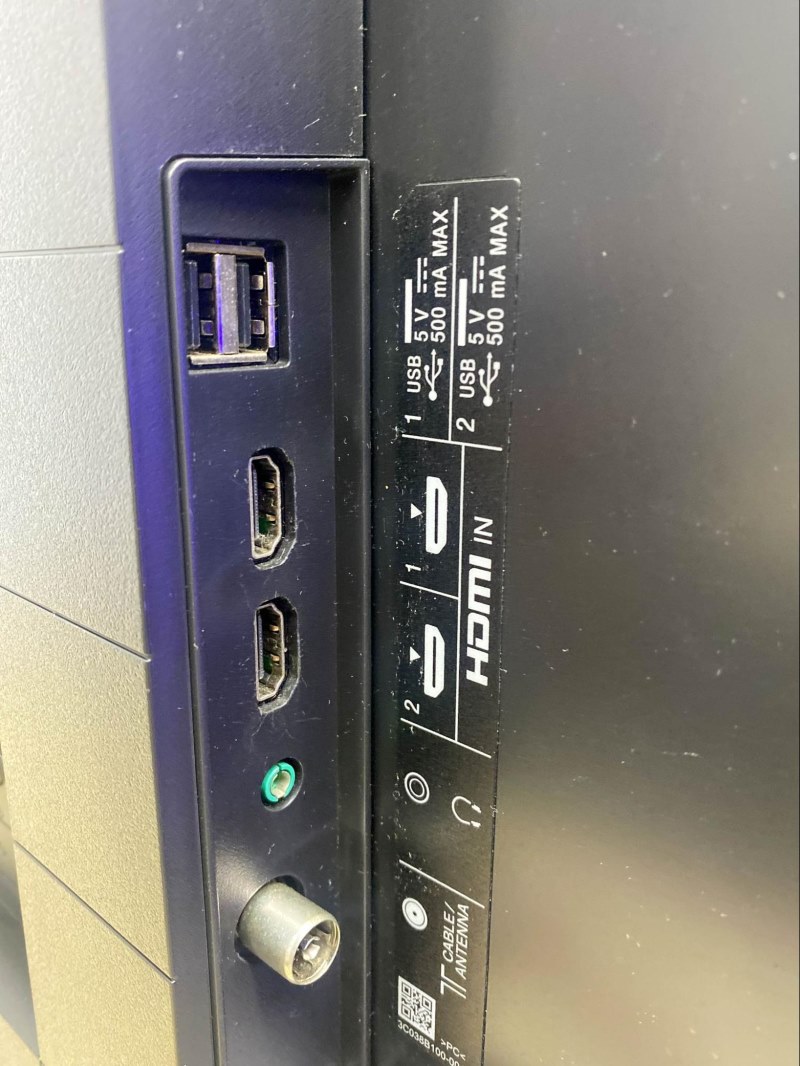
4. Check the HDMI Input Source Setting
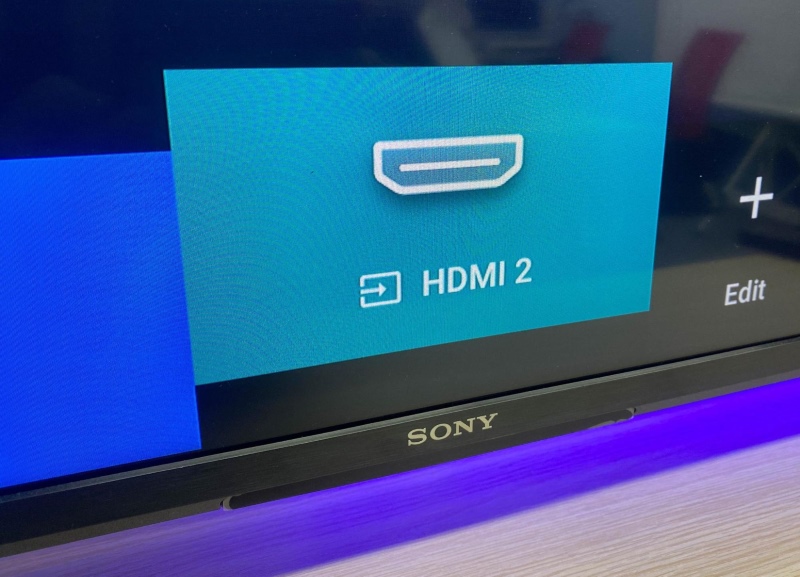
Ensure the correct HDMI input is selected on the monitor or TV.
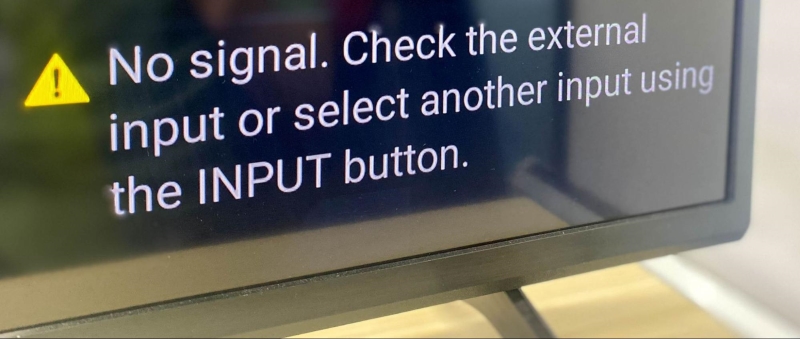
If you plug the cable into your TV’s HDMI 1 port and set the device’s input to HDMI 2, you’ll see a blank screen or a “No signal” error message.
Mistakes in choosing the input source can happen if you often switch between devices or use different inputs.
At times, restarting the device or a power outage could change the input source or set it to default, which may not have been the port you chose initially.
Those handling an HDMI cable for the first time often select the wrong input source. It’s a common issue with a straightforward fix.
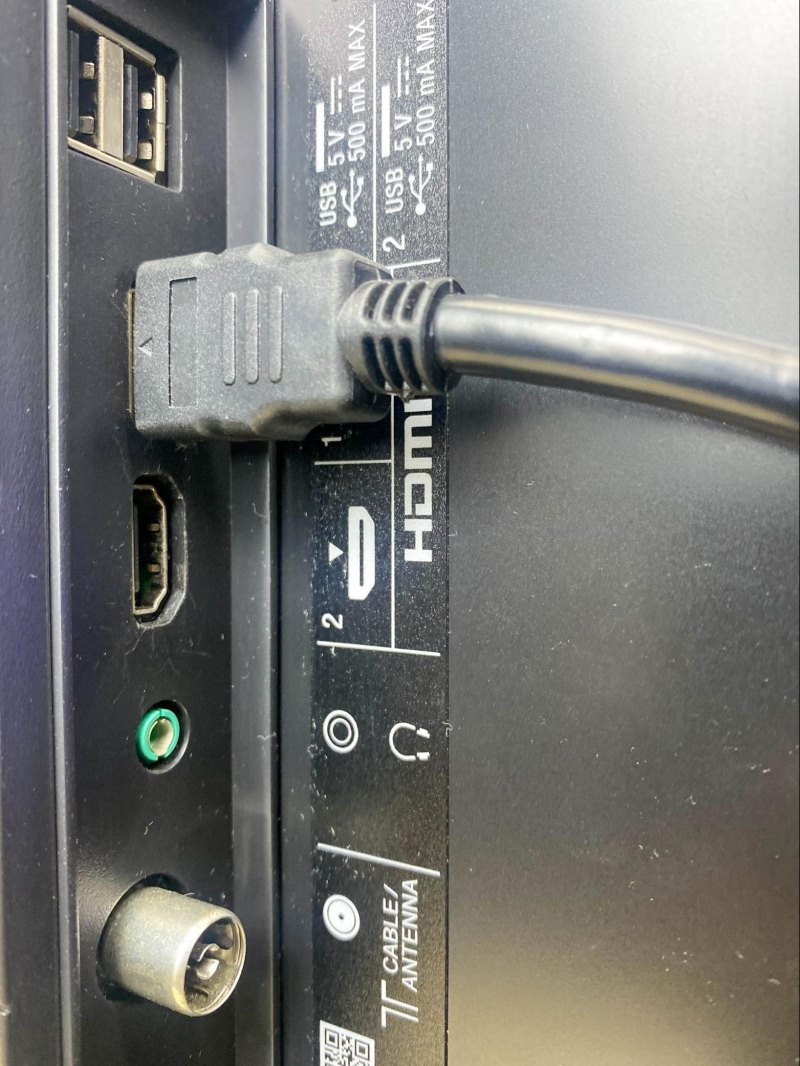
When inserting the HDMI cable, check the number denoting the port so you can set the input source correctly in the TV or monitor’s settings.
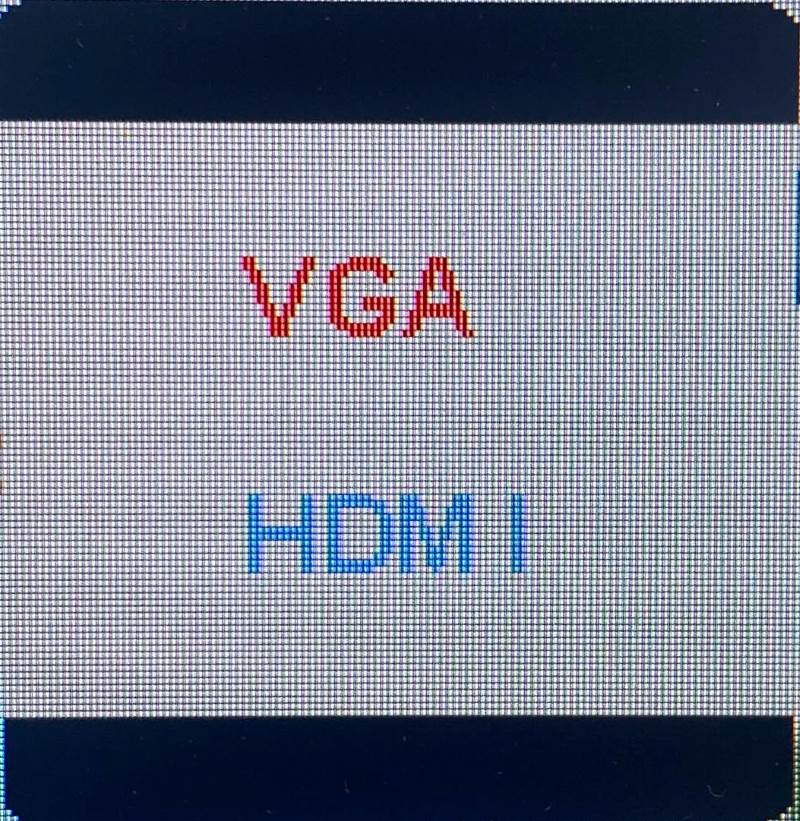
Sometimes, the device’s input setting could be set to VGA or something else.
When I plugged an HDMI cord into a monitor from my computer, the source setting of the monitor was set to VGA and not HDMI.
I received the following blank screen and a “NO SIGNAL” message on the screen.

5. Faulty Power Supply
Fault power supplies can make it difficult for displays to properly turn on and illuminate their screens. The display may also randomly turn off, displaying the input source one moment and turning black the next.
Test your wall outlet’s electrical output using an AstroAI Multimeter.

- Additional Tips - The following incorrect operations may cause the multimeter not to show results:...
- Versatile Digital Multimeter - Accurately measures AC/DC Voltage, DC Current, Resistance, and Diode....
- Troubleshooting with Accuracy - This Multimeter has a sampling speed of 2 times per second; Built-in...
(Paid Link.)
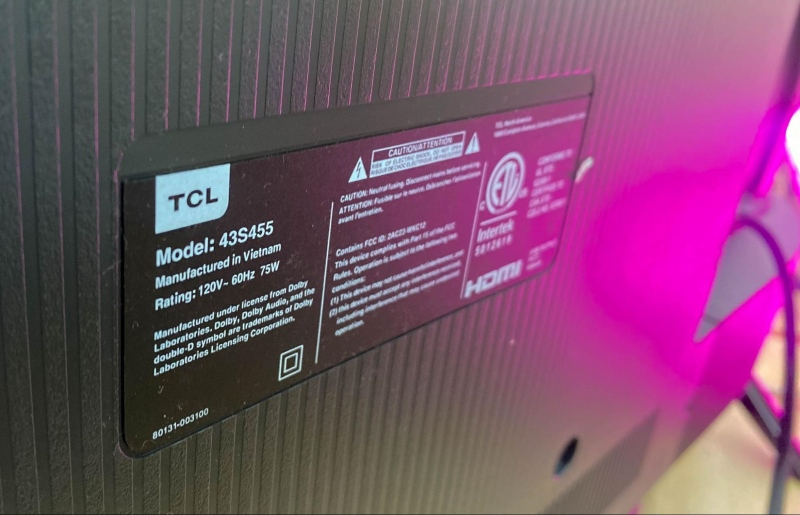
Then, compare this output to your display’s voltage to ensure they are compatible. Depending on where you live, your TV should be compatible with the following voltage:
- 110 volts for the USA and Canada
- 220 volts for the UK and Australia
Watch the video tutorial below to learn how to check a wall outlet’s electrical output.

If you live in an area that experiences regular power fluctuations, power surges, or extreme weather events that may affect the power supply, consider using an APC Automatic Voltage Regulator.
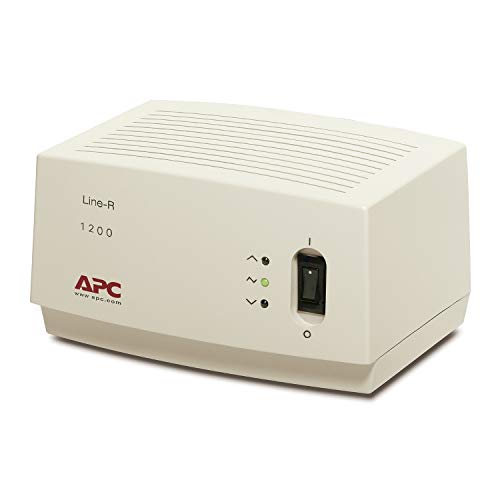
- The APC Line-R automatically corrects brownouts (by boosting low voltage) and overvoltages (by...
- The Line-R provides an ON/OFF power switch/circuit breaker which functions as the master power...
- ON/OFF Power Switch/Circuit Breaker applies and removes power to/from the Line-R. This switch also...
(Paid Link.)
This nifty gadget will regulate the voltage your TV receives, ensuring it’s not over or underpowered. Many AVRs also have multiple outlets, allowing you to connect multiple devices to one wall outlet.
6. Check the Output Resolution Setting on the Source Device
If the resolution settings of the input and output devices don’t match, the HDMI blank screen could appear.
When connecting a game console, streaming device, or laptop/desktop computer to an external monitor or TV, you must be aware of the maximum resolution the respective devices support and set them accordingly.
I faced this issue when plugging my Roku streaming device into my monitor using an HDMI cord. My monitor supports up to Full HD resolution, but I was trying to push my Roku player’s 4K resolution onto it.
Consequently, the monitor popped a blank/black screen for some seconds. Then, it communicated that it didn’t support 4K resolution and reverted to its FHD glory.
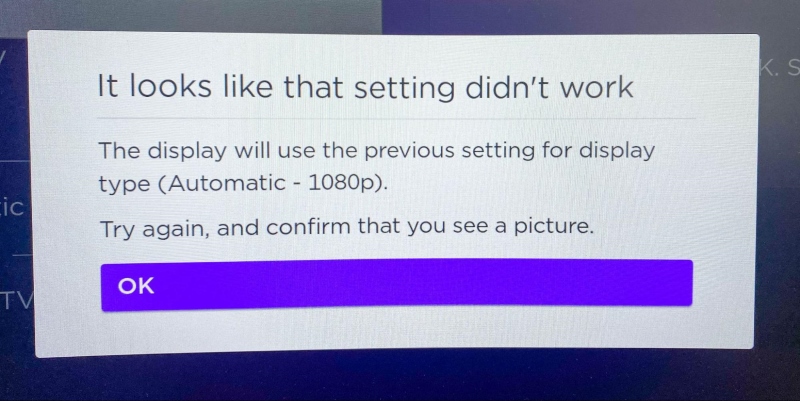
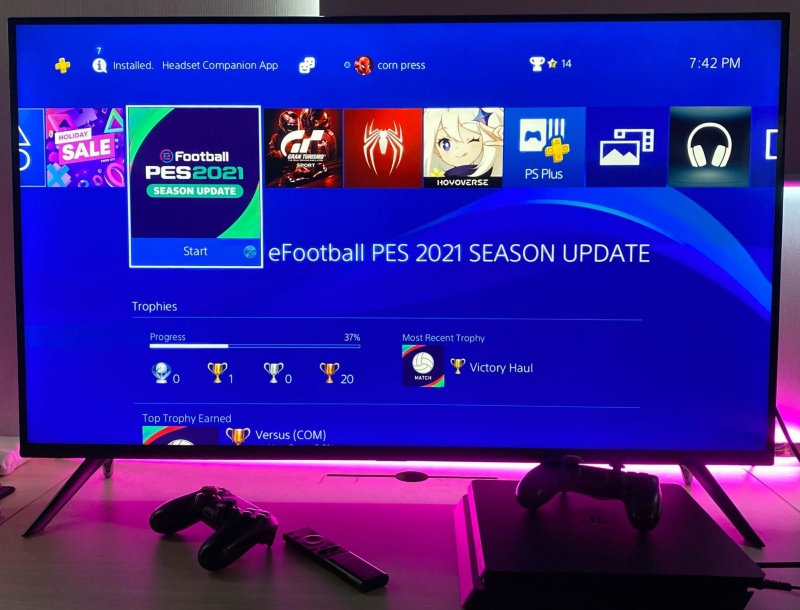
Several PS4 users have encountered a blank screen on their TV displays, with the audio playing in the background like normal.
In such scenarios, setting the console’s resolution to match the TV or monitor is the only solution.
Here is how you do that:
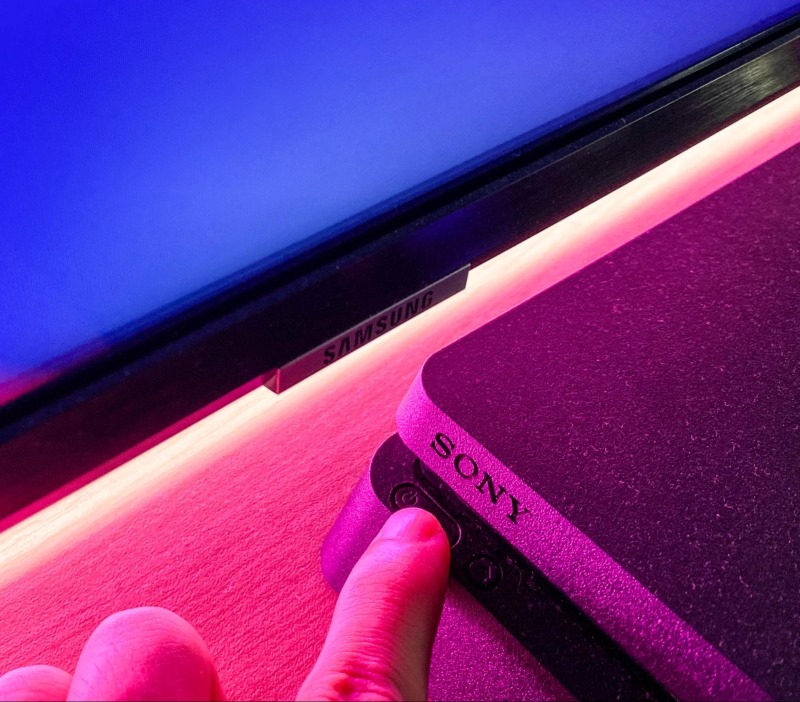
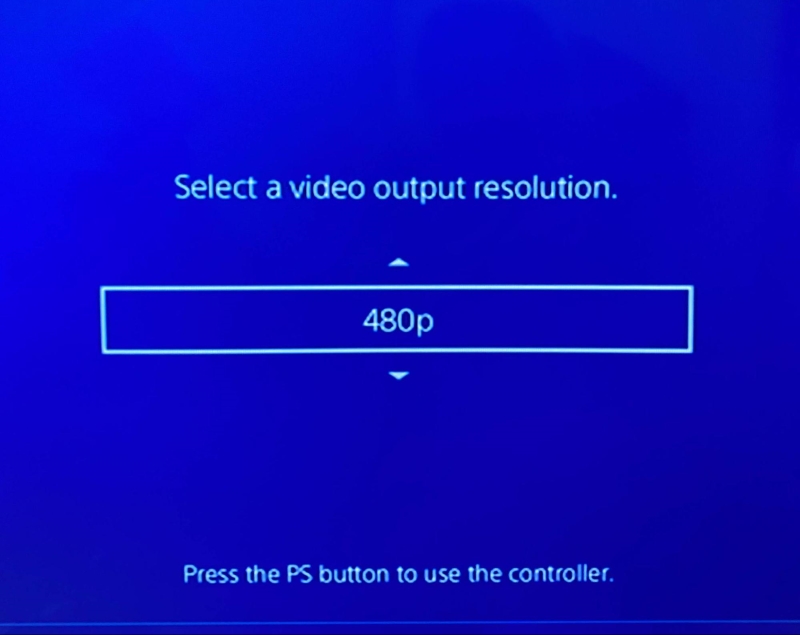
Step 1: Long-press your PS4’s power button for around seven seconds and enter “Safe Mode.”
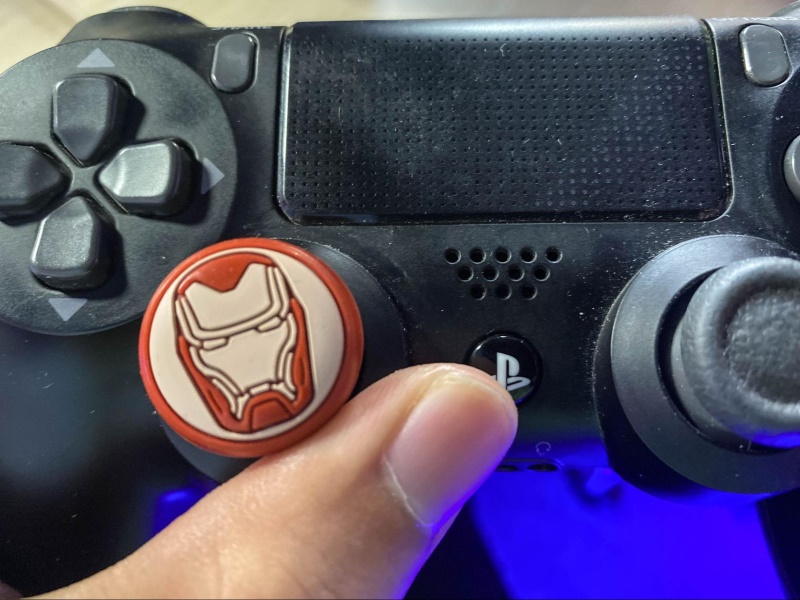
Step 2: Connect your PS4 console and controller using a USB cable. Next, press the PS key on the controller.
Step 3: Select “Change Resolution.” Then, choose “OK.”
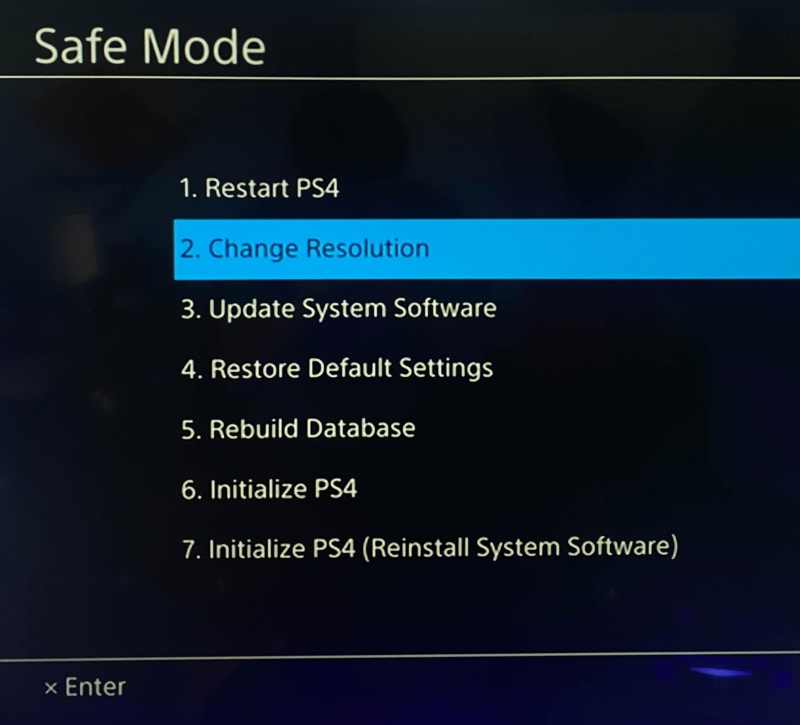
Step 4: Choose a lower resolution that matches your external monitor or television. Hit “OK” to confirm.
If you don’t know your TV or monitor’s maximum resolution, check the product manual or look up the info online.
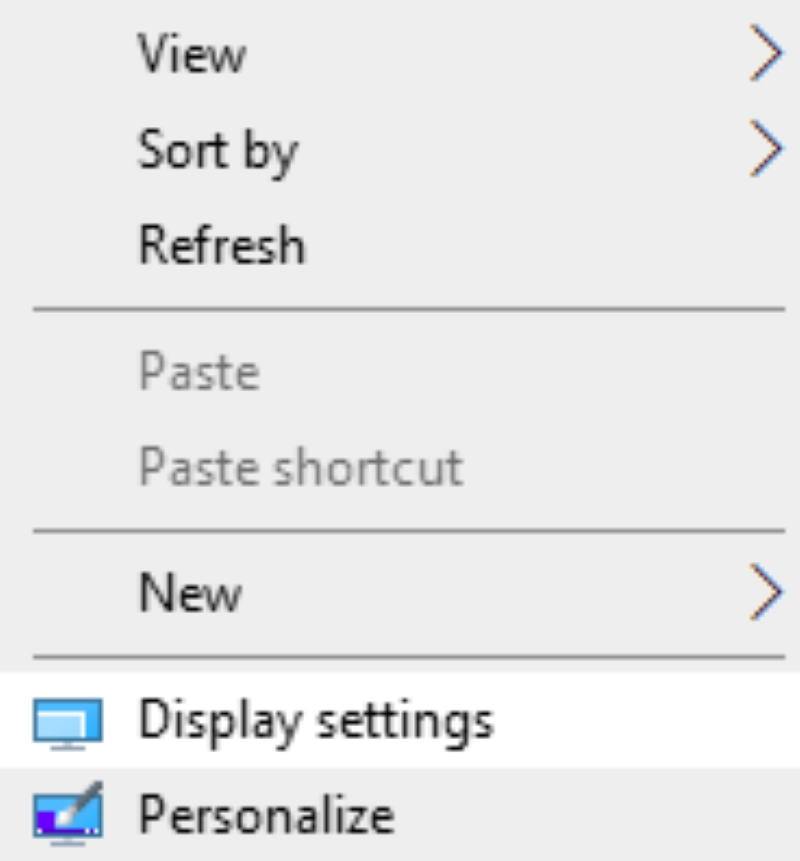
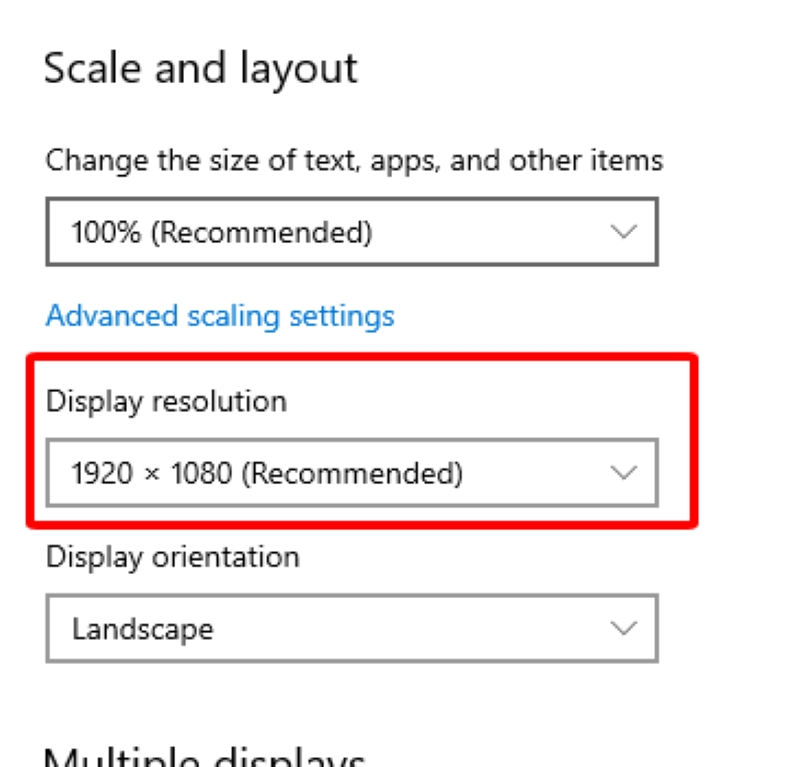
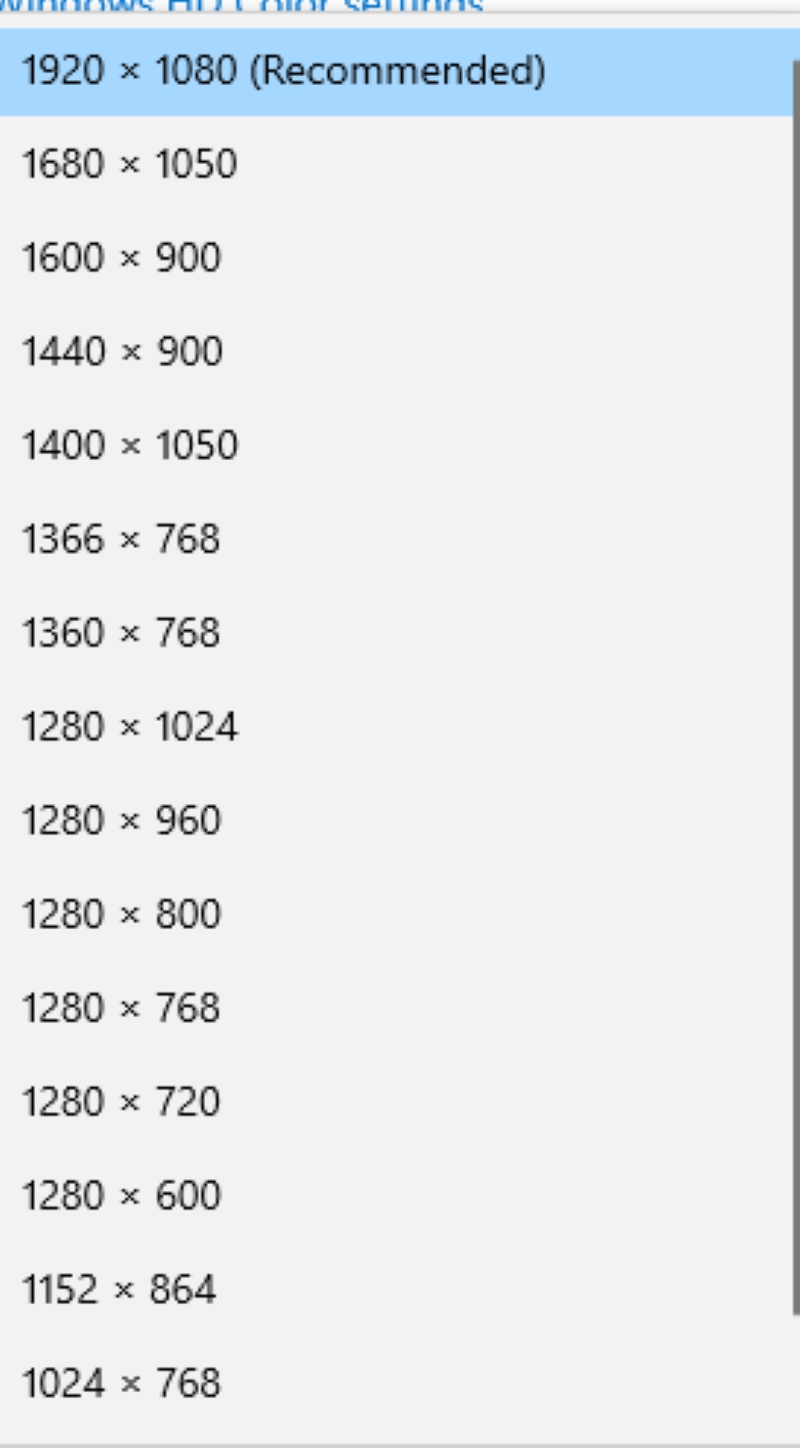
Change the resolution on your laptop or desktop PC by right-clicking on your desktop, heading to Display Settings and then Display Resolution. Finally, choose a resolution that your monitor or television supports.
7. Check the Projection Mode Setting
When connecting your laptop or desktop computer to an external device, you can choose between displaying content on multiple screens or just one.
When the mode is set to “Second screen only,” as shown below, the laptop or PC screen will turn black, and the video will appear only on the external monitor or TV connected via HDMI.
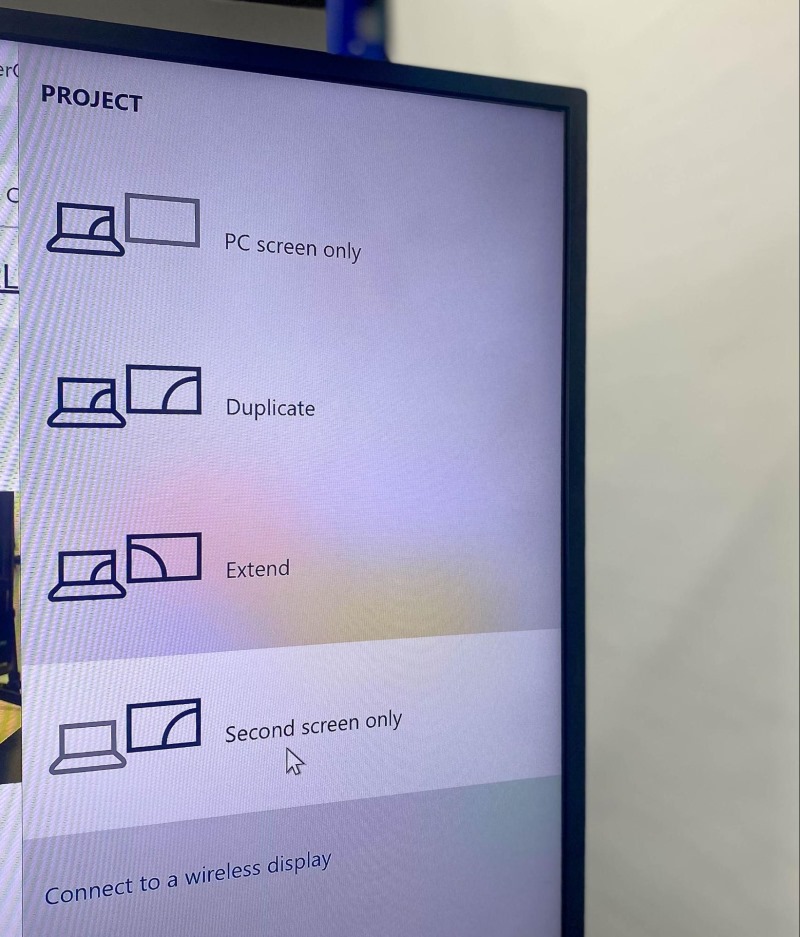
Alternatively, if the projection is set to “PC screen only,” you’ll see the black screen on your television or external display.
Although you have complete control over the process, you may have inadvertently set the projection settings to “PC screen only” or “Second screen only” mode and forgotten the same.
Therefore, if you see a blank screen, confirm the projection setting is correct or to your preference.
So, what setting should one choose? If you’re hooking a TV or monitor to your computer, choose “Extend” or “Duplicate” as the projection mode.
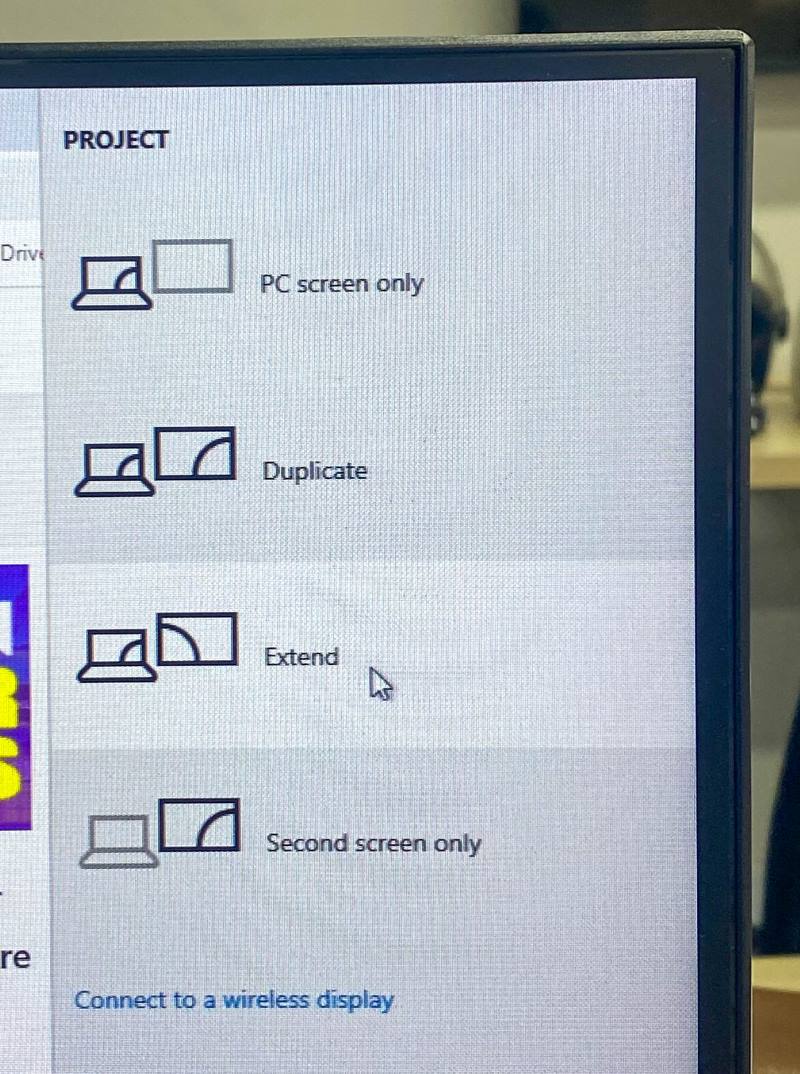
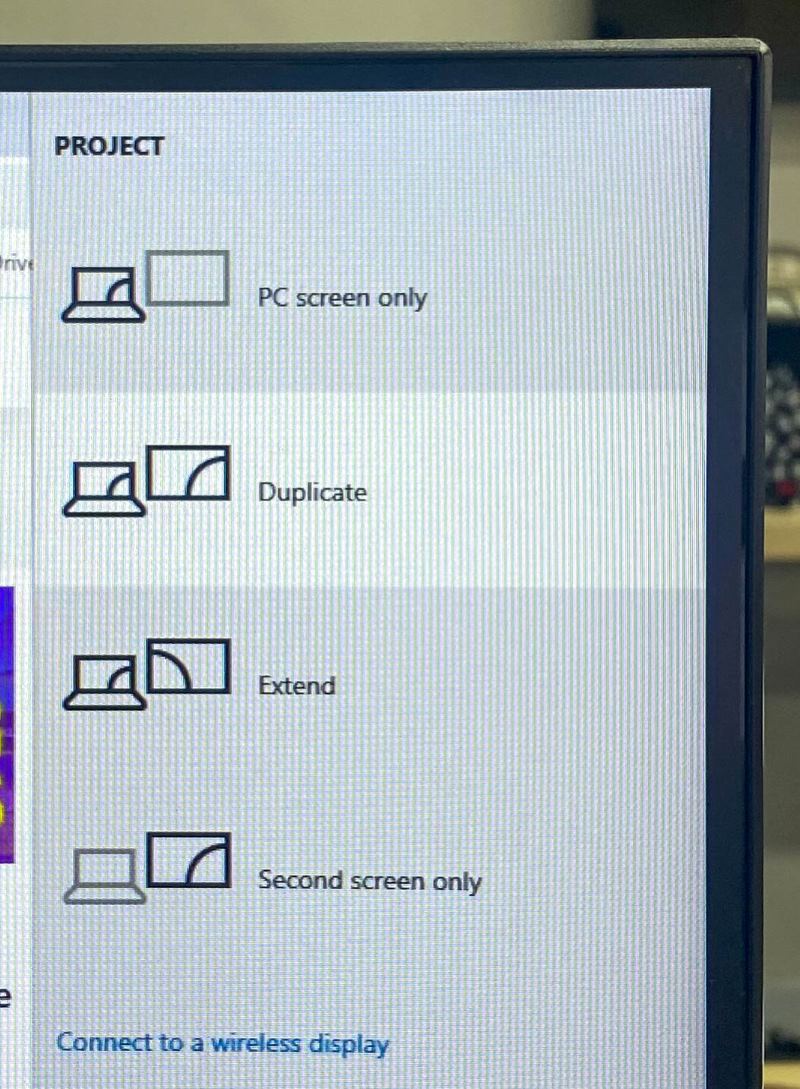
That way, the video will be displayed on both the computer screen and the external display.
8. Update Graphics Card Driver
A bad or archaic video card driver could cause the HDMI black screen problem.
For instance, an outdated graphics card driver may not be compatible with the external display’s various communication protocols or modes.
The wrong drivers could bungle resolution, refresh rate, and other pertinent display settings, causing a black screen. The reasons outdated drivers cause display issues, such as a black screen, are multifold.
If your computer’s operating system is up-to-date, the video card drivers are likely up to snuff as well. In the event they aren’t, or you’d like to check their status quo, here are the steps:
Step 1: On your computer, right-click the Windows sign located at the bottom-left of your computer’s home screen. From the options, select Device Manager.
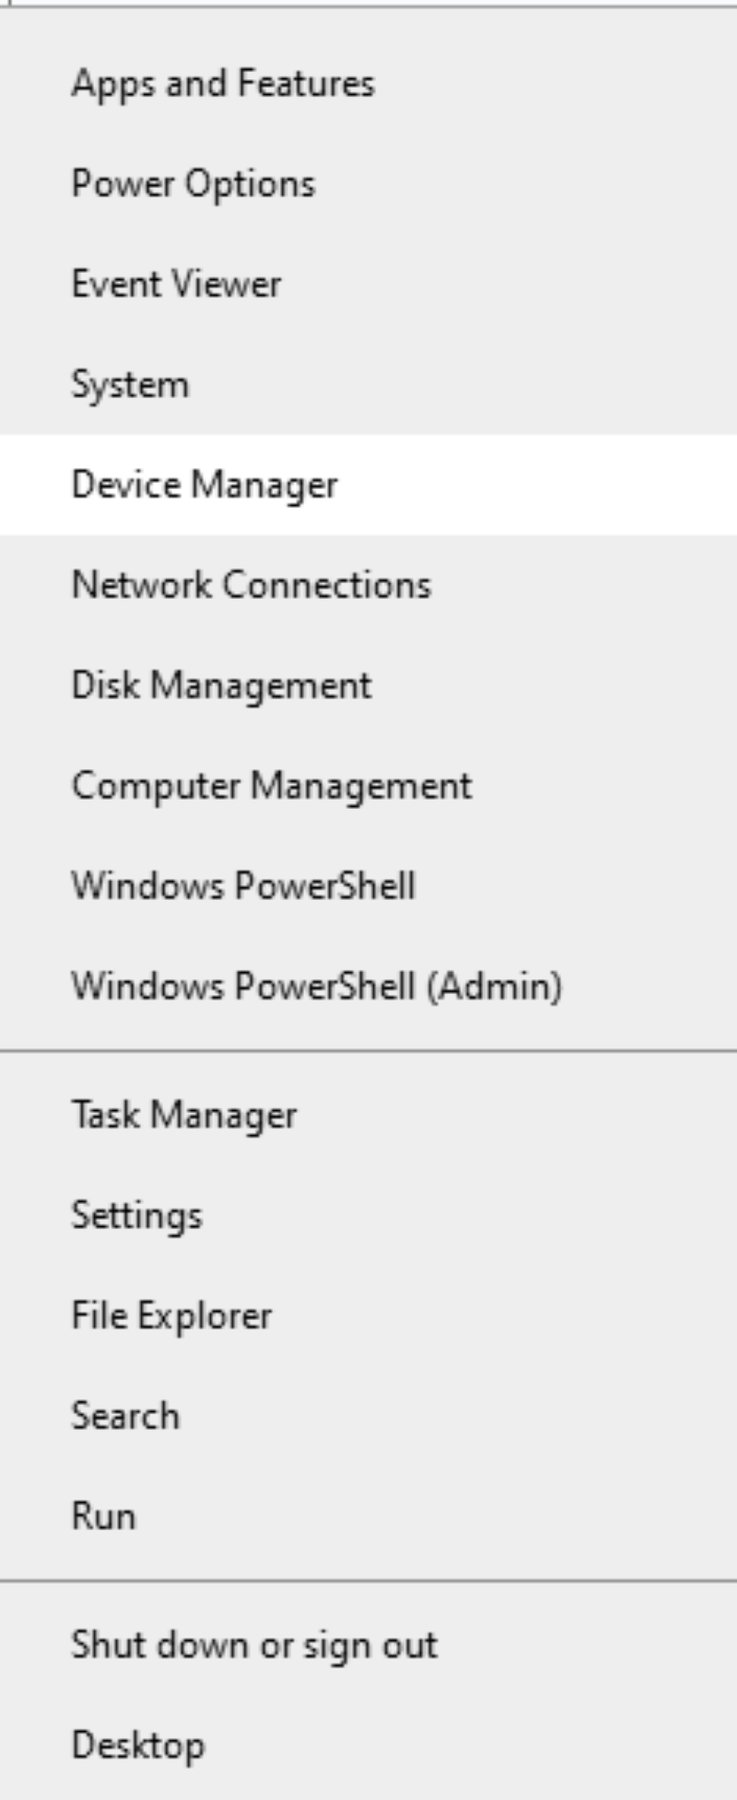
Step 2: Click the small right arrow next to Display adapters.
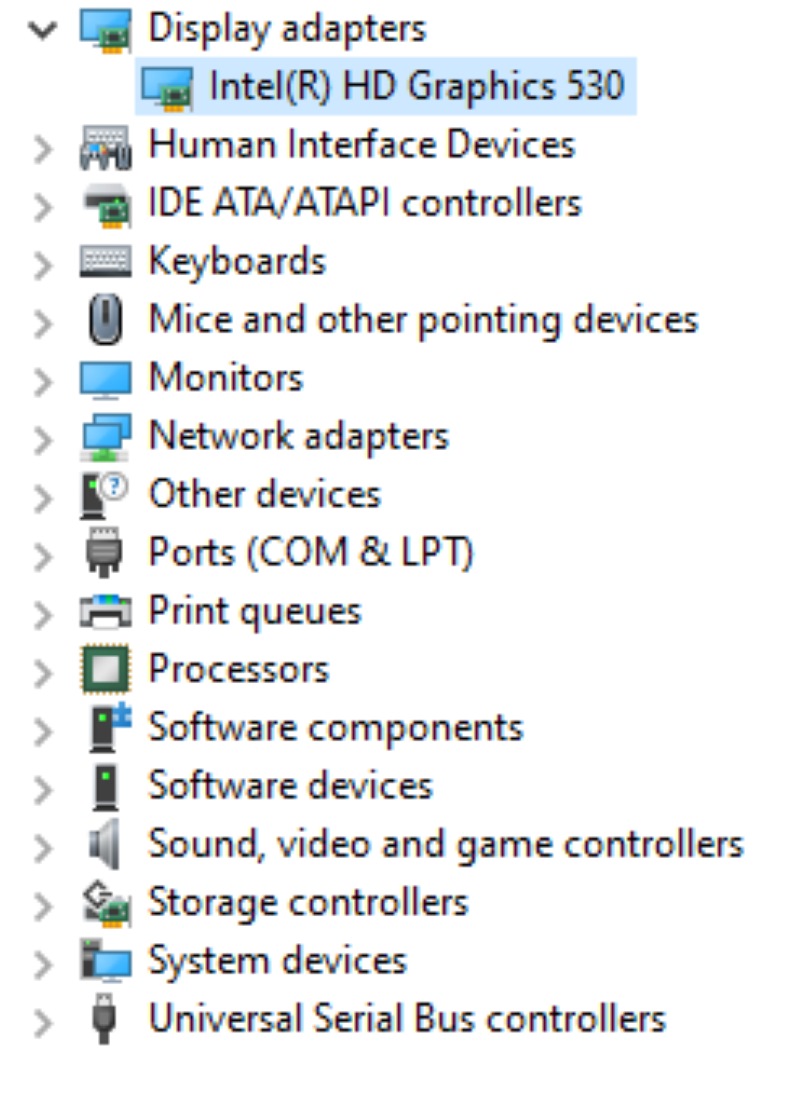
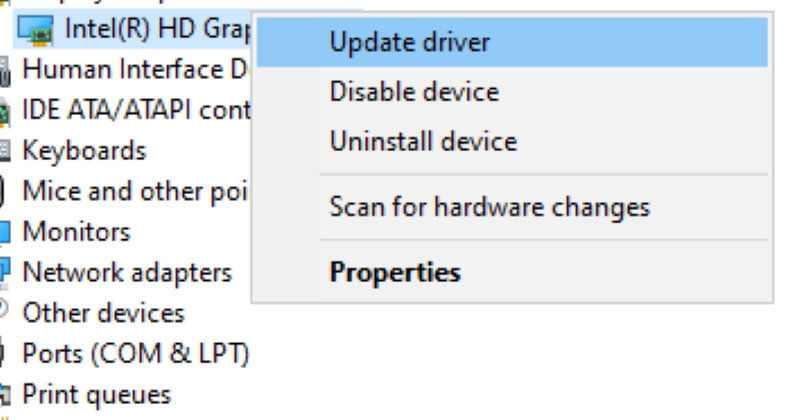
Right-click your video card adapter and select Update driver.
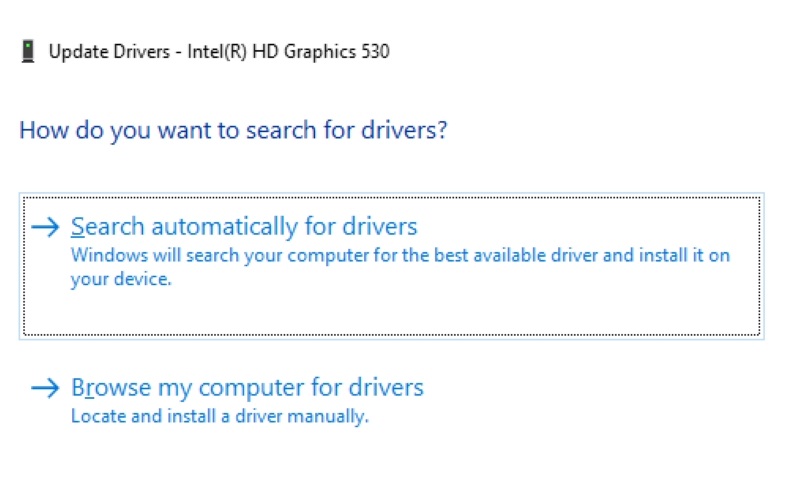
Step 3: Choose “Search automatically for drivers” and roll with the subsequent instructions to install the available updates, if any.
While at it, ensure your external monitor or TV software is the most recent version, too.

Catherine Tramell has been covering technology as a freelance writer for over a decade. She has been writing for Pointer Clicker for over a year, further expanding her expertise as a tech columnist. Catherine likes spending time with her family and friends and her pastimes are reading books and news articles.