
How to Project an Image on a Wall Without a Projector: Flashlight and Phone Methods

- To project an image on a wall without a projector, use a flashlight with a Fresnel lens to magnify and project the image, adjusting the lens for focus and size.
- Turn your smartphone into a DIY projector with a shoebox, magnifying glass, and mirror, ensuring the interior is blacked out for better image quality.
- Install the mirror at a 45-degree angle to correct image orientation and cut a rectangle in the box for the phone’s screen to complete your homemade projector.
In this article, I’ll show you how to project an image on a wall without a projector, using just a flashlight or your phone.
Let’s discover how to turn simple items into your own DIY projector.
Quick Navigation
With a Flashlight
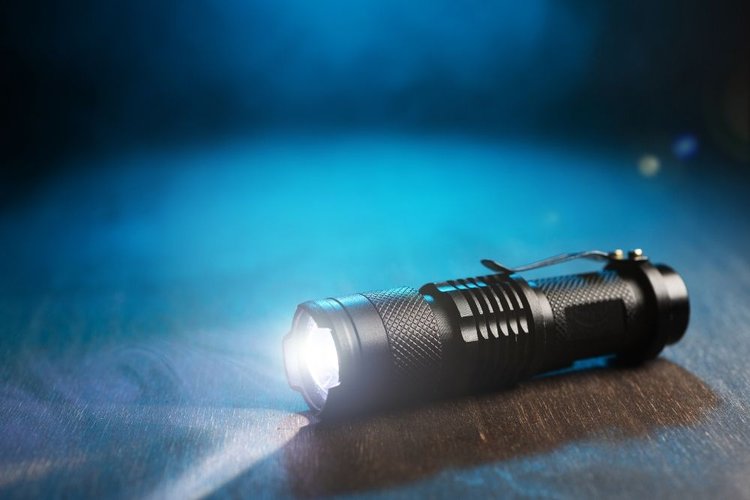
Point your flashlight at the wall and place a Fresnel lens (or magnifying lens) in front of the flashlight.
Next, turn on the light and let it shine through the lens. This way, it will project the image on the wall.
Finally, you’ve got to adjust the position of the lens to focus on the image. Keep adjusting until you get your desired image size and quality.
Read more about this DIY here.
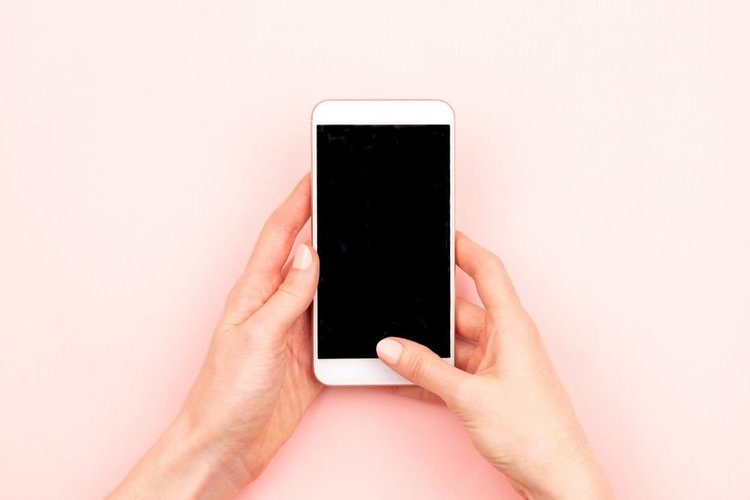
With Your Smartphone
If you are like most folks, you probably think that a mobile phone is used just for regular calls and accessing the internet.
Well, that’s partly true.
The world has evolved, and you can pretty much do lots of things using your smartphone. One of the things you can do with your smartphone is to project an image.
Let’s get it straight: no mobile phone has a built-in projector configuration. But with some modification, you could use your smartphone to build an affordable Do-It-Yourself (DIY) projector.
Here’s how to do just that.
First off, here are the materials you will need.
- Precision knife or scissors
- Mirror
- Magnifying glass
- Ruler, pencil
- A shoebox or something similar
- Double-sided tape, brush, and glue
- Black matte paint or thick black paper.

1. Use the Right Box and Mirror
You’ve got to place a magnifying lens and a mirror in the box. This arrangement helps the light ray from your phone create a large projected image.
To get a brighter final image, more light has to reach the magnifying glass.
Furthermore, you will need a long box so you can adjust the distance between your phone and the projecting lens. As a general rule of thumb, you would need a box that fits your phone screen.
The mirror has to be plain, rectangular, and the same size as your phone.
2. Blackout the Interior for Better Image Quality
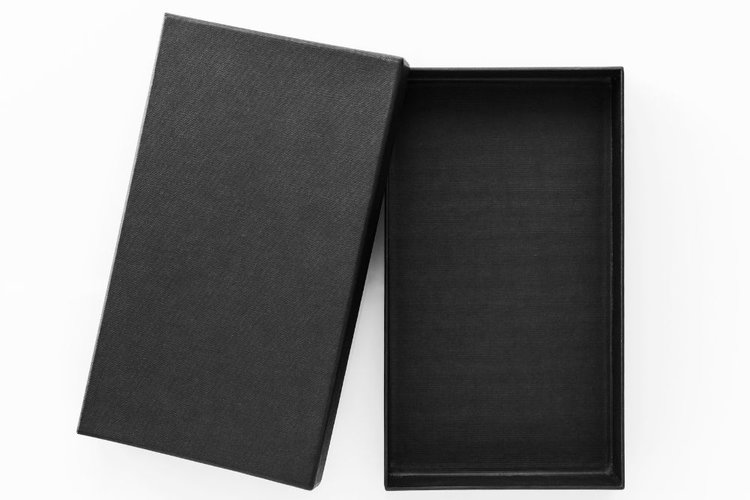
With scissors or a precision knife, cut out one narrow side of the outer box, and keep it in a safe place. Also, cut the box’s lid.
Here’s the thing, light reflection from the box walls leads to image noise. This will, in turn, cause a low-quality image.
To eliminate such a situation, you’ve got to coat the interior of your projector with black matte paper. You can do that by merely gluing the black matte paper onto the interior walls of the projector.
Spreading the glue across the black matte paper is pretty easy. You can do it using a brush.
If you do not have black matte paper, you can opt to paint the box. After painting, you should let the paint dry.
3. Installing Your Lens Into the DIY Mobile Projector
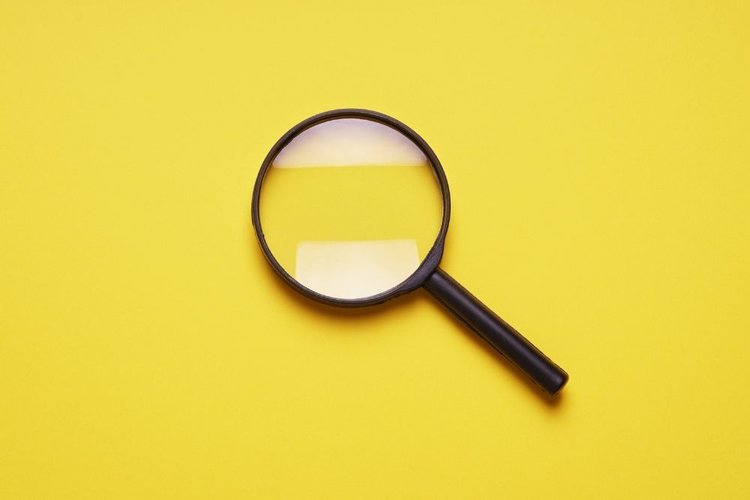
Remove the handle of your magnifying glass, and trace its outline on the center of the narrow side that was cut out.
With your precision knife, cut out the outline so that the magnifying glass fits into the opening.
4. Design a Manual, Adjustable Focus for Your Phone Projector
An adjustable focus translates to having a lens that can be moved in relation to the phone.
To improve the focus, you’ve got to build a second box that fits into the outer box.
Once the second box is created, create four sheets of black paper folds and fit them at the box’s edge.
Caution: Use a ruler for precise measurement.
Make some shallow cuts at one edge and fold the flaps. Using glue, attach the adjacent sides of the flaps. This setup makes the structure more solid and rigid.
Next, glue the lens on the flaps of the inner box.
5. Install the Mirror in the Cardboard Phone Projector
So far, you have a setup that projects an image that is positioned left to right and also flips upside down.
Fixing the latter is pretty straightforward — all you need to do is deactivate your phone’s auto-rotate function. After deactivating the feature, you’d have to place your phone upside down.
Correcting the left-to-right image positioning can be done by using a mirror. You do that by placing the mirror at a 45-degree angle against the edge that is opposite of the lens.
6. Create a Window for the Phone
Using the measurement of your phone’s screen, draw a rectangle on your projector’s lid above the mirror. Remove the rectangle with a precision knife.
Finally, fit the magnifying glass into the opening in step 3. With this, you’ve made your phone projector.
You can get creative by decorating the phone projector with paint or any shiny material.
Related post: How To Use Your iPhone As A Projector?
Conclusion
A projector is an indispensable tool in most large corporations, offices, and public places.
But if you are looking for a fun, creative way of projecting an image on a wall without a projector, you can do it by merely using a flashlight or your smartphone.
Building a personal projector is a fun way to creatively engage your mind. And you can perform the task alone or invite a group of friends to help you get the job done.
Yes, a DIY projector is not perfect, and it may not produce an ideal image. However, you can use it to project an image on a wall during birthday parties and Halloween.
Now that you know how to project an image on a wall without a projector, will you cast your next image using a flashlight or smartphone?

Meet Vance. He’s a proud dad, a seasoned Electronics Engineer, and an avid tech lover. His proficiency in electronics and troubleshooting skills were instrumental in crafting Pointer Clicker. Vance is passionate about simplifying tech for those who aren’t well-versed in it.