
How to Connect Your Laptop to a Projector Using USB Effortlessly

What To Know
- To connect a laptop to a projector via USB, confirm the projector has a USB type B port or a USB Display option in the settings, and your laptop has a USB type A port of version 2.0 or above.
- Use a USB-B to USB-A cable to connect the projector’s USB-B port to the laptop’s USB-A port.
- Install the necessary USB Display driver on your laptop if it’s the first-time connection, then the projector should automatically display your laptop’s screen.
In this guide, I will share with you detailed step-by-step instructions to connect your laptop to a projector using a USB cable.
Let’s dive in!
Quick Navigation
Requirements
Before connecting your laptop/PC to a projector via USB, you must ensure the projector’s USB port supports video and audio input.
There are two ways to confirm your projector USB’s compatibility.
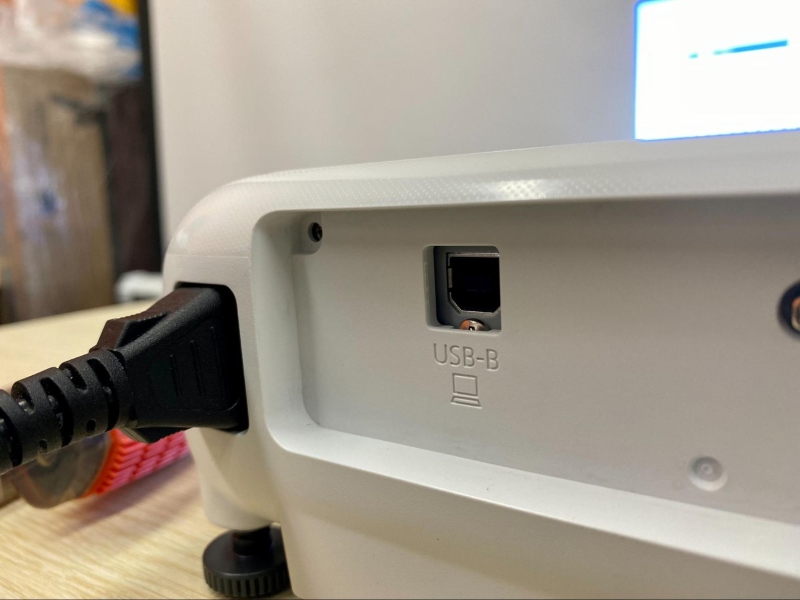
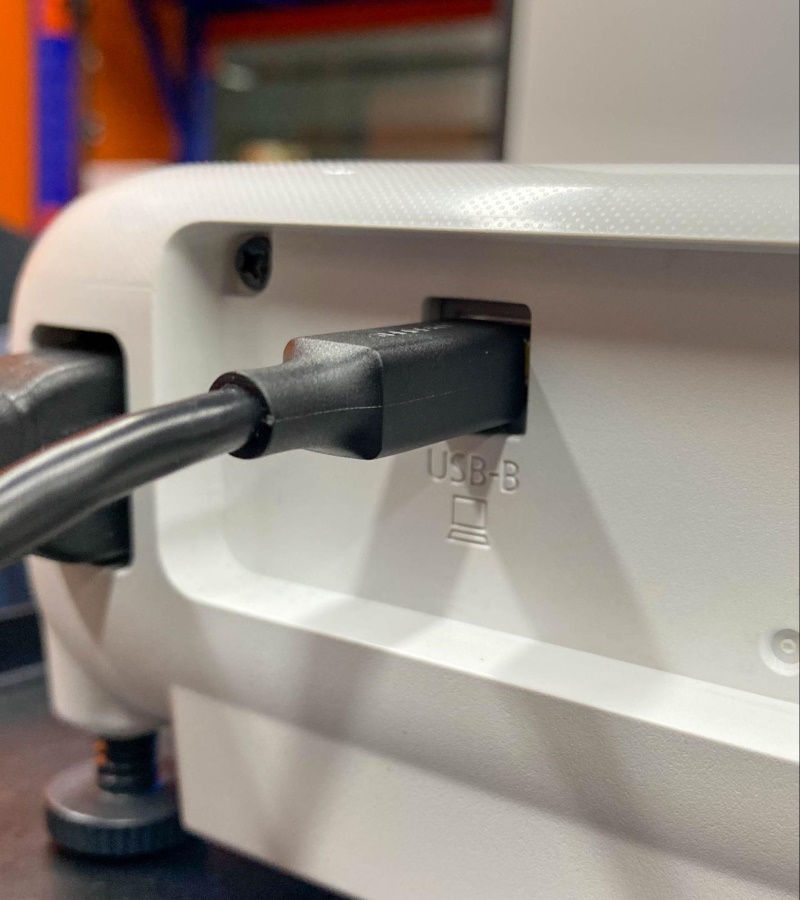
The first (and easiest) way is to head to the back of your projector and look for a USB type B (USB-B) port. This type of USB port looks like the one shown below and is larger than other USB ports you’d typically find on a laptop.
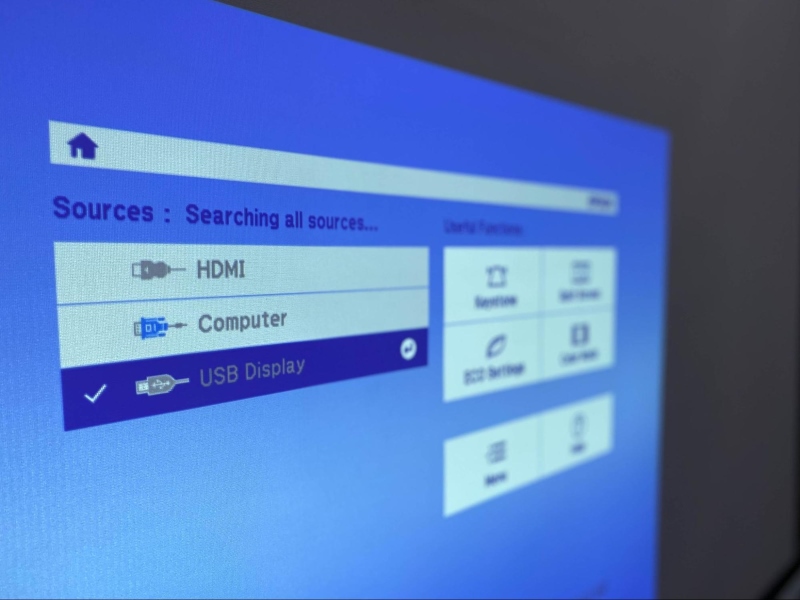
The second way is to search your projector’s Menu settings for a USB Display option. If you see this within the settings, then you’re in luck! You’ll be able to connect your laptop to your projector via USB.
Alternatively, consult your projector’s user manual or head to the manufacturer’s official website to check its USB port’s capabilities. You can usually find this information under the page’s “Specs” section. You may need to enter your projector’s model number, which can often be found on the back or bottom of the unit, or in its settings.
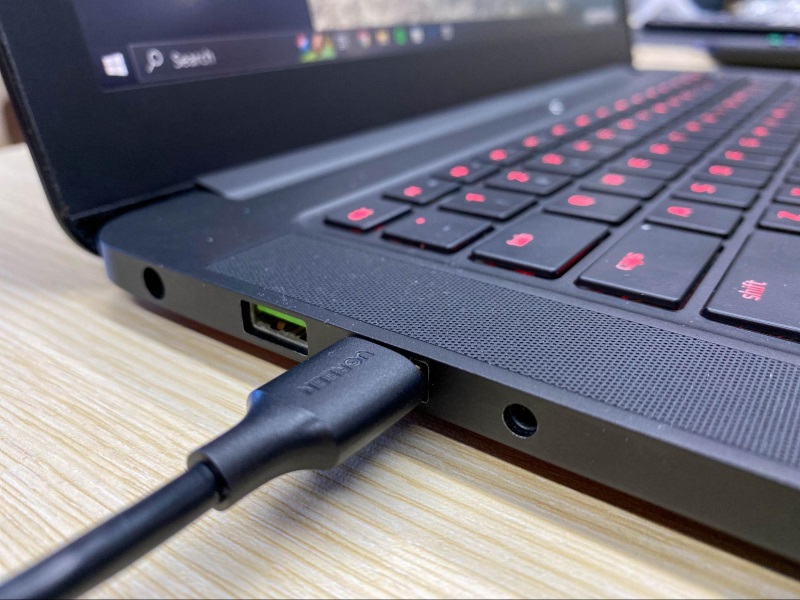
Your laptop/PC should also be fitted with a USB type A (USB-A) port of version 2.0 or above, like the ones shown below.
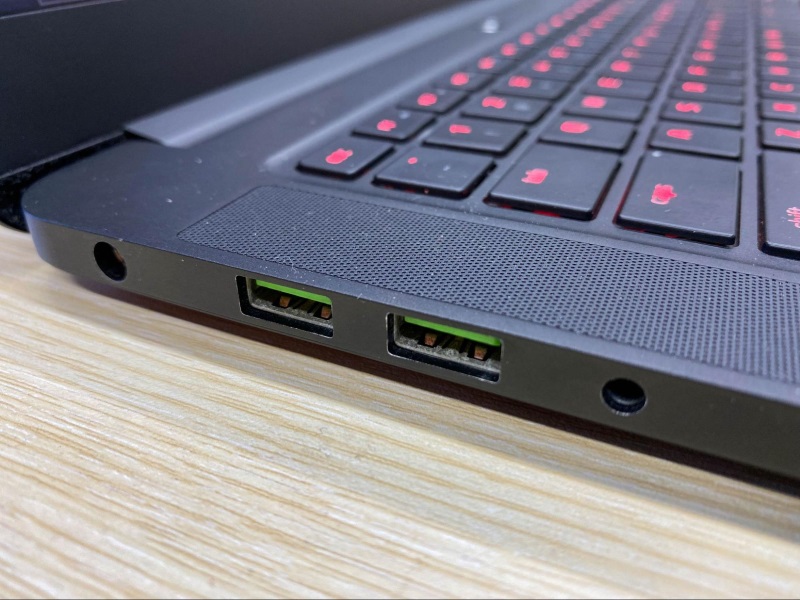
Luckily, most modern laptops have a USB-A port of version 2.0 or 3.0. So, unless your laptop is on the older side, it should be fitted with an AV-compatible port.
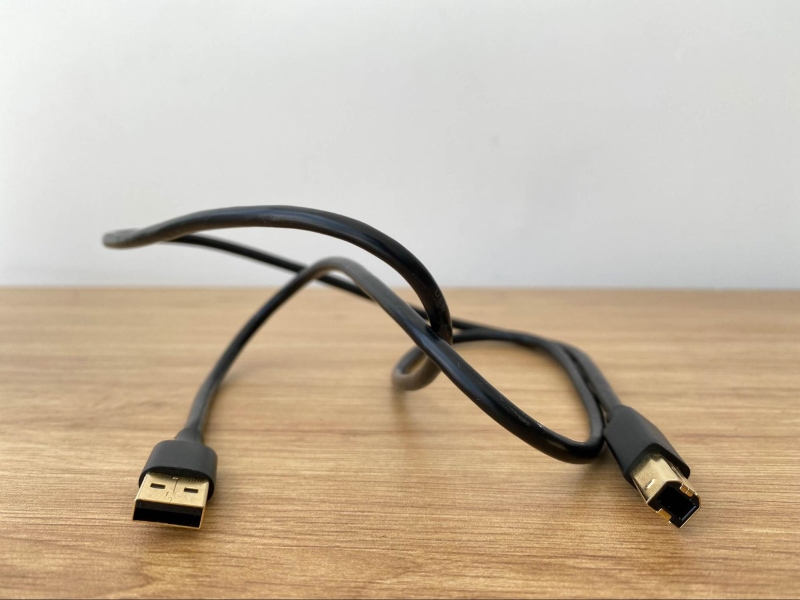
Once you’ve confirmed that your laptop’s USB port will support this connection, you’re ready to use a USB-B to USB-A cable to connect it to your projector.
To create this setup, you must adjust your projector’s settings. These settings menus vary depending on the projector brand. To get you started, I’ve demonstrated how to make this connection on my Epson projector in the following section.
Step-by-Step Instructions
Step 1: Ensure your projector and laptop/PC are both powered on.
Step 2: Plug your USB-B to USB-A cable’s USB-B connector to your projector’s USB-B port.
Step 3: Then, plug the same cable’s USB-A connector into your laptop/PC’s USB port.
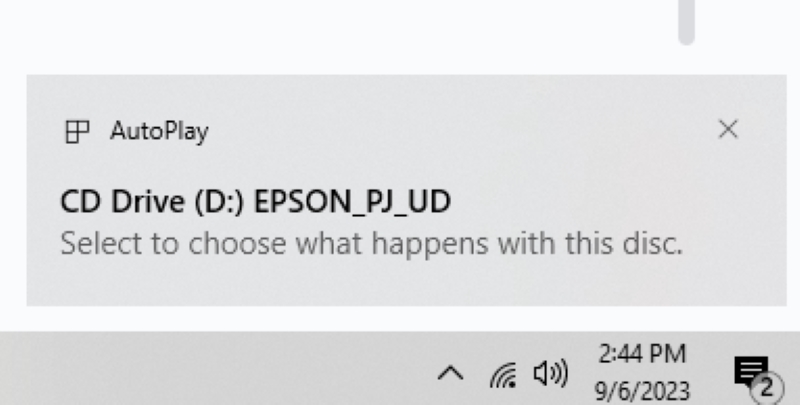
Step 4: Once everything is properly connected, a notification like the one below should appear in the bottom right corner of your laptop/PC for you to select.
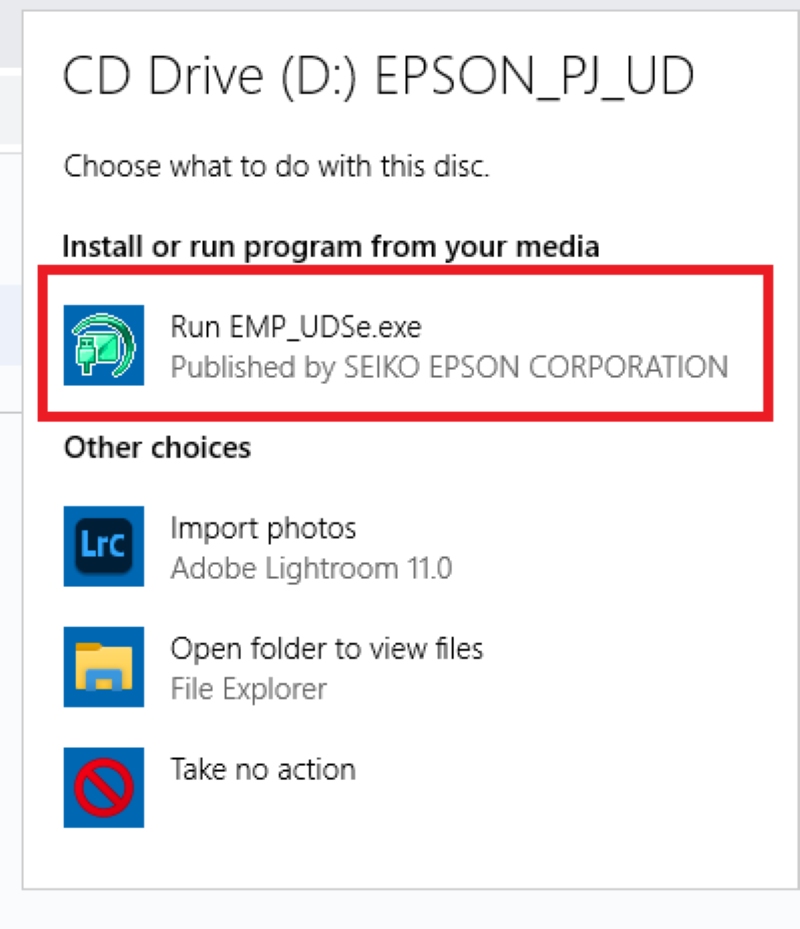
Step 5: Click on Run EMP_UDSe.exe.
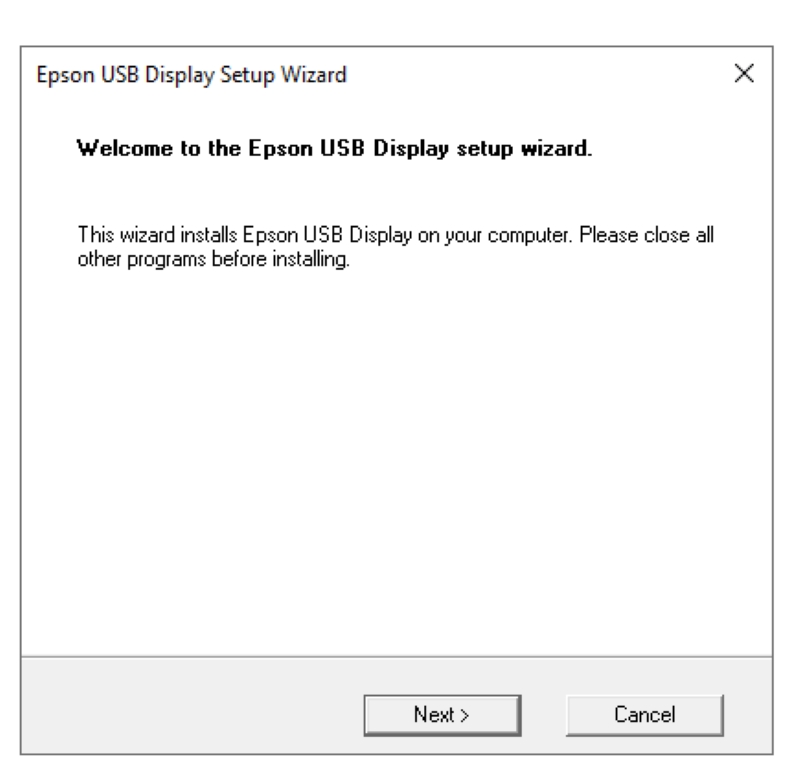
Step 6: Click on Next to install the USB Display driver on your device.
Note: You only need to install the USB Display driver on your laptop/PC the first time you connect it to the projector.
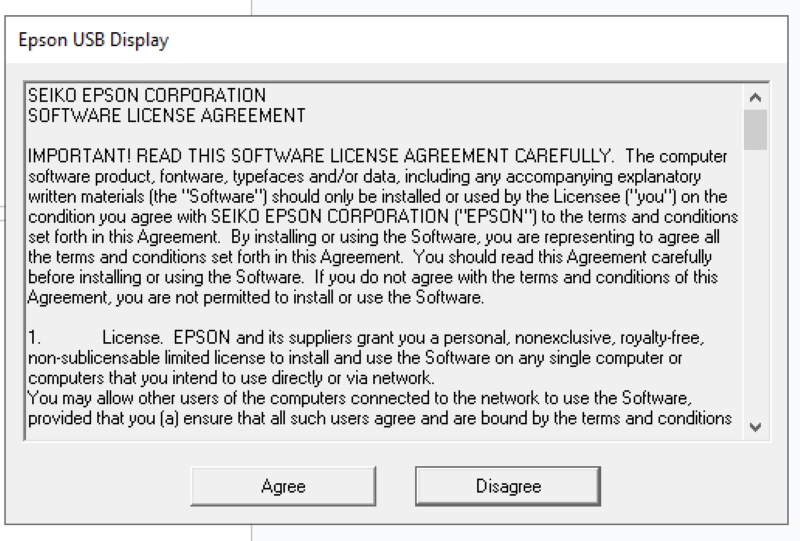
Step 7: Select Agree to begin the driver installation process.
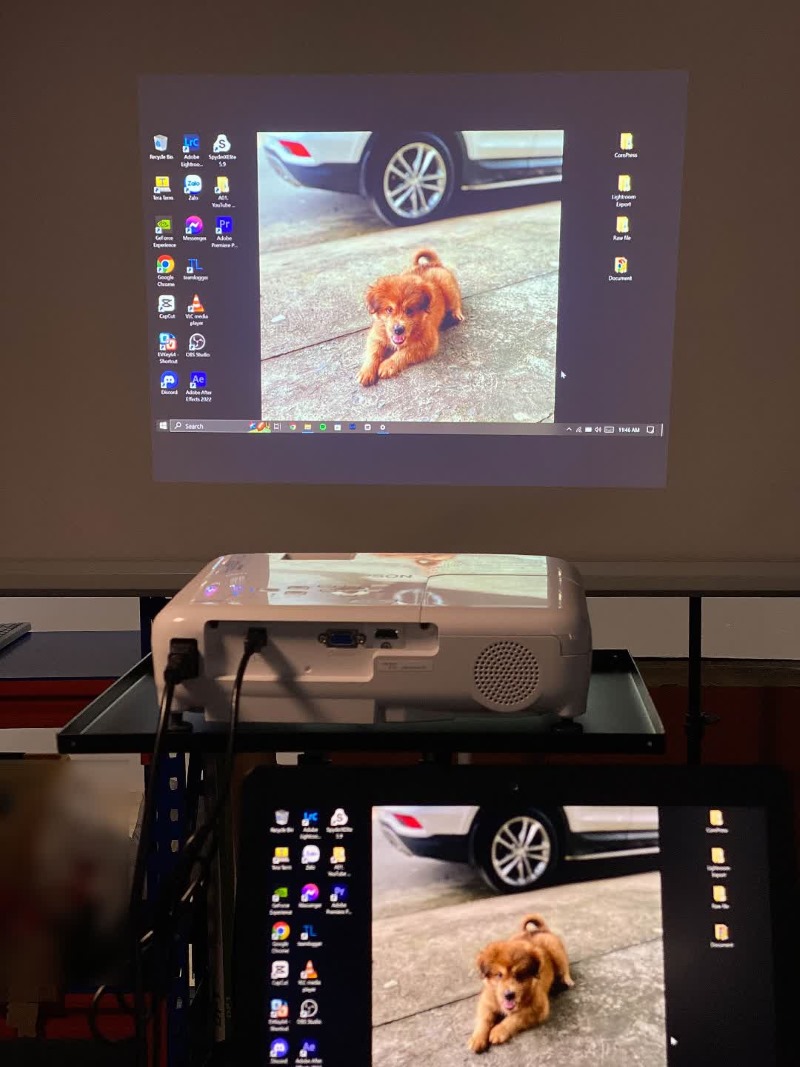
Step 8: Once the driver finishes installing on your laptop/PC, your projector should automatically begin displaying your laptop/PC’s screen, as demonstrated below.
Watch the tutorial below demonstrating how to connect your laptop/PC to an Epson projector using USB.

Wrapping Things Up
If your projector boasts a USB-B port instead of HDMI, don’t be alarmed! While the process of connecting a laptop/PC to USB-compatible projectors is different, it can be done using the right settings and cable.
Remember to confirm that your projector’s USB port does indeed support audio and visual input by ensuring it’s USB type B. You can verify this by checking the port’s label, the projector’s settings, the user manual, or the manufacturer’s official website.
When connecting your laptop/PC to your projector for the first time, you must install the USB Display driver on your device. Once installed, you’ll be able to seamlessly connect your laptop/PC to that projector.
What’s your experience connecting a laptop/PC to a projector using a USB cable?
Let us know in the comments below!

Yesenia Achlim is a technical copywriter and editor with a focus on AV equipment. She aims to break down complicated topics and make technology accessible, no matter your technical expertise. When she’s not teaching you how to replace a projector lamp, you can find her reading and baking.